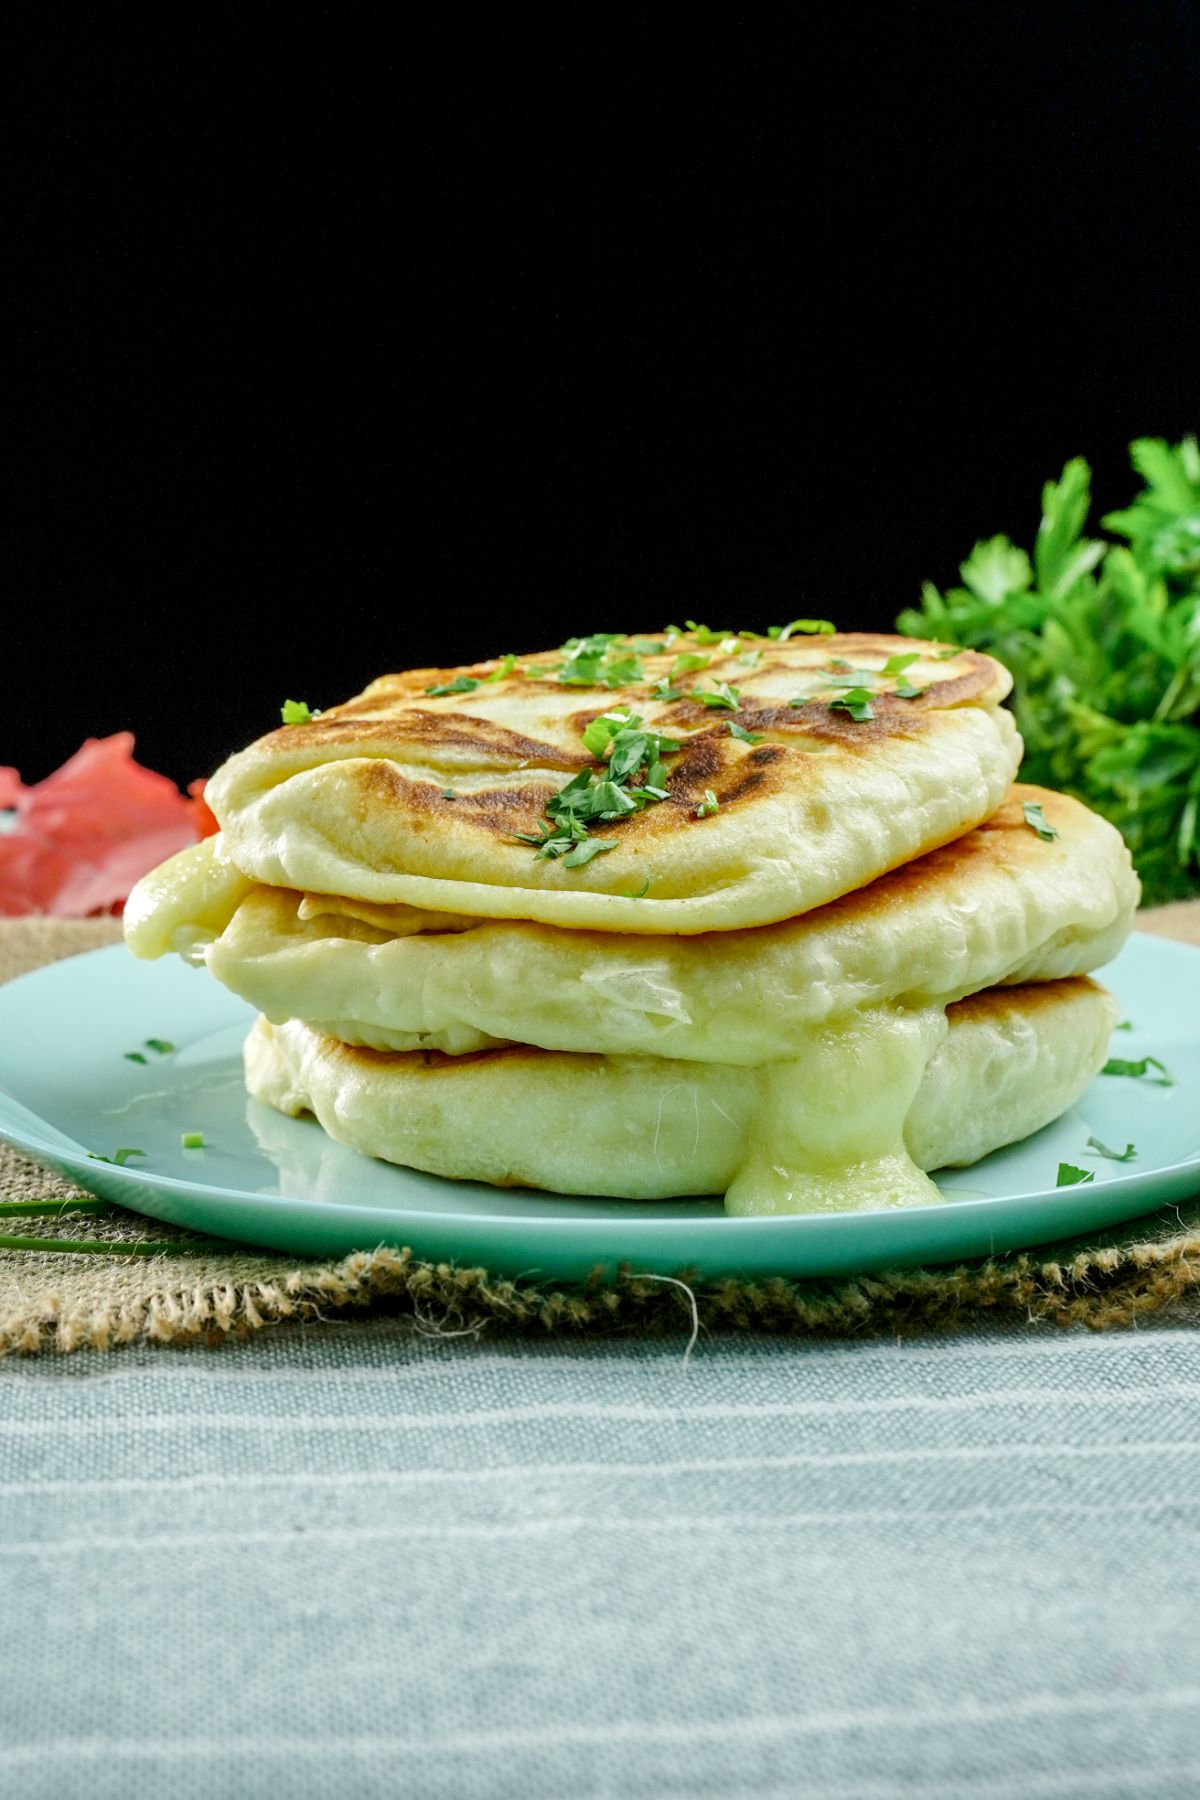
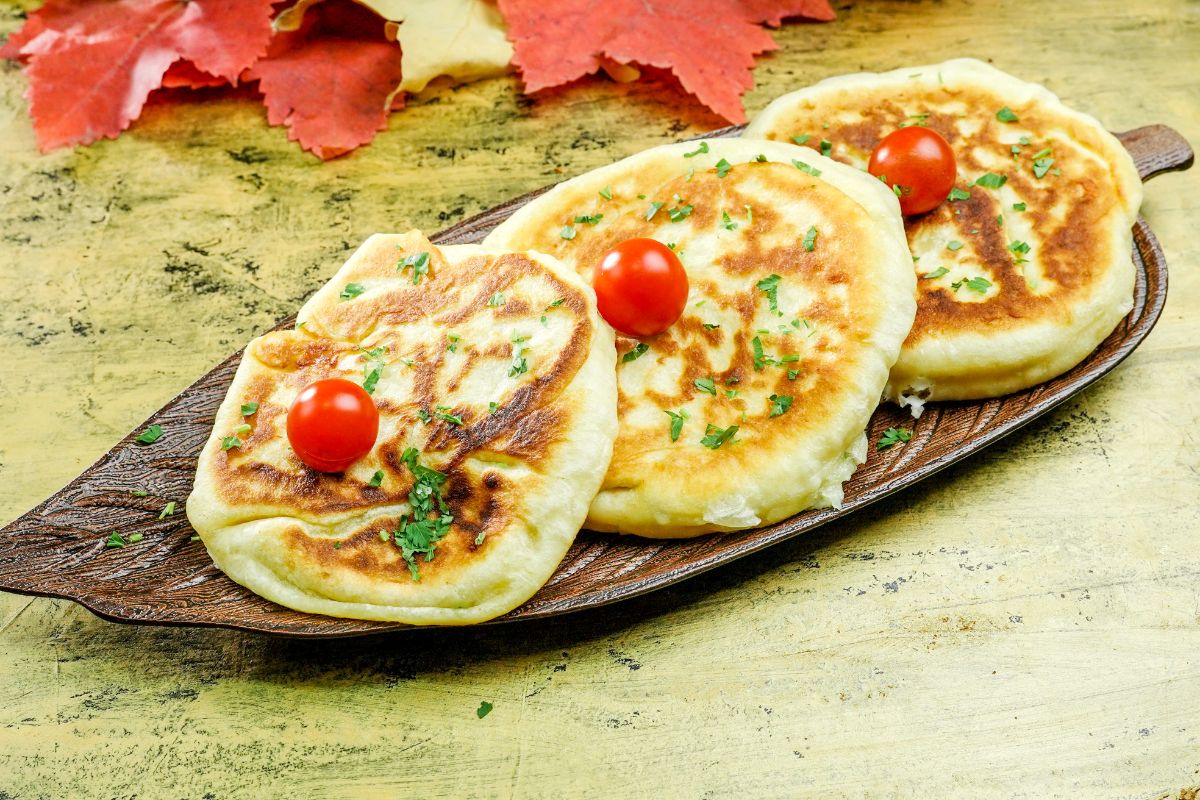
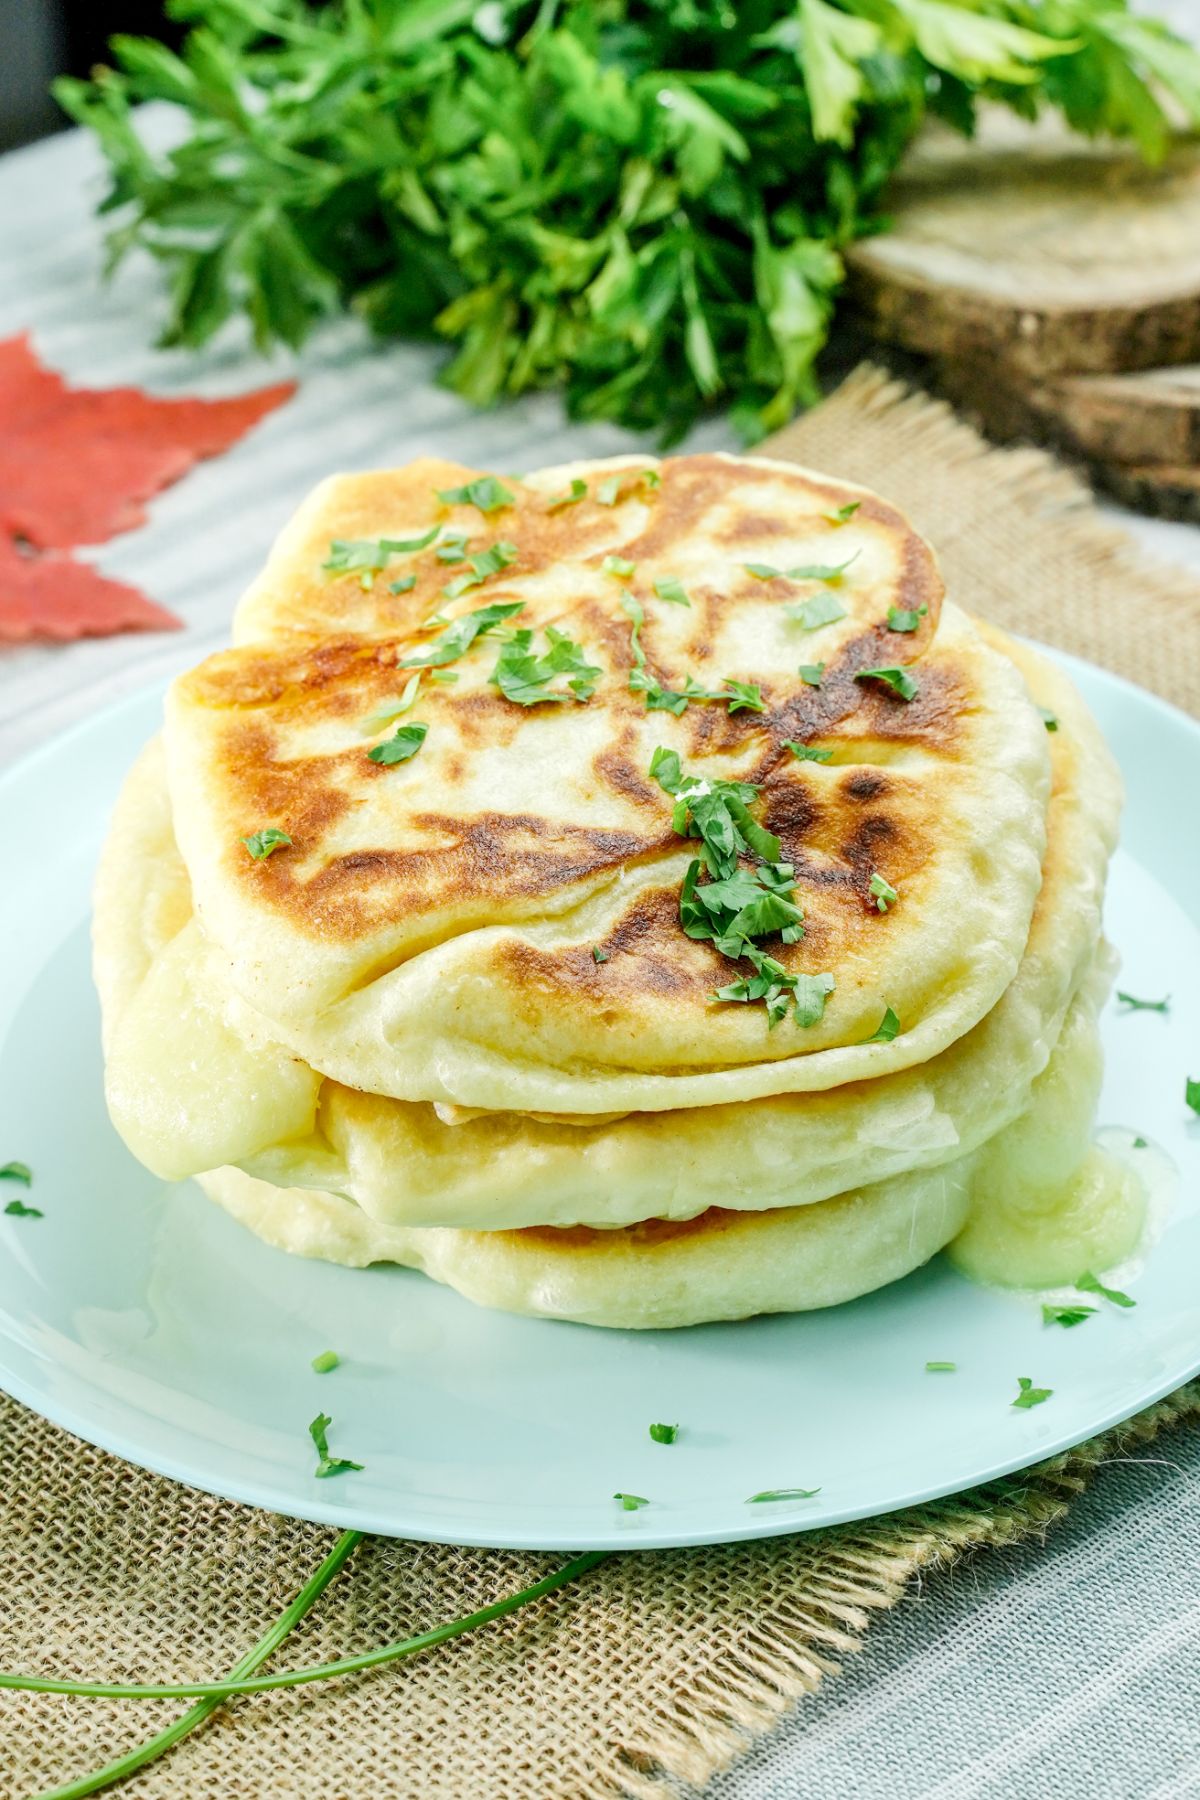
What could be better than a warm, cheese piroshki on a cold winter day? These Russian cheese piroshki are the perfect comfort food – and they’re easy to make at home! A simple bread stuffed with cheese and pan-fried until golden, this is one recipe you'll love making again and again.
Jump to:
Russian Cheese Piroshki
Traditional Russian cheese piroshki are small, savory turnovers made from soft dough and filled with cheese. They're perfect for a quick snack or as a light meal. Once you make these tasty cheese hand pies, you want to have them on hand all the time.
While this version may not be exactly like what you would find in a true Russian kitchen, the resemblance is close enough to satisfy a craving. Cheese is just one filling for this dish. You can easily branch out and fill with sweet options like fruits or even different savory fillings such as ground meats or even seasoned pulled chicken or pork.
If you like traditional bread, you might also want to make our focaccia bread or even this homemade naan. Both are classic bread of their own countries and are a great side to almost any meal. Of course, if you like this, you might also appreciate the mozzarella thyme cheesy pull-apart bread too!
What Do You Eat With Piroshki?
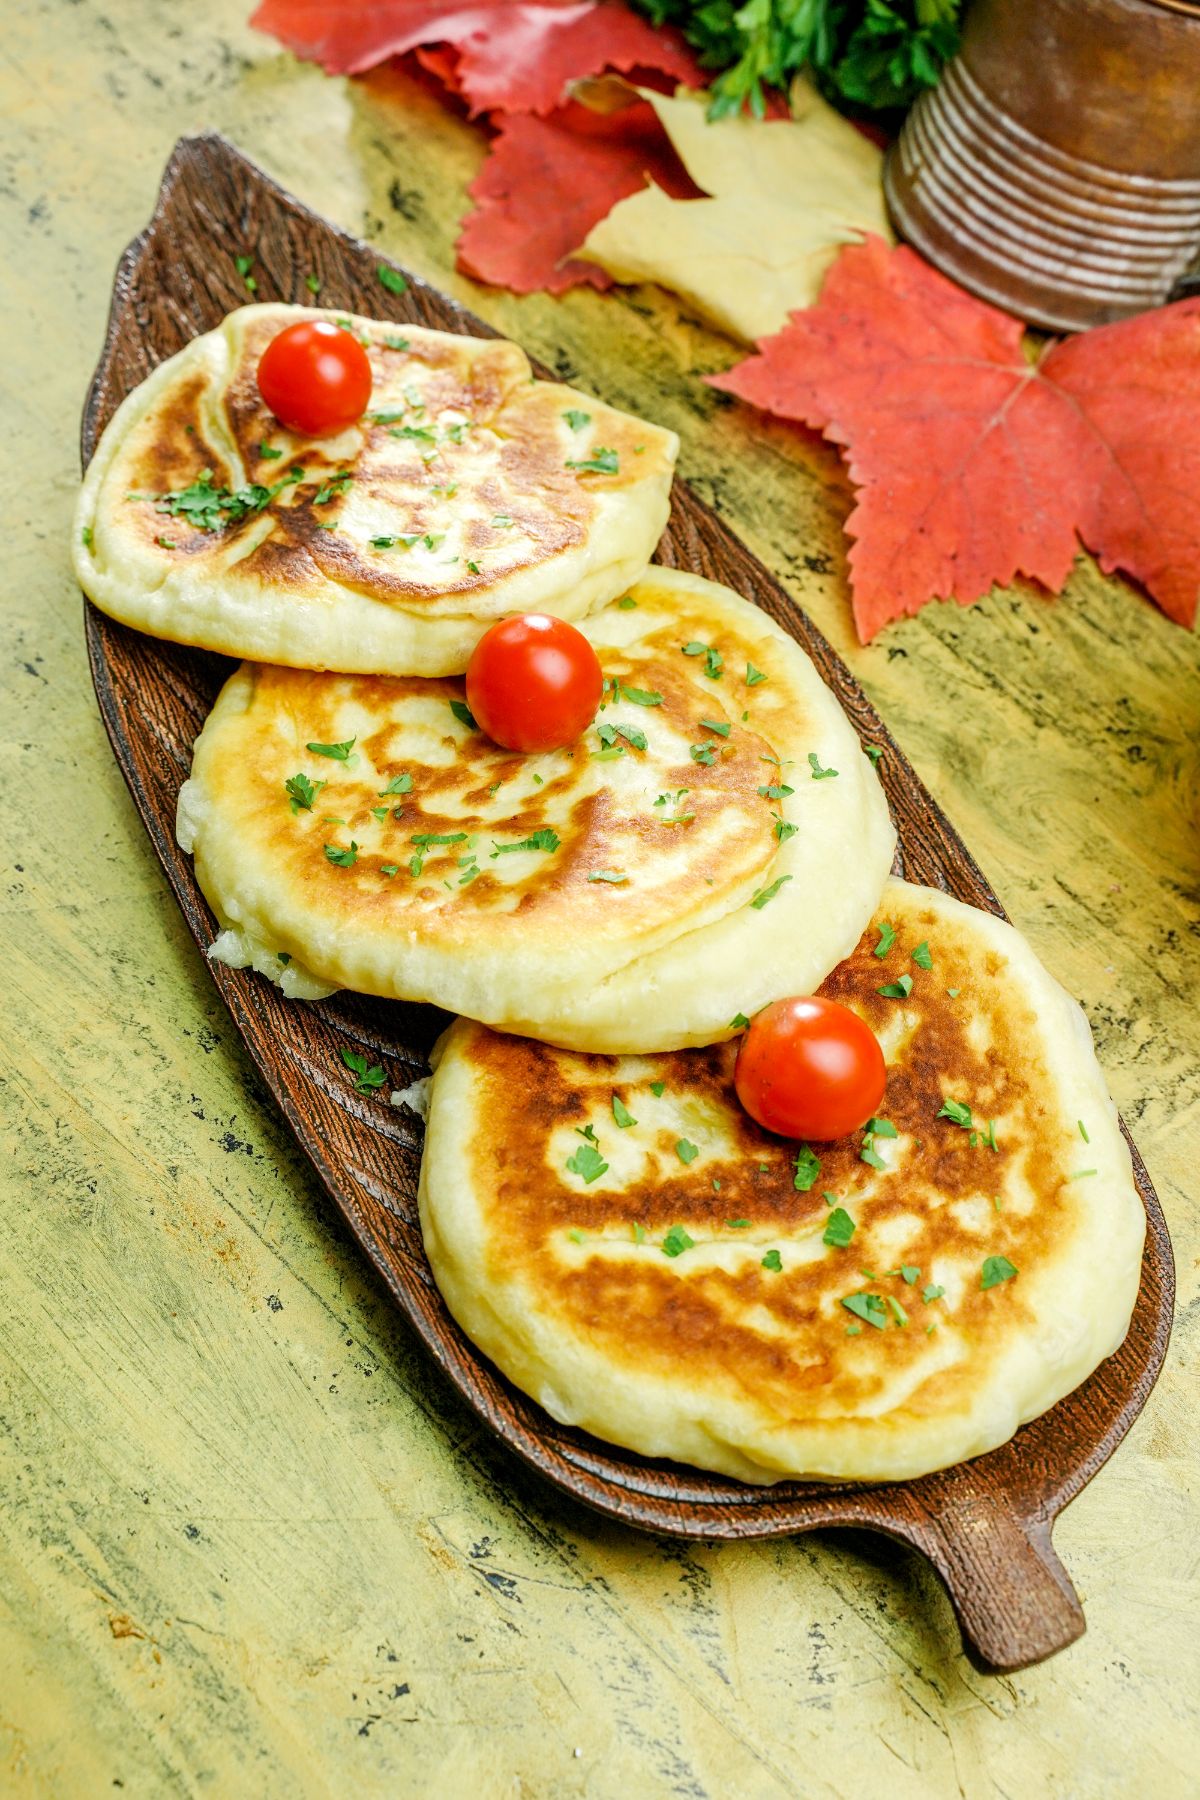
Piroshkis are often eaten as an appetizer, snack and sometimes when they are made large enough with lots of filling, as the main course. They are often considered the same as hand pies.
You can eat them alone if you are looking for something light or you can serve alongside a meal. Since these ones are filled with mozzarella cheese, you can serve them as a side dish with something simple like this parmesan chicken thighs recipe, or as decadent as a classic beef bourguignon. In our house, it's a great side to these skillet pork chops.
Ingredients
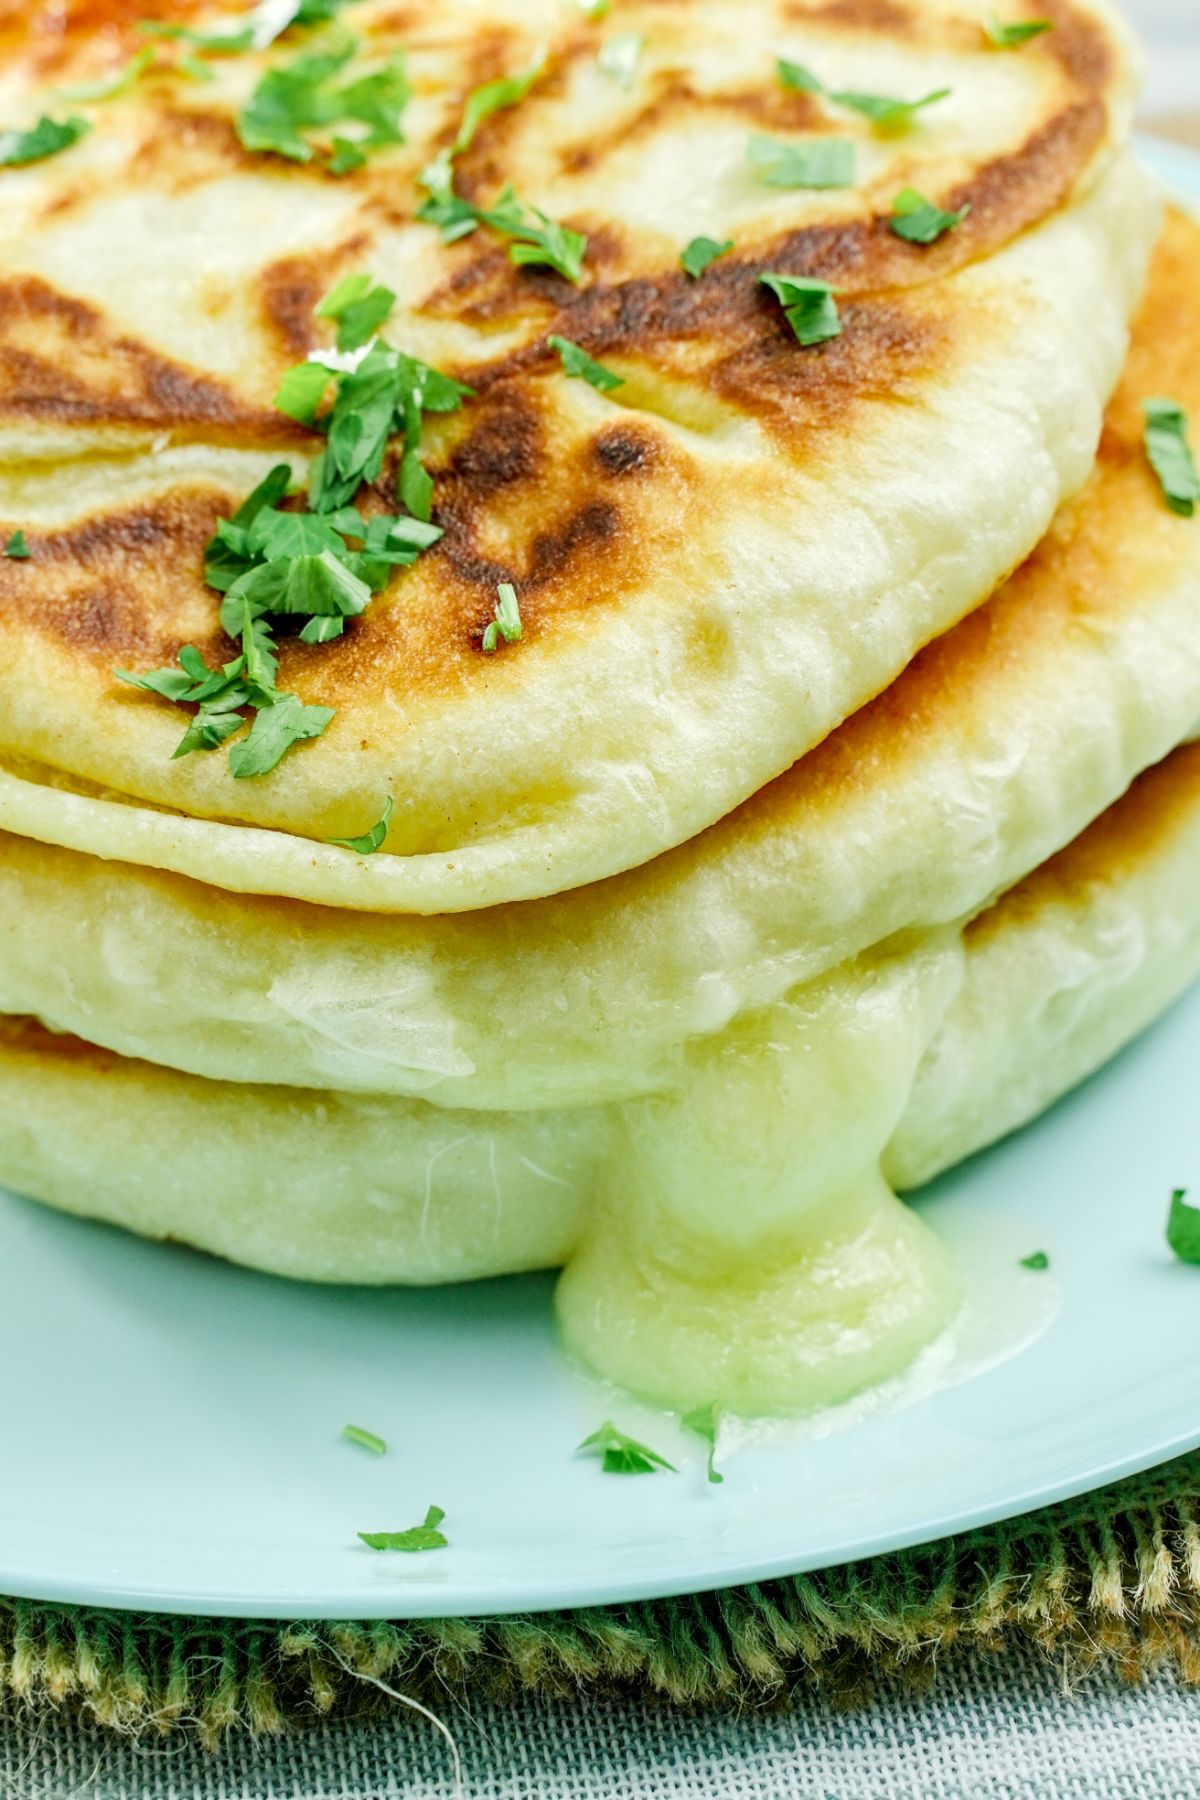
- 1 ¼ cup buttermilk (300 ml)
- 1 teaspoon salt
- ½ teaspoon baking soda
- 2 ½ ccups all-purpose flour (400 g)
- 1 ½ cups shredded mozzarella cheese (300 g)
- 1 tablespoon vegetable oil
Handy Kitchen Tools
How to Make Piroshki
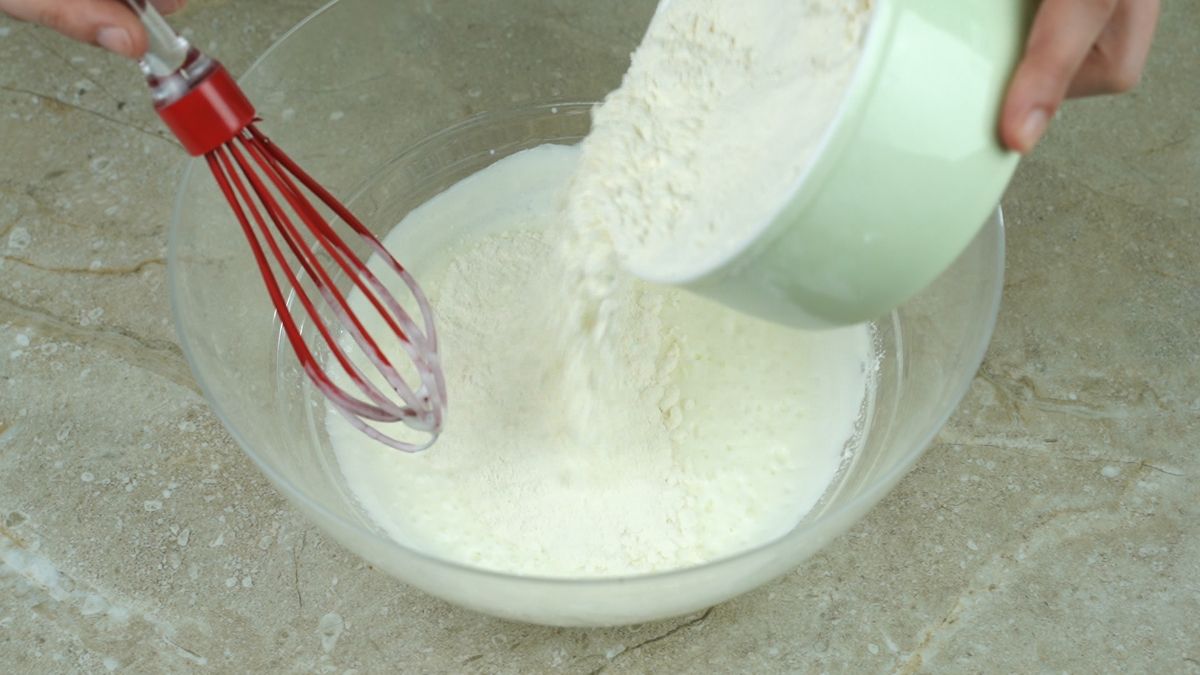
Whisk together the buttermilk, salt, baking soda, and flour until a dough begins to form.
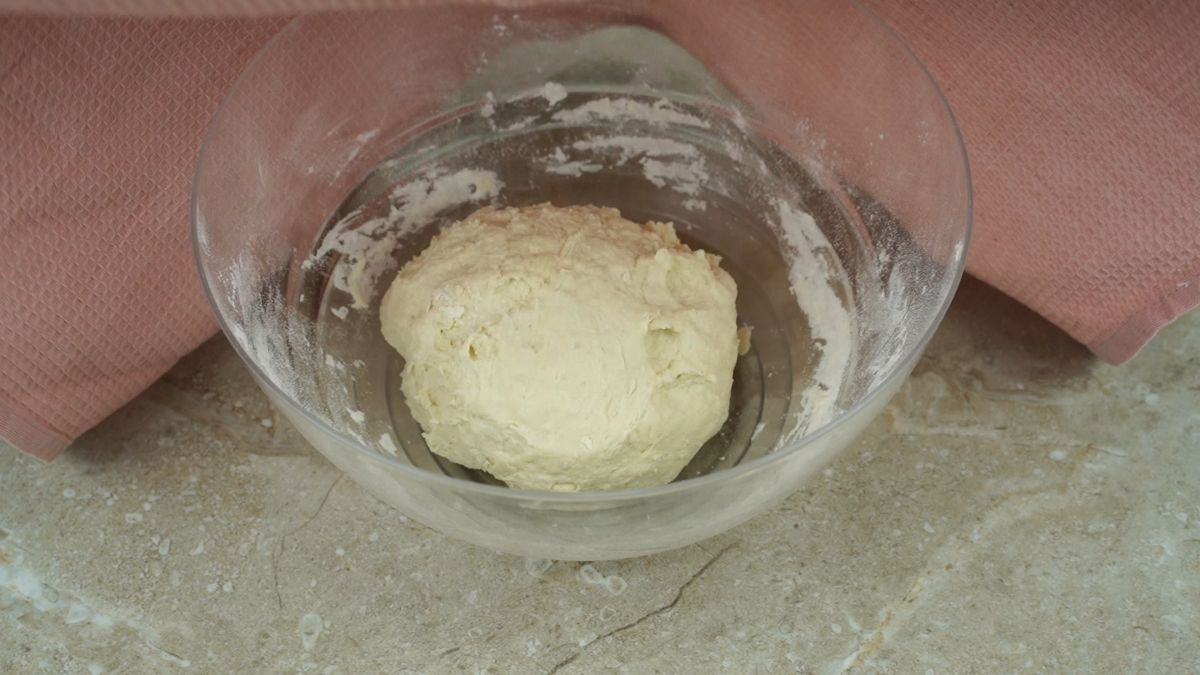
Using a spoon or clean hands, stir the mixture until it becomes a firm ball of dough.
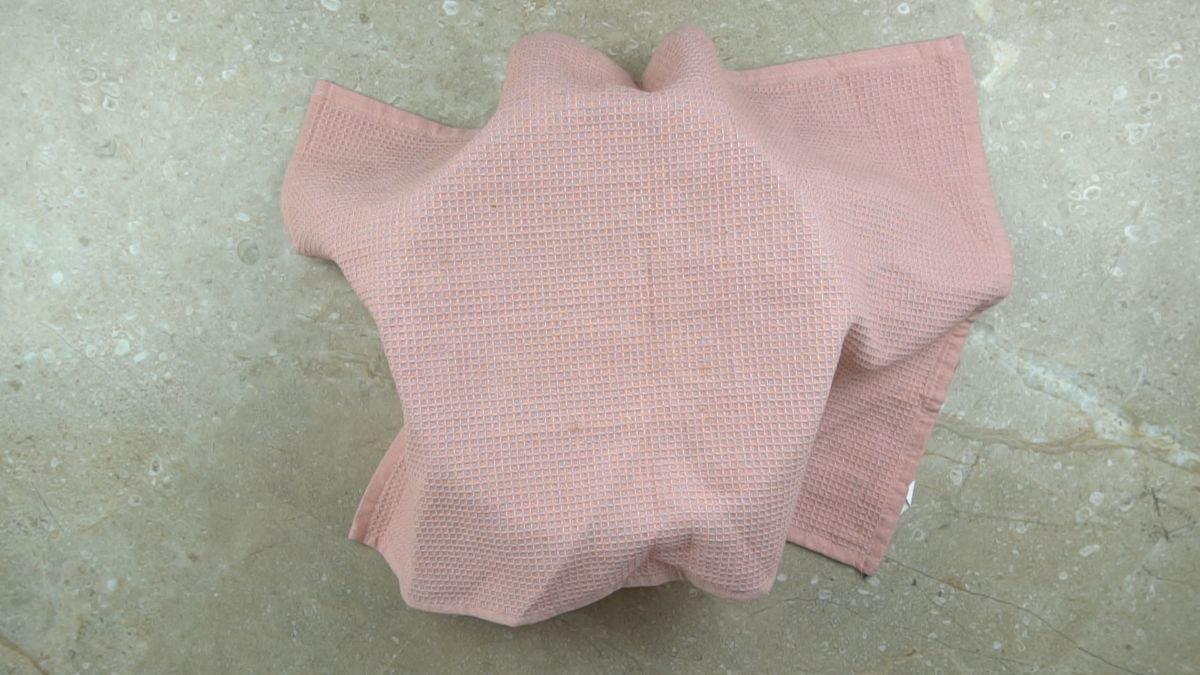
Cover the dough and set it aside to rest for 10 minutes while you grate the cheese.
Lightly oil a clean surface, then place the dough there and divide it into 3 portions and roll each portion into a ball.
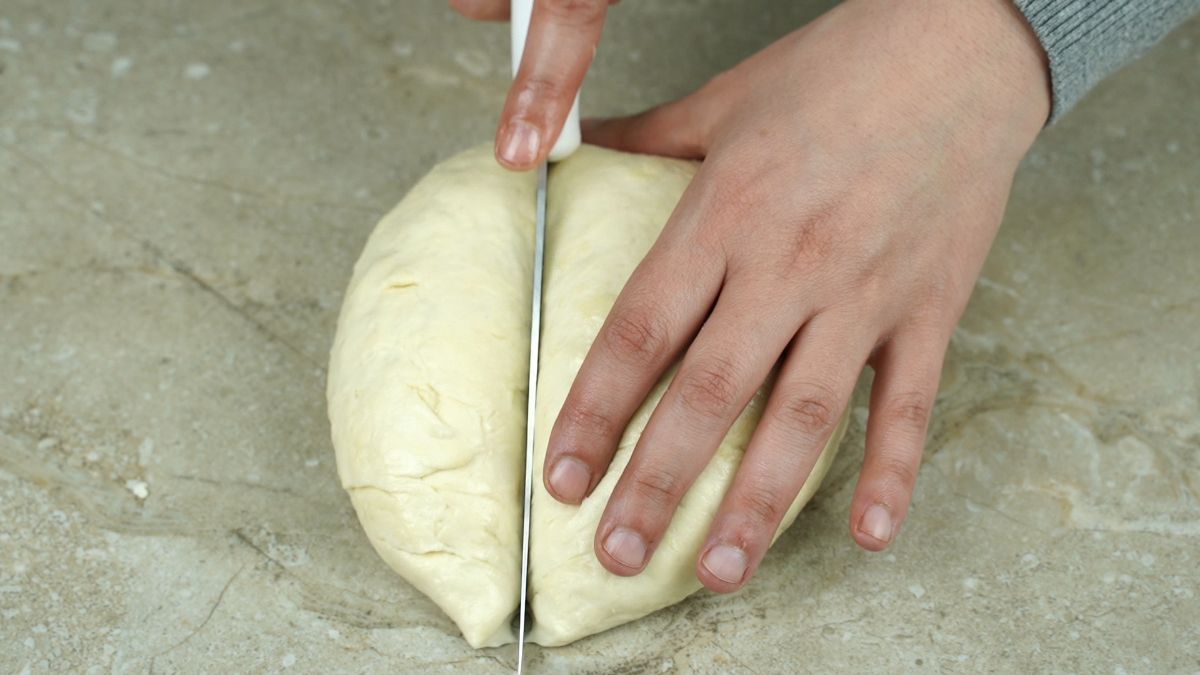
Roll the ball out into a large circle, then fill the center of each circle of dough with shredded cheese.
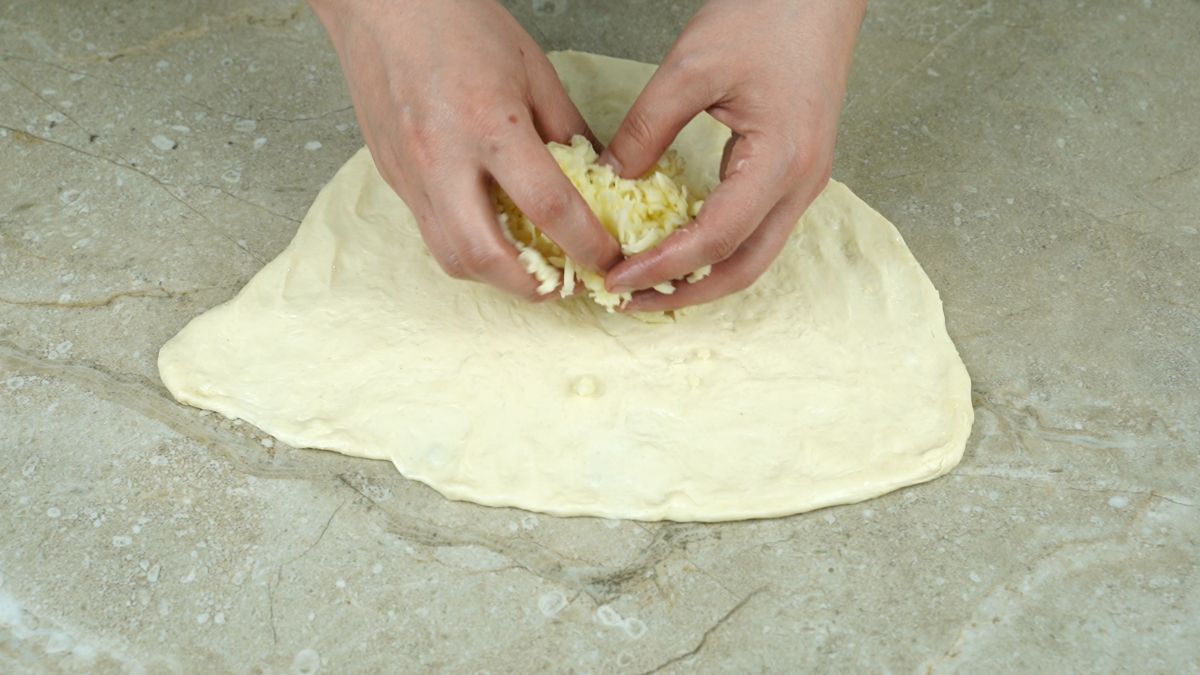
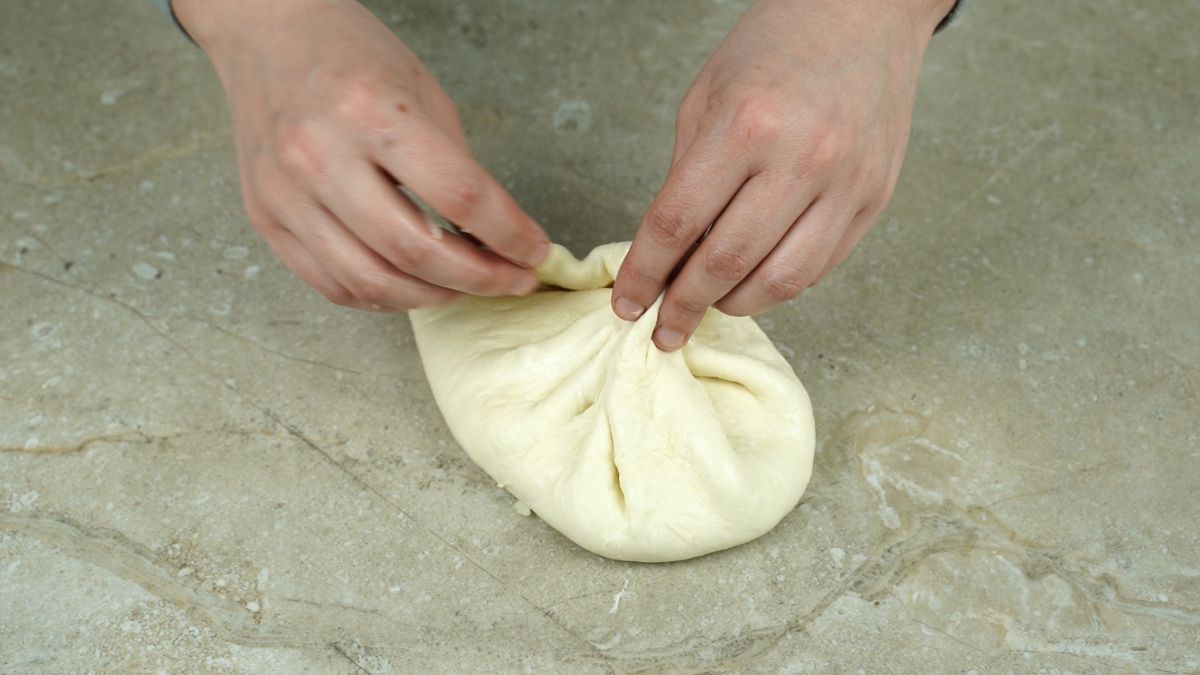
Fold the sides of the dough over the cheese in the center crimping the edges together.
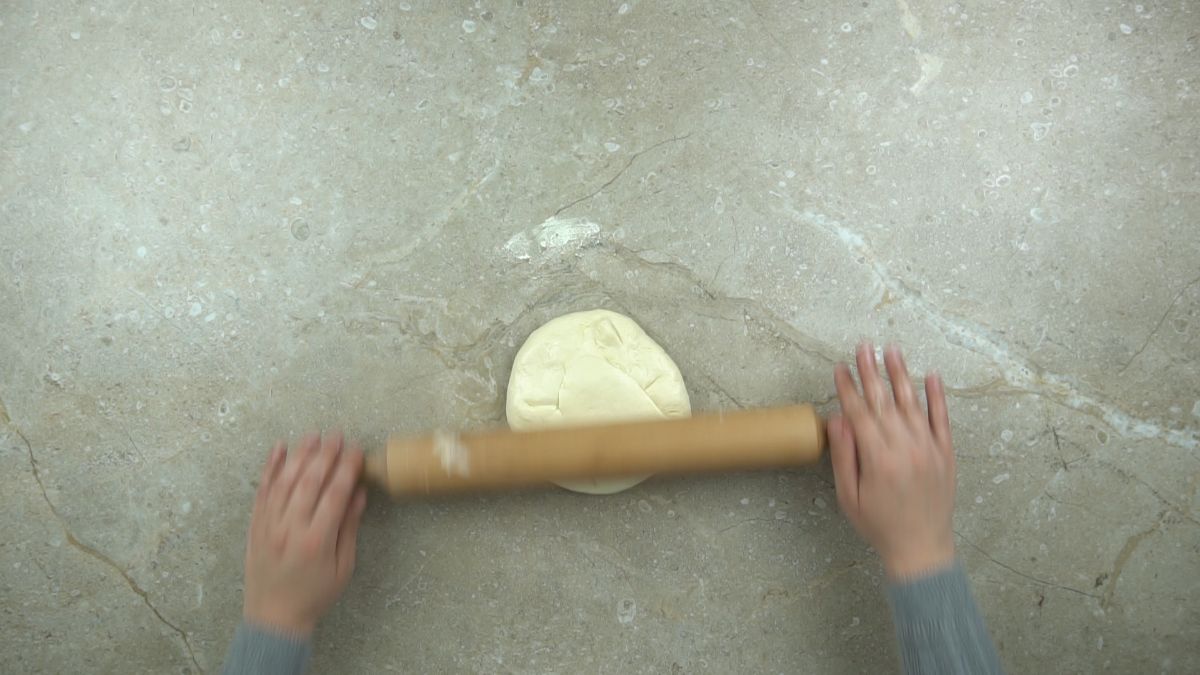
Next, lightly pat this dough down so it is a flattened circle.
Heat vegetable oil or olive oil in a medium skillet over medium heat and cook the dough for 2 to 3 minutes per side.
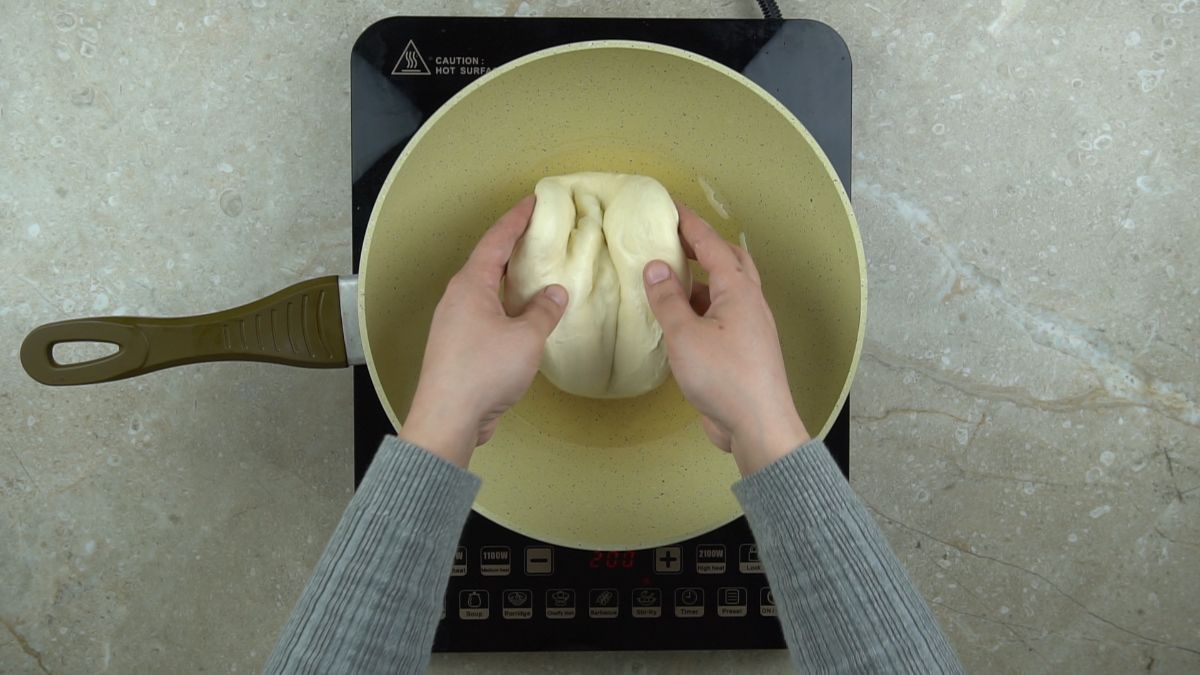
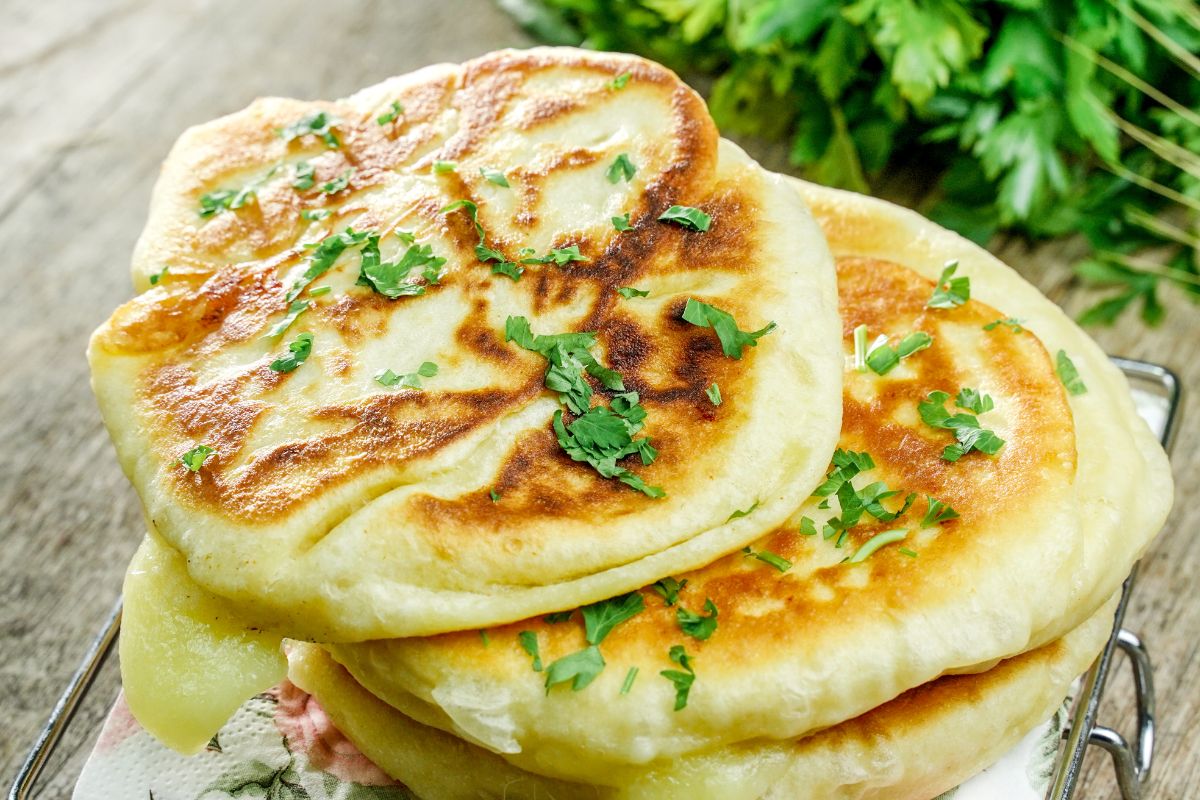
Cook until just golden and the dough has cooked through. If it begins to burn, reduce the heat and cook until the dough is done and fluffy.
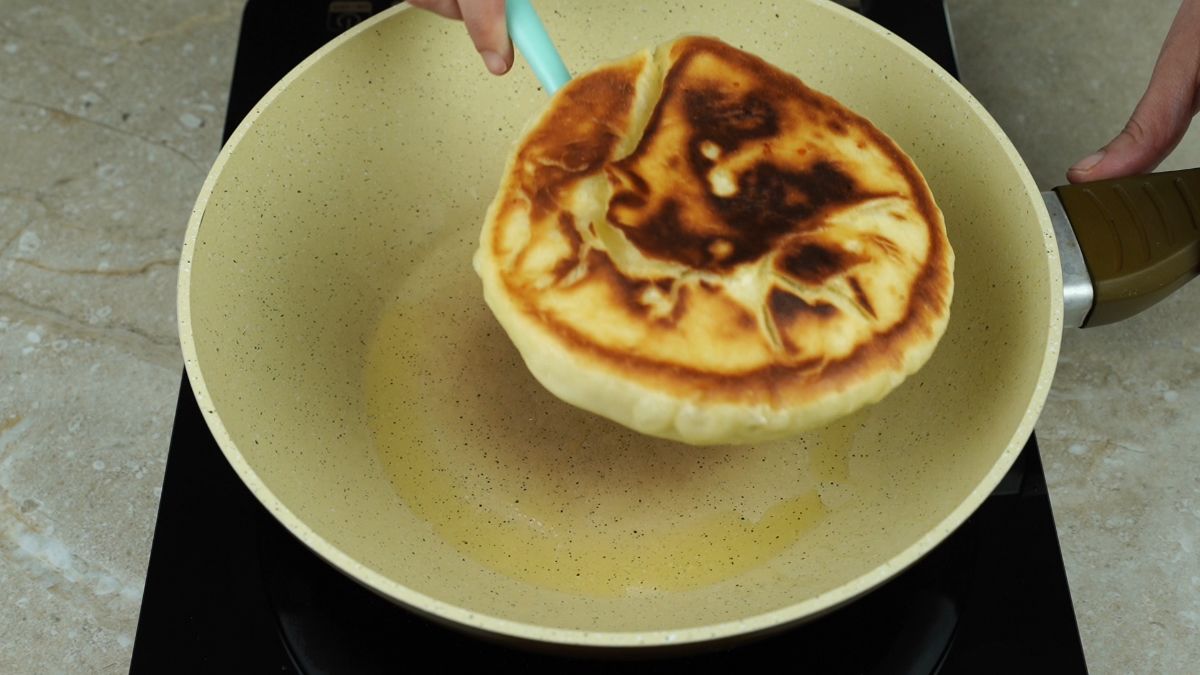
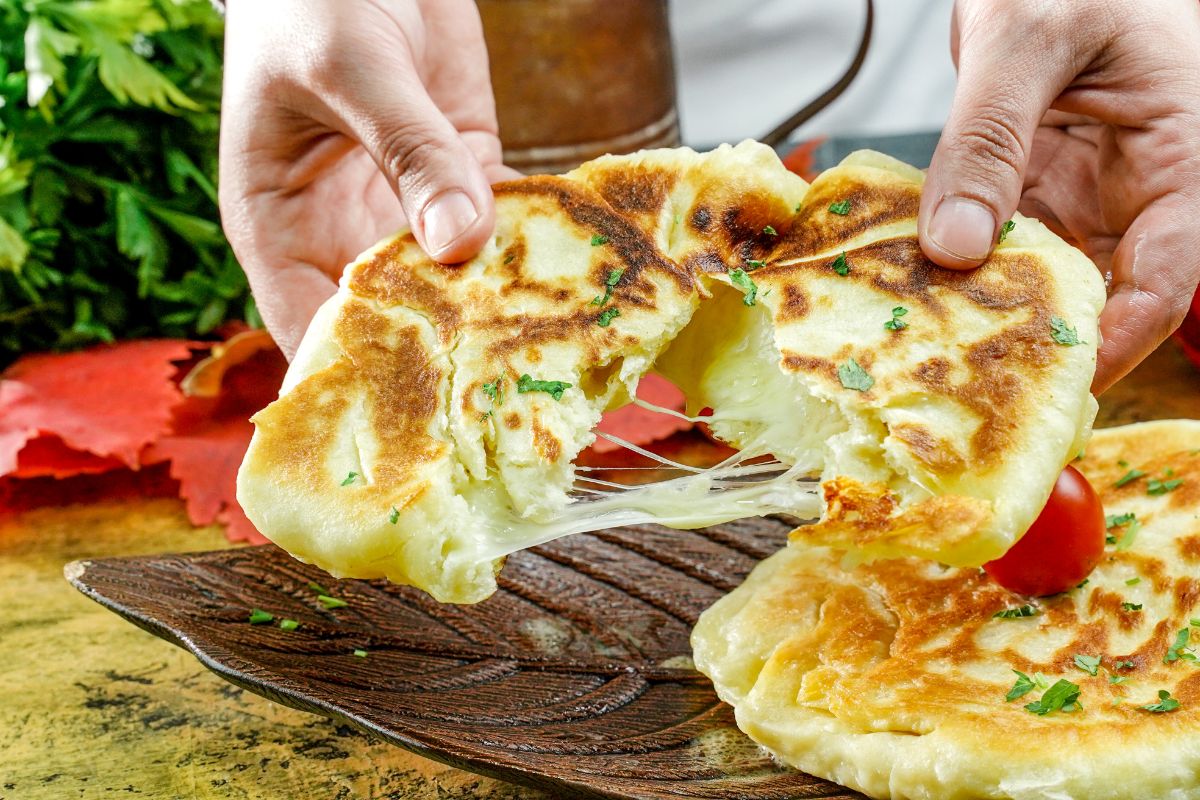
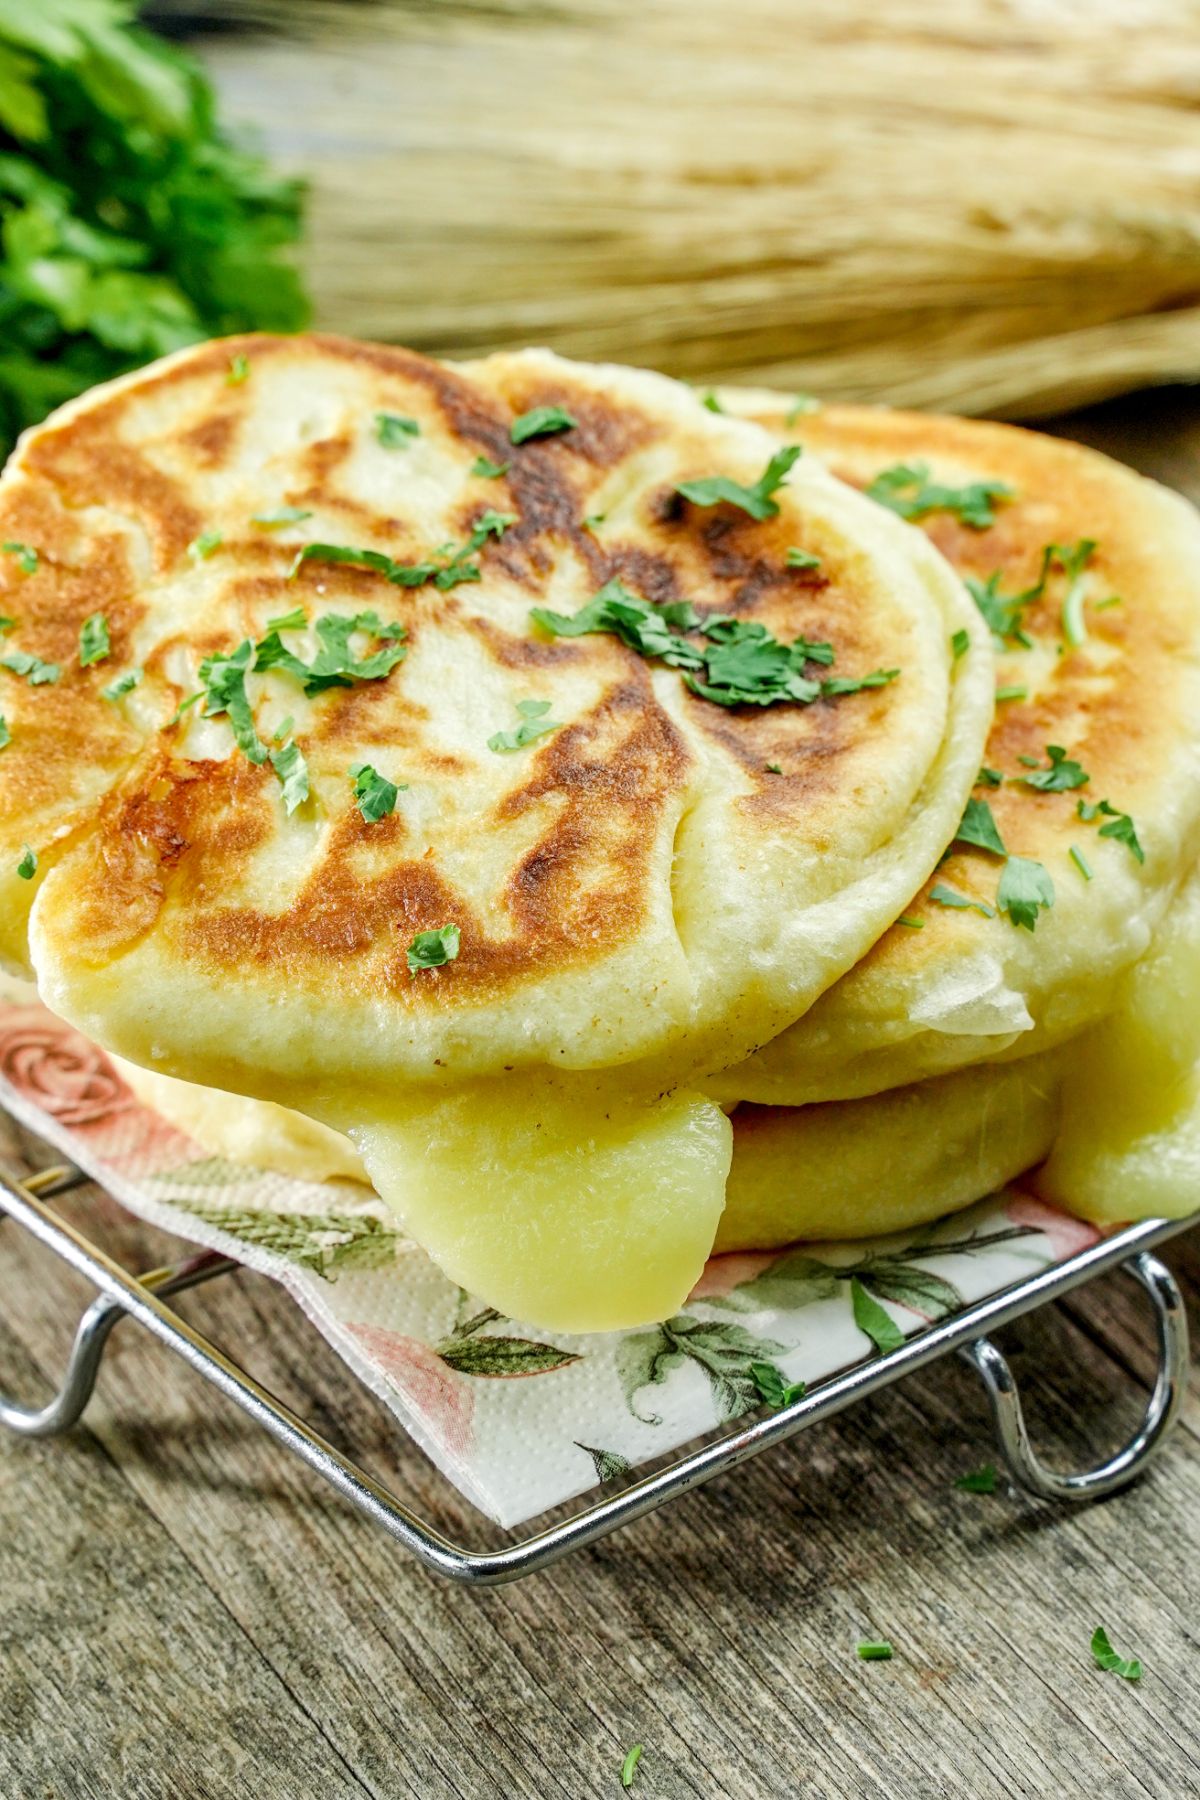
Serve hot!
Frequently Asked Questions
Piroshki are small, stuffed buns that can be served either as a meal or appetizer. The name is derived from the Russian word “piroshok ,” meaning fried pies. In terms of ingredients, piroshkis can include meat, cheese, potatoes and cabbage. This recipe focuses on a cheese piroshki, which can be served with a variety of garnishes.
The main difference between the piroshkis and pierogis is that piroshkis are fried buns and pierogies are boiled dumplings.
Piroshki are generally larger than pierogis, but the main difference is that piroshkis are fried while pierogies are boiled or baked. Additionally, piroshkis can be made savory or sweet while pierogies are typically made with savory ingredients.
These cheese piroshki have a mozzarella cheese filling. There are a lot of things that can be used as piroshki filling. You can add mixed vegetables, cabbage, or mushrooms. Of course, other options include different types of meat, like ground beef or pork or chicken, or potatoes. You can also add in different types of cheese that melt well. Just make sure that the filling is cooked ahead of time since it won't have time to cook through as the bread cooks.
If you want to make a sweet piroshki you can also use fruits like apricots, apples or cherries or you can fill them with jam and combine it with farmer's cheese or quark. You can also use chocolate.
You can freeze the cheese piroshki two ways. They can be frozen before cooking as well as after cooking.
To freeze raw, simply prepare up to the point of cooking. Lay on a lined baking sheet and freeze for 2 hours until the dough has hardened. Then, place them into a dated and labeled bag or airtight container, adding a layer of parchment or waxed paper between each piroshki.
The second method is to freeze after they have been fried. Just allow the cheese piroshki to cool completely before stacking with parchment or waxed paper between each piece. Add to a dated and labeled bag or airtight container.
They are good for 2 months in the freezer. To reheat already cooked piroshki, thaw overnight and quickly heat in the oven or pan. To cook raw piroshki from frozen, it is best to thaw before cooking. If you want to cook from frozen, do so in the oven at 400°F for 20 minutes.
More Recipes You'll Love
If you like the idea of making homemade bread, we have some amazing additions to your menu. Below are a few of our favorite recipes that can be served alone or as a side to any of your favorite meals. Make sure to bookmark the recipes, print them out, or pin them to Pinterest to make soon!
- Homemade Japanese Millk Bread Recipe
- The Best Ever Soft Potato Bread Recipe
- Best Copycat Hawaiian Rolls Recipe
- The Best Homemade Crescent Rolls Recipe
- Classic Homemade Buttermillk Biscuits
📖 Recipe
Russian Cheese Piroshki Recipe
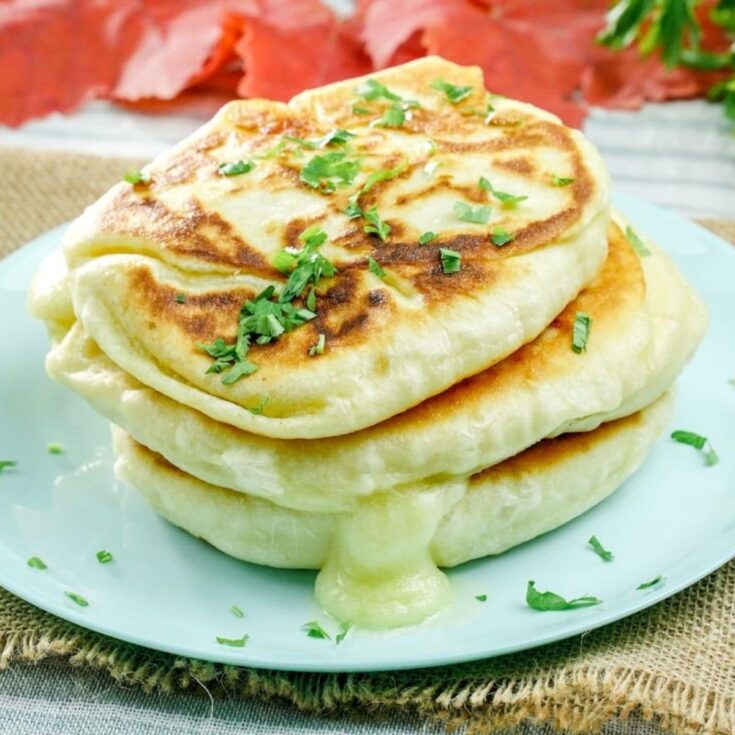
This traditional Russian cheese piroshki is a great appetizer or side for any meal! A fast fry bread filled with cheese is ideal for any meal.
Ingredients
- 1 ¼ cup buttermilk (300 ml)
- 1 teaspoon salt
- ½ teaspoon baking soda
- 2 ½ ccups all-purpose flour (400 g)
- 1 ½ cups shredded mozzarella cheese (300 g)
- 1 tablespoon vegetable oil
Instructions
- In a large bowl, whisk together the buttermilk, salt, baking soda, and flour.
- Using a spoon or clean hands, stir until combined and a firm ball of dough is formed. Cover with a cloth and set aside for 10 minutes.
- Grate the cheese and set it aside.
- Divide the dough into 3 equal parts, and roll each part into a ball.
- Pat down each ball then fill the center with cheese.
- Fold the sides back over the cheese and roll into a ball again.
- Then flatten slightly.
- In a large skillet, heat the vegetable oil over medium heat, then place the flattened dough onto the skillet.
- Cook for 2 to 3 minutes on each side until golden brown and the dough has cooked through.
Notes
Fill the piroshki with vegetables, cheese, or meat. Make sure that any meat is cooked through before filling.
Recommended Products
As an Amazon Associate and member of other affiliate programs, I earn from qualifying purchases.
-
 Wood Cutting Board Set - Bamboo Cutting Board with Juice Groove - Kitchen Chopping Board for Meat (Butcher Block) Cheese and Vegetables | Heavy Duty Serving Tray w/Handles (3-Pieces)
 -
 Blue Diamond Cookware Family Feast Diamond-Infused Ceramic Nonstick, Frying Pan, 14"
 -
 M KITCHEN WORLD Silicone Spatula Set - 4 Piece Heat Resistant Rubber Spatulas for Cooking & Baking - Nonstick Spoon Set for Kitchen Utensils - Orange
 -
 Amazon Basics Stainless Steel Wire Whisk Set - 3-Piece
 -
 Plastic Measuring Cups and Spoons Set 14 Piece. Includes 11 Colorful Measuring Cups and Spoons Set and 3 Plastic Liquid Measuring Cups. Nesting Measuring Set for Space Saving Storage. Dishwasher-Safe
 -
 COOK WITH COLOR Plastic Mixing Bowls with Lids - 12 Piece Nesting Bowls Set includes 6 Prep Bowls and 6 Lids, Microwave Safe Mixing Bowl Set (Blue Ombre)
Nutrition Information:
Yield:
3Serving Size:
1Amount Per Serving: Calories: 550Total Fat: 14gSaturated Fat: 5gTrans Fat: 0gUnsaturated Fat: 7gCholesterol: 28mgSodium: 1210mgCarbohydrates: 83gFiber: 3gSugar: 1gProtein: 21g


mj
The buttermilk is missing from the print version.
thanks!
Katie Hale
Thanks! It has been updated!