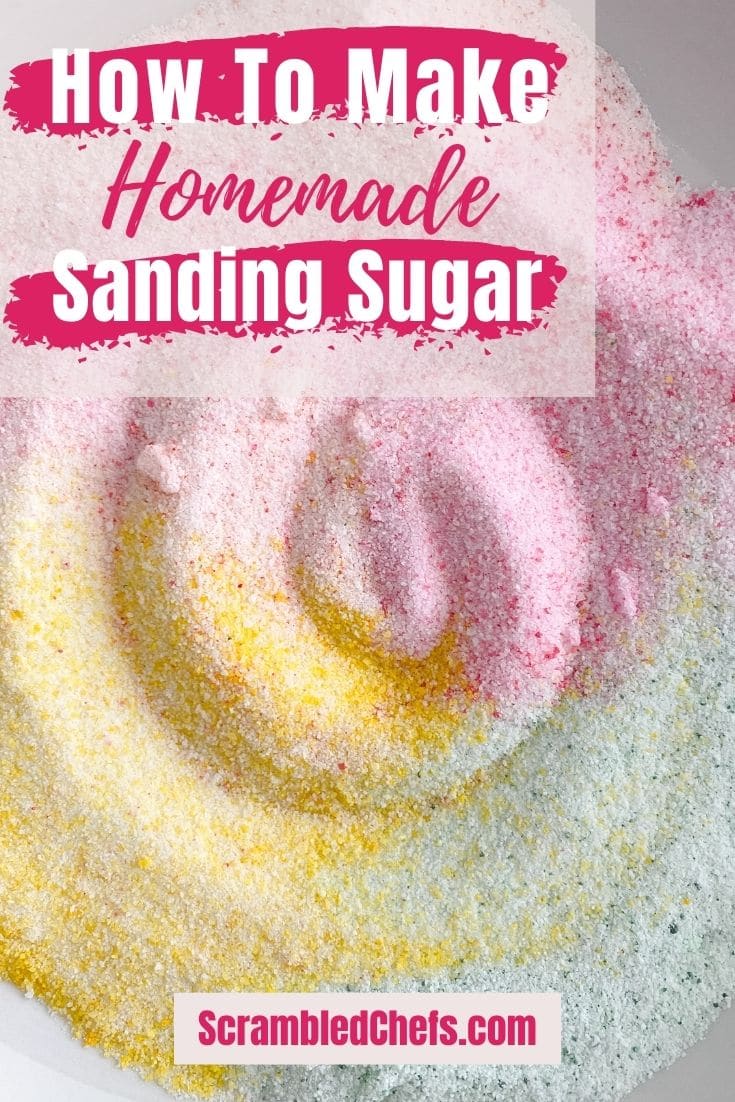
Have you ever had a recipe that suggested using sanding sugar to decorate the top of the end product? If so, this tutorial for how to make sanding sugar is going to come in handy. There is no need to go out and pay for expensive items with different colors when you literally have it all right there in your kitchen already! It's so easy to make, super fun to get kids involved with helping, and is handy for tons of baked good projects.
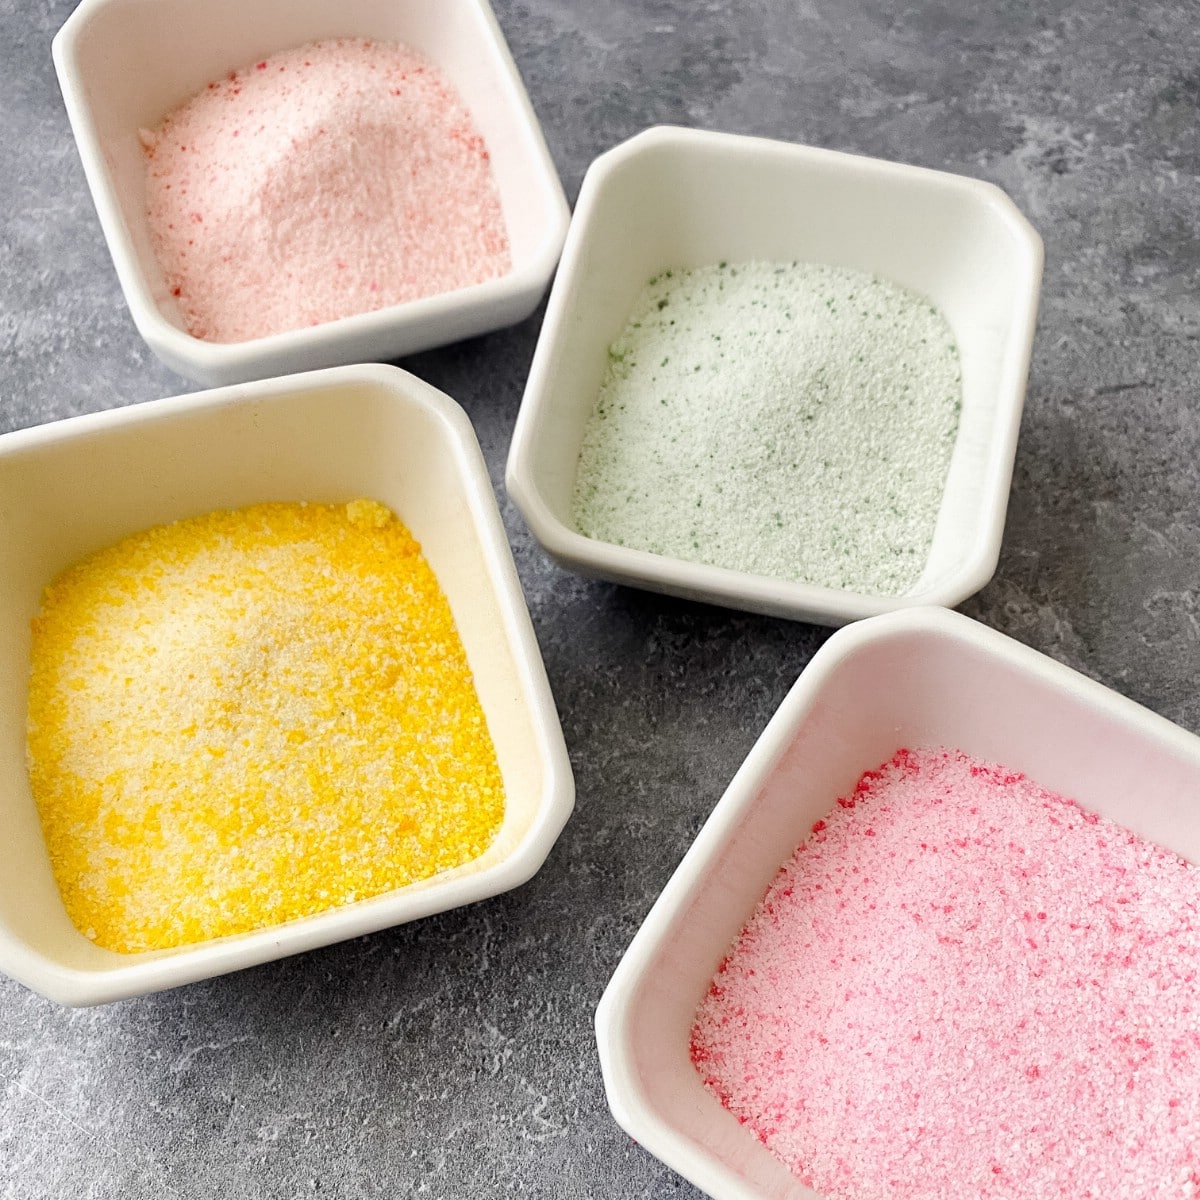
What Do I Need to Make Homemade Sanding Sugar?
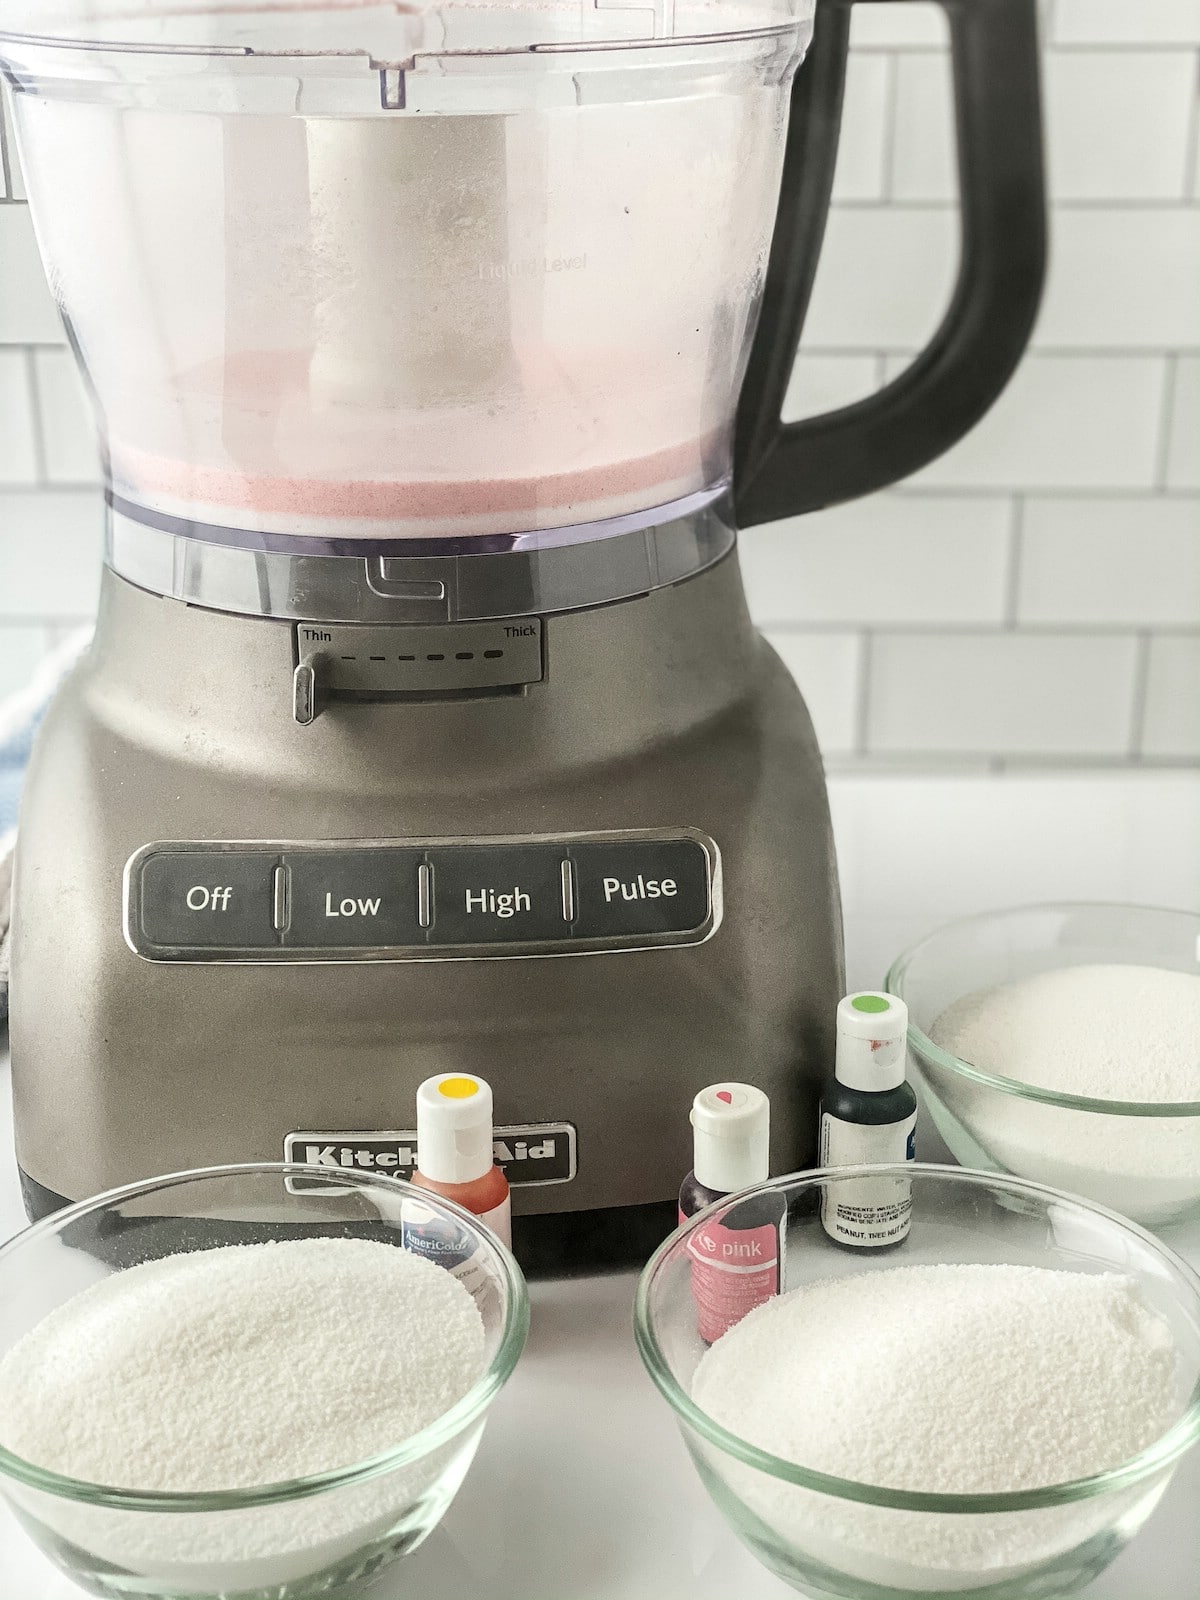
You'll need a few common ingredients and supplies for this recipe. Sugar, of course, is the main ingredient needed. The secondary addition is gel food coloring. You do not want to use liquid food coloring for this! Invest in gel food colors if this is something you plan to make.
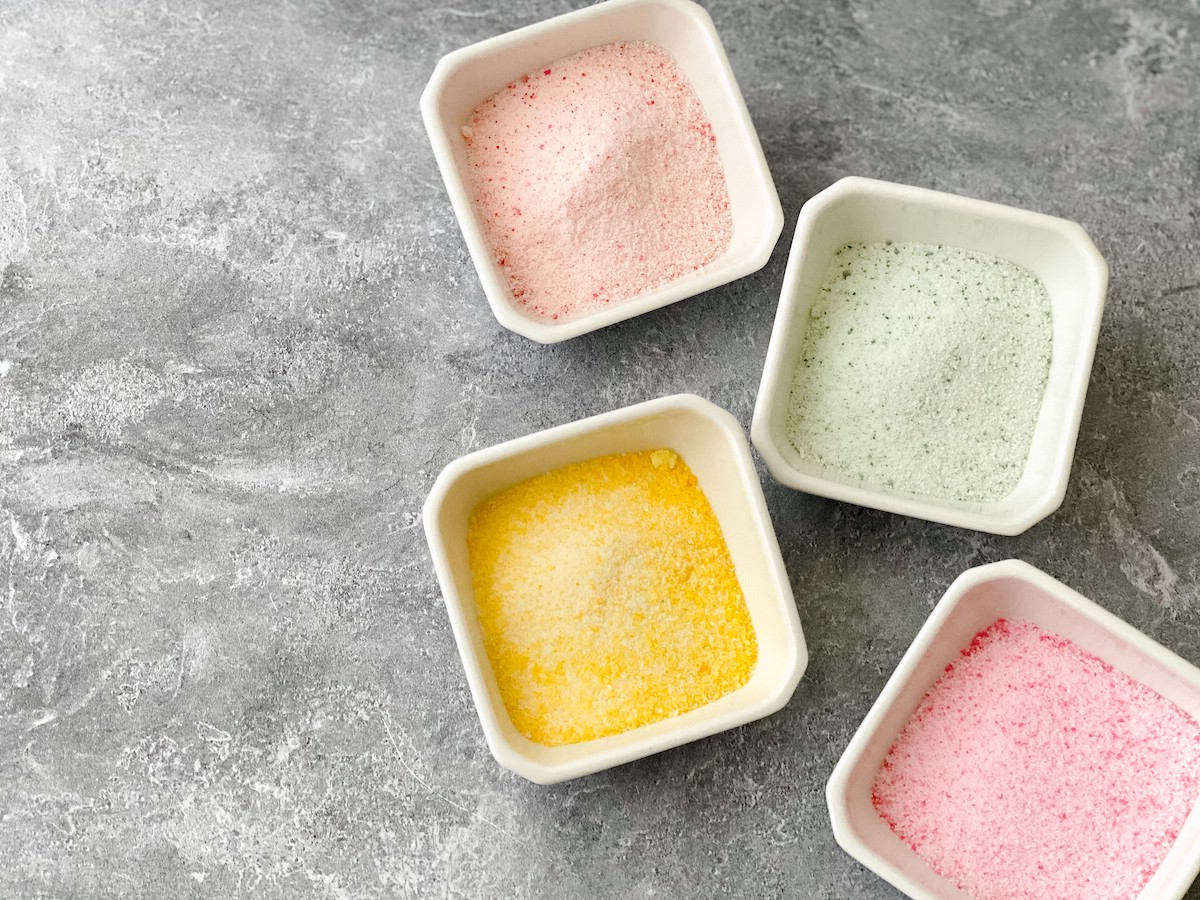
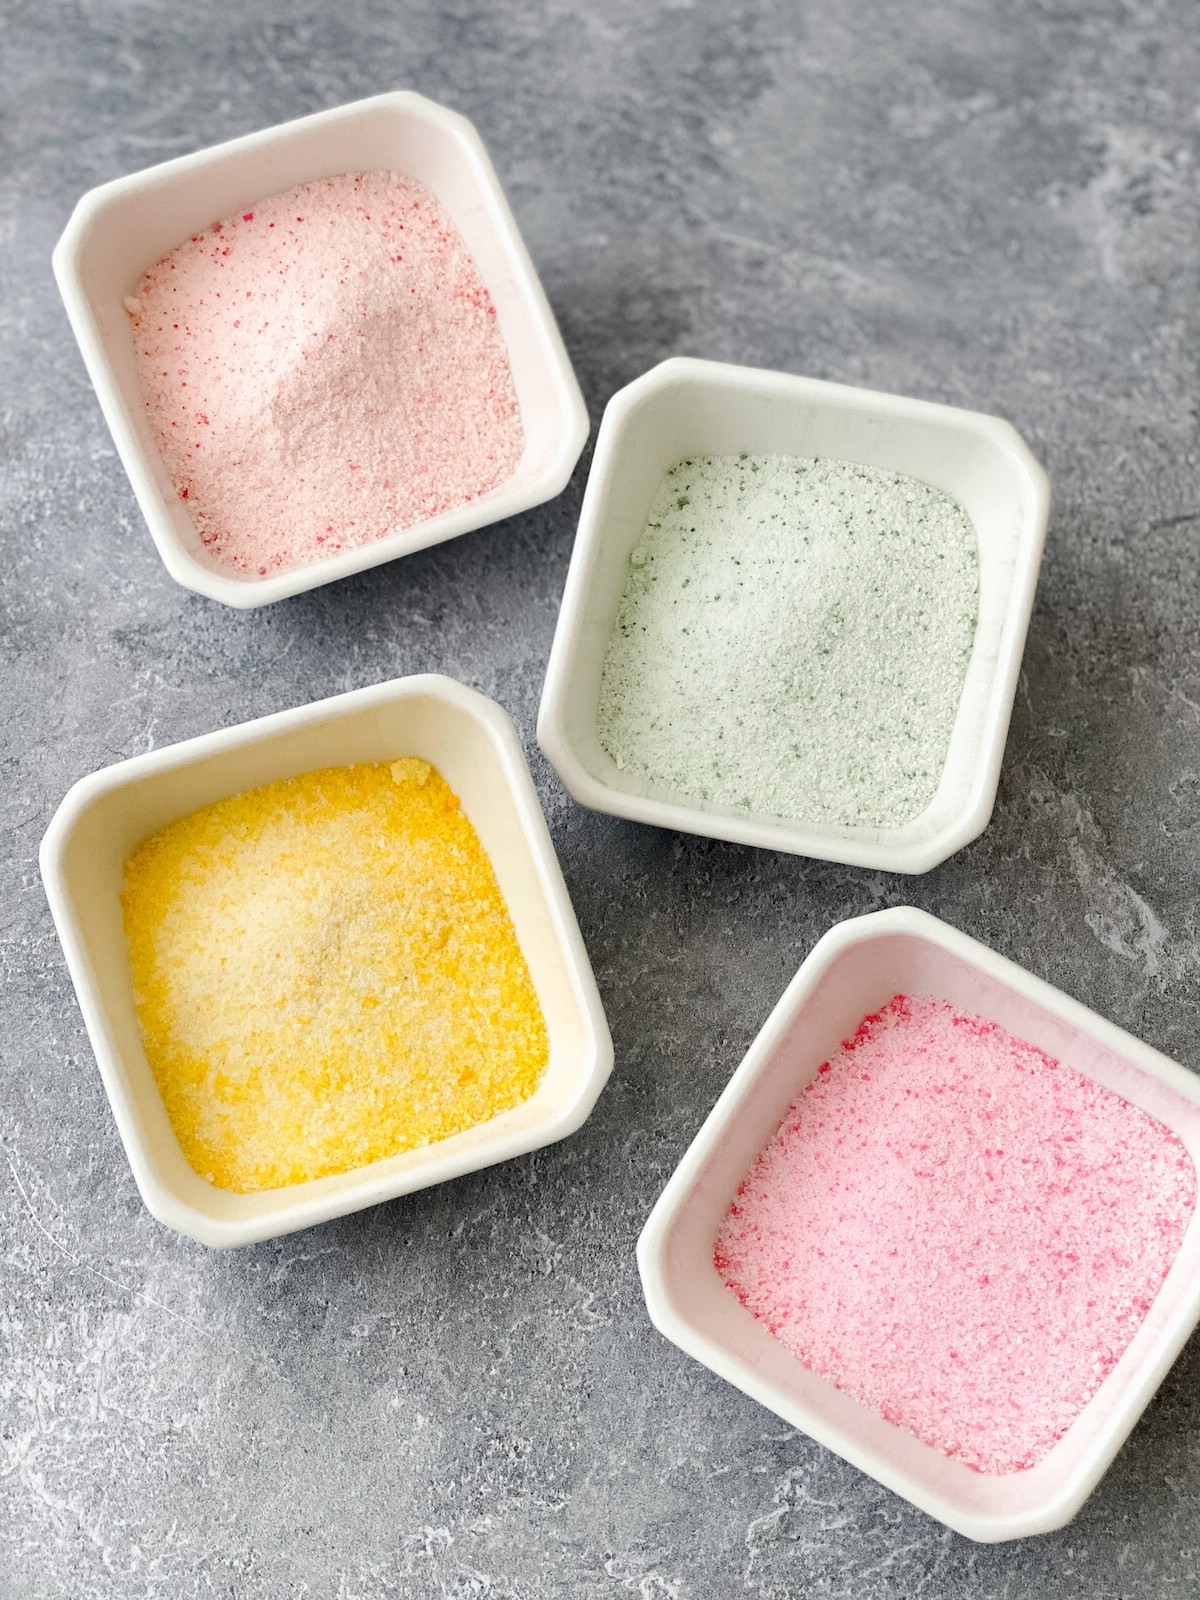
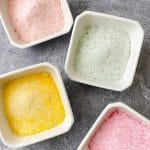
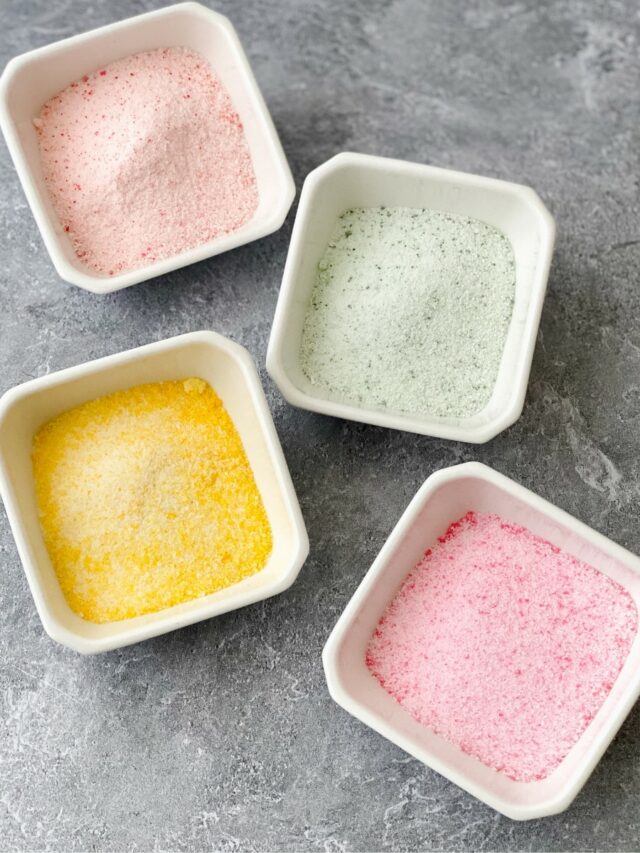
The printable at the bottom of this post will have the amounts used for this version, but you can experiment with different quantities to provide the color you desire. As these are pastel in color, you may prefer a richer color. If that is the case, start with 1 drop of gel food coloring and add additional drops until you achieve the desired color.
What Kitchen Tools Do I Need?
Unlike some recipes, this really does require a few specific tools for success. Below are what I recommend you have on hand when making sanding sugar on your own.
- Food processor (options if not available are given below)
- Mixing bowls
- Baking sheet
- Parchment paper (works better than silicone baking mats for this project)
- Fine mesh strainer or sifter (only needed if not using a food processor)
- Ziploc bag (only needed if not using a food processor)
How to Make Sanding Sugar
Preheat the oven to 250°F and line a baking sheet with parchment paper.
Add the sugar to the food processor along with one drop of desired gel food coloring.
Mix on high speed for 30 to 45-seconds.
Pour the sugar mixture out onto the prepared baking sheet and spread out in an even layer.
Bake for 10 minutes.
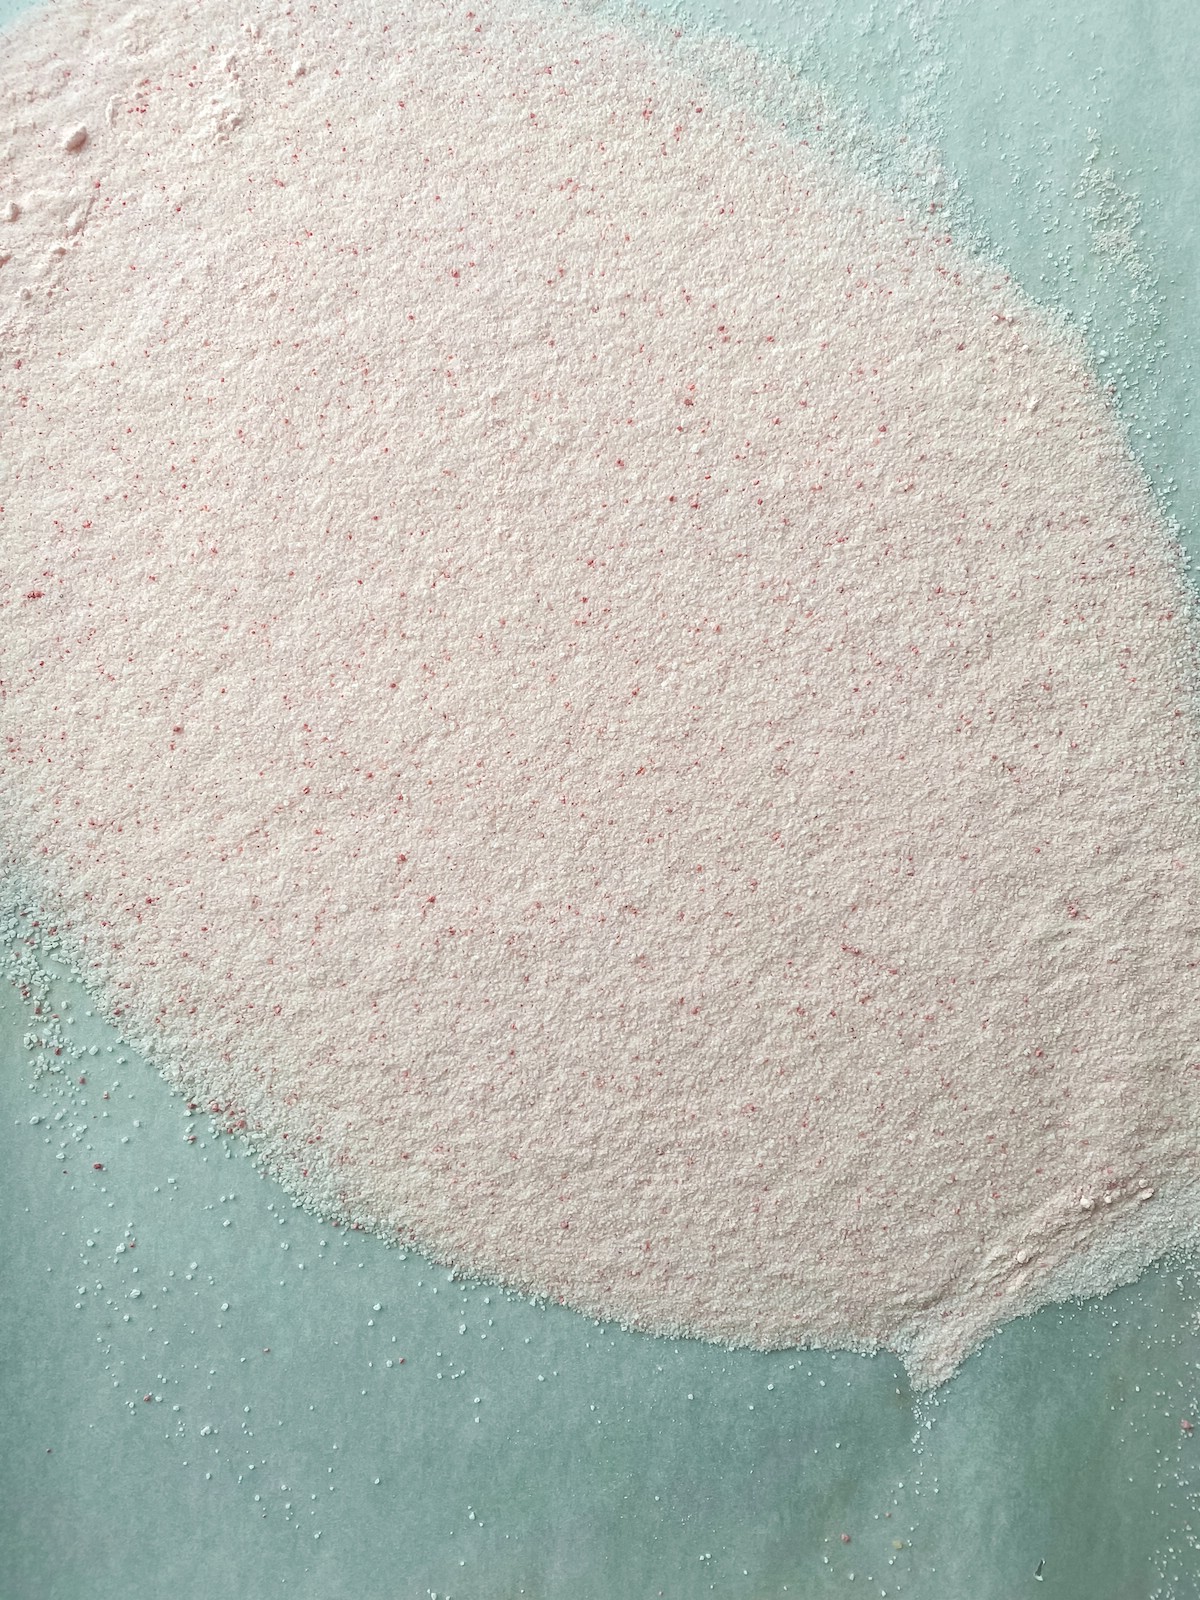
Let the sugar cool for 15 minutes before using or pouring into a chosen storage container.
What If I Don't Have a Food Processor?
If you don't have a food processor, you can use the Ziploc bag method.
Pour the sugar into a Ziploc bag.
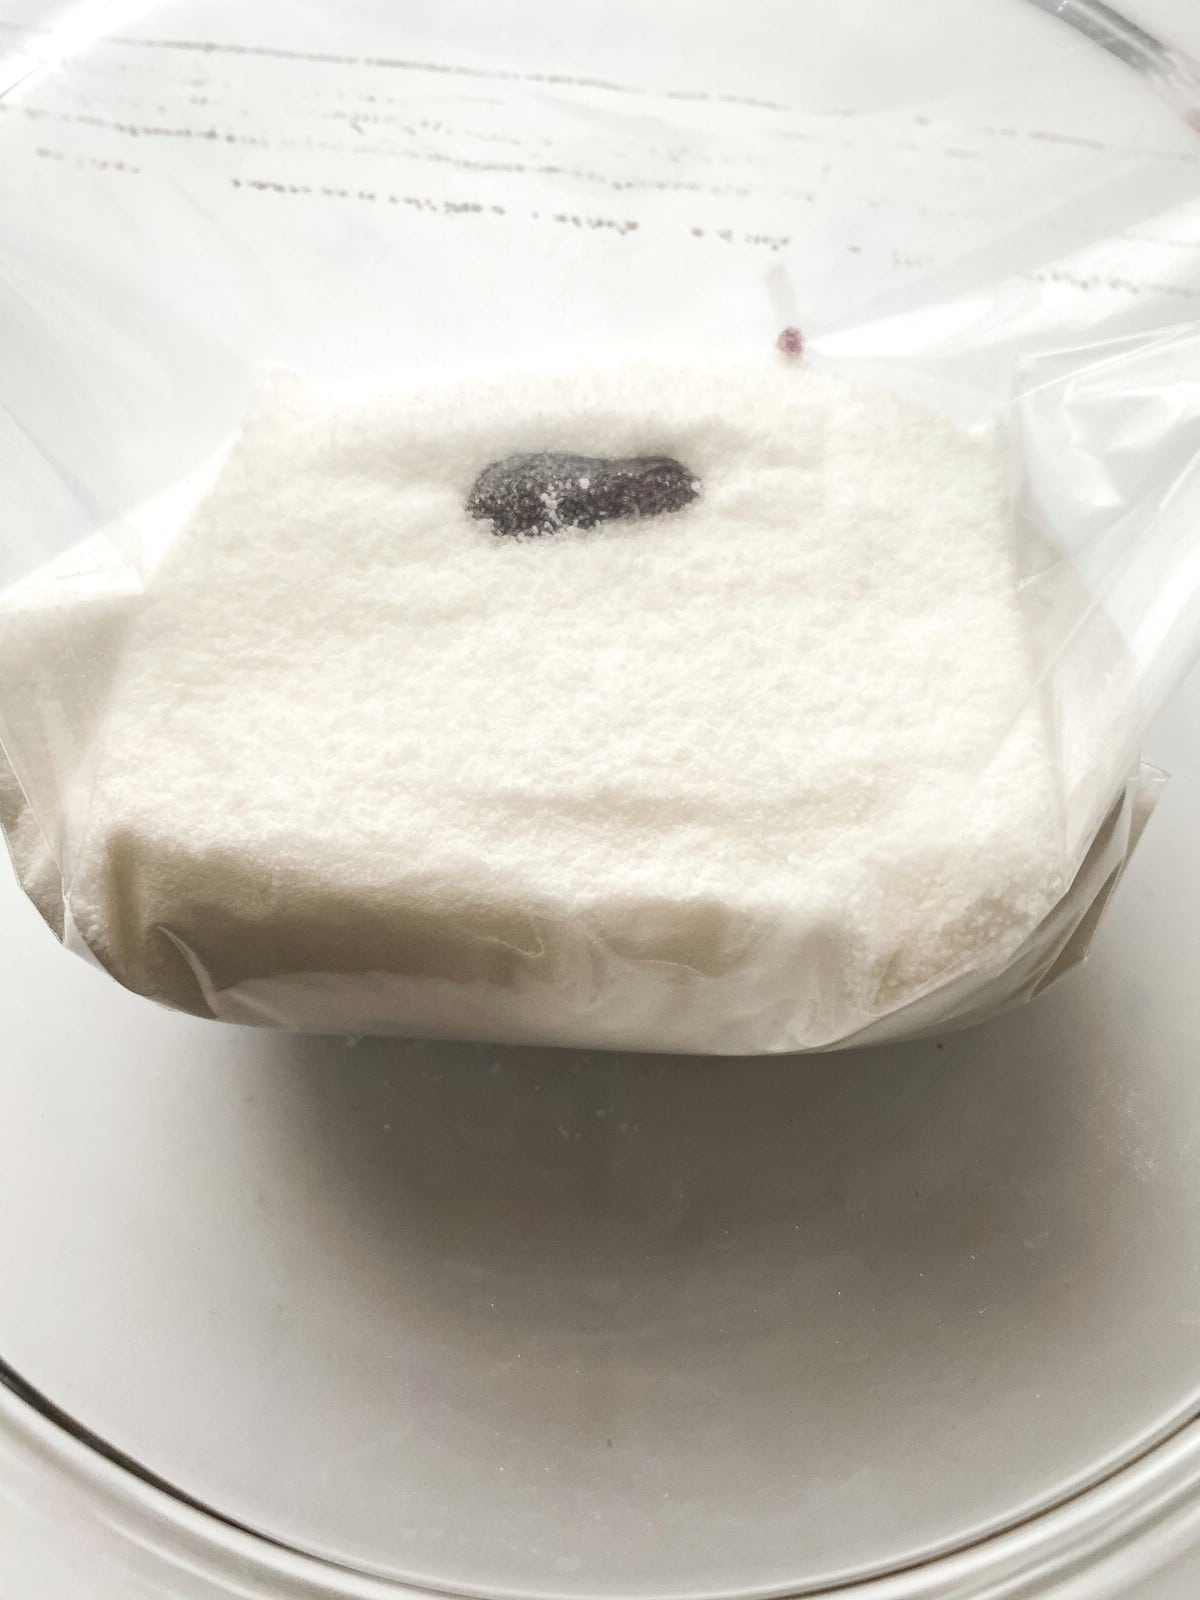
Add one drop of gel food coloring to the sugar.
Seal the bag, removing as much air as possible, then squish the gel until all of the sugar is evenly coated.
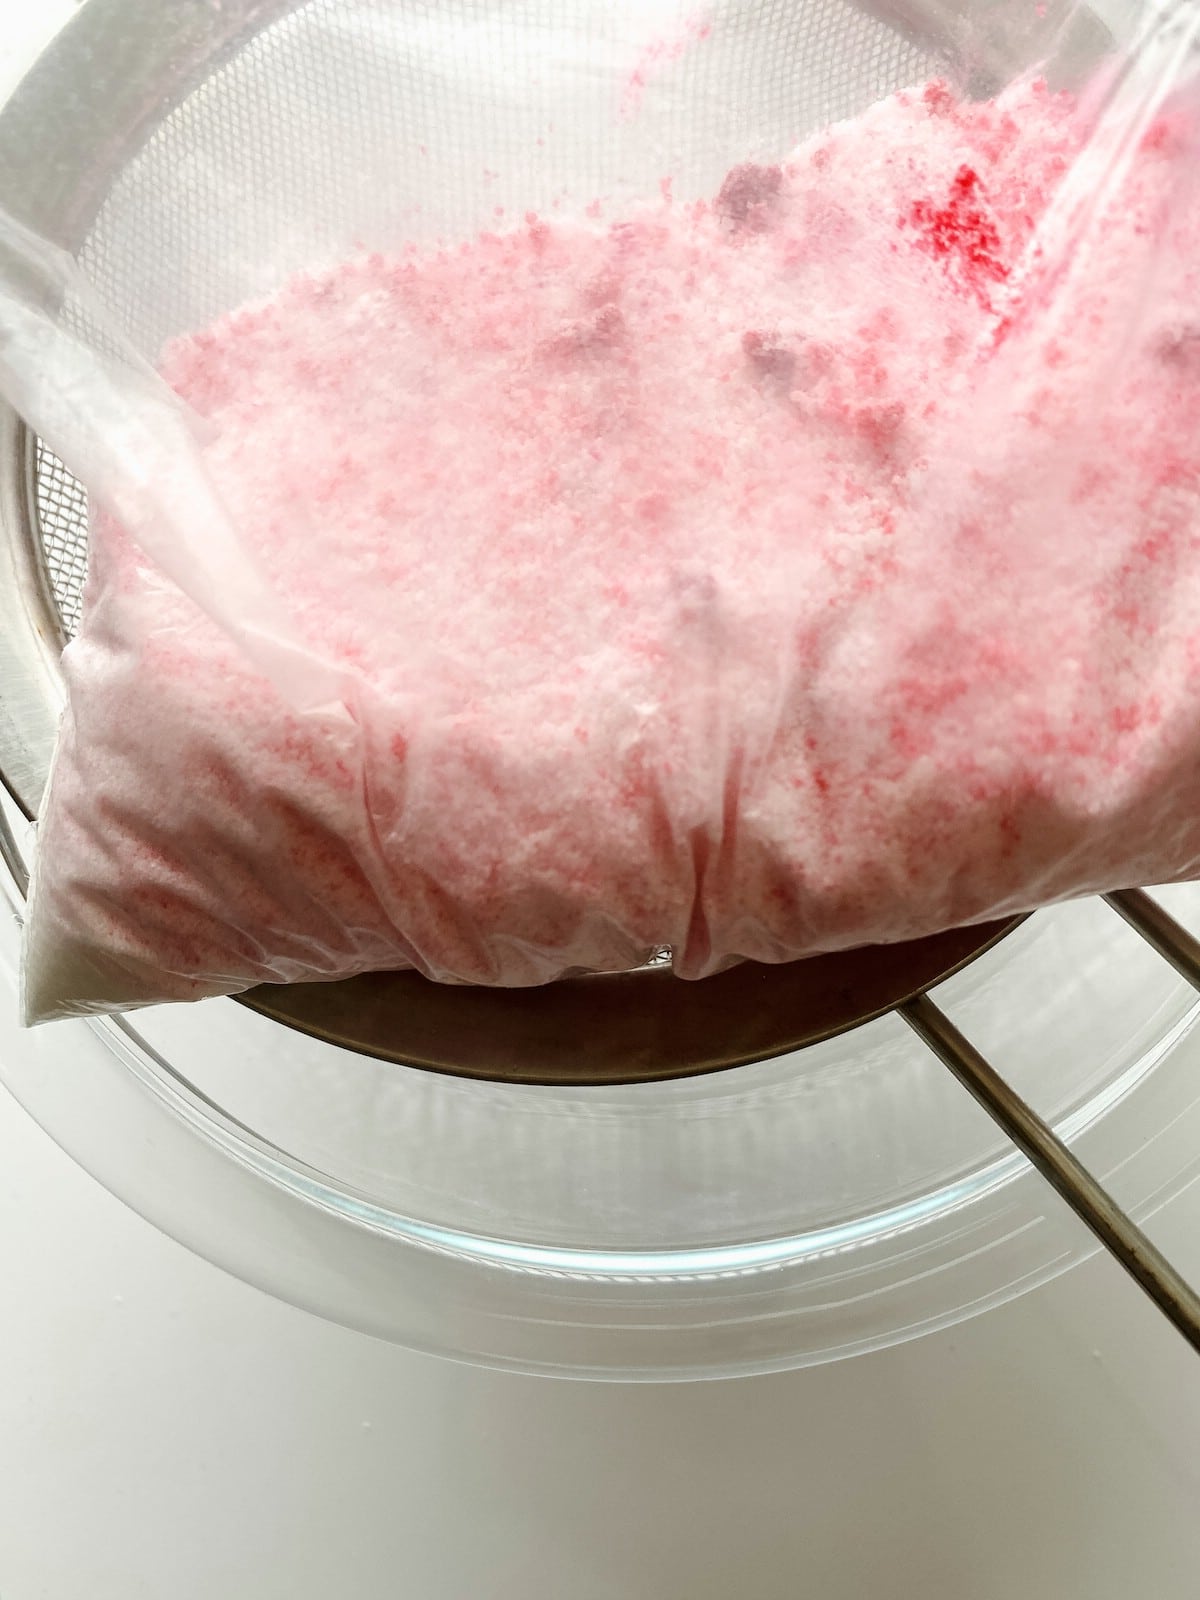
Place a sifter over a medium bowl, and pour the sugar into the sifter.
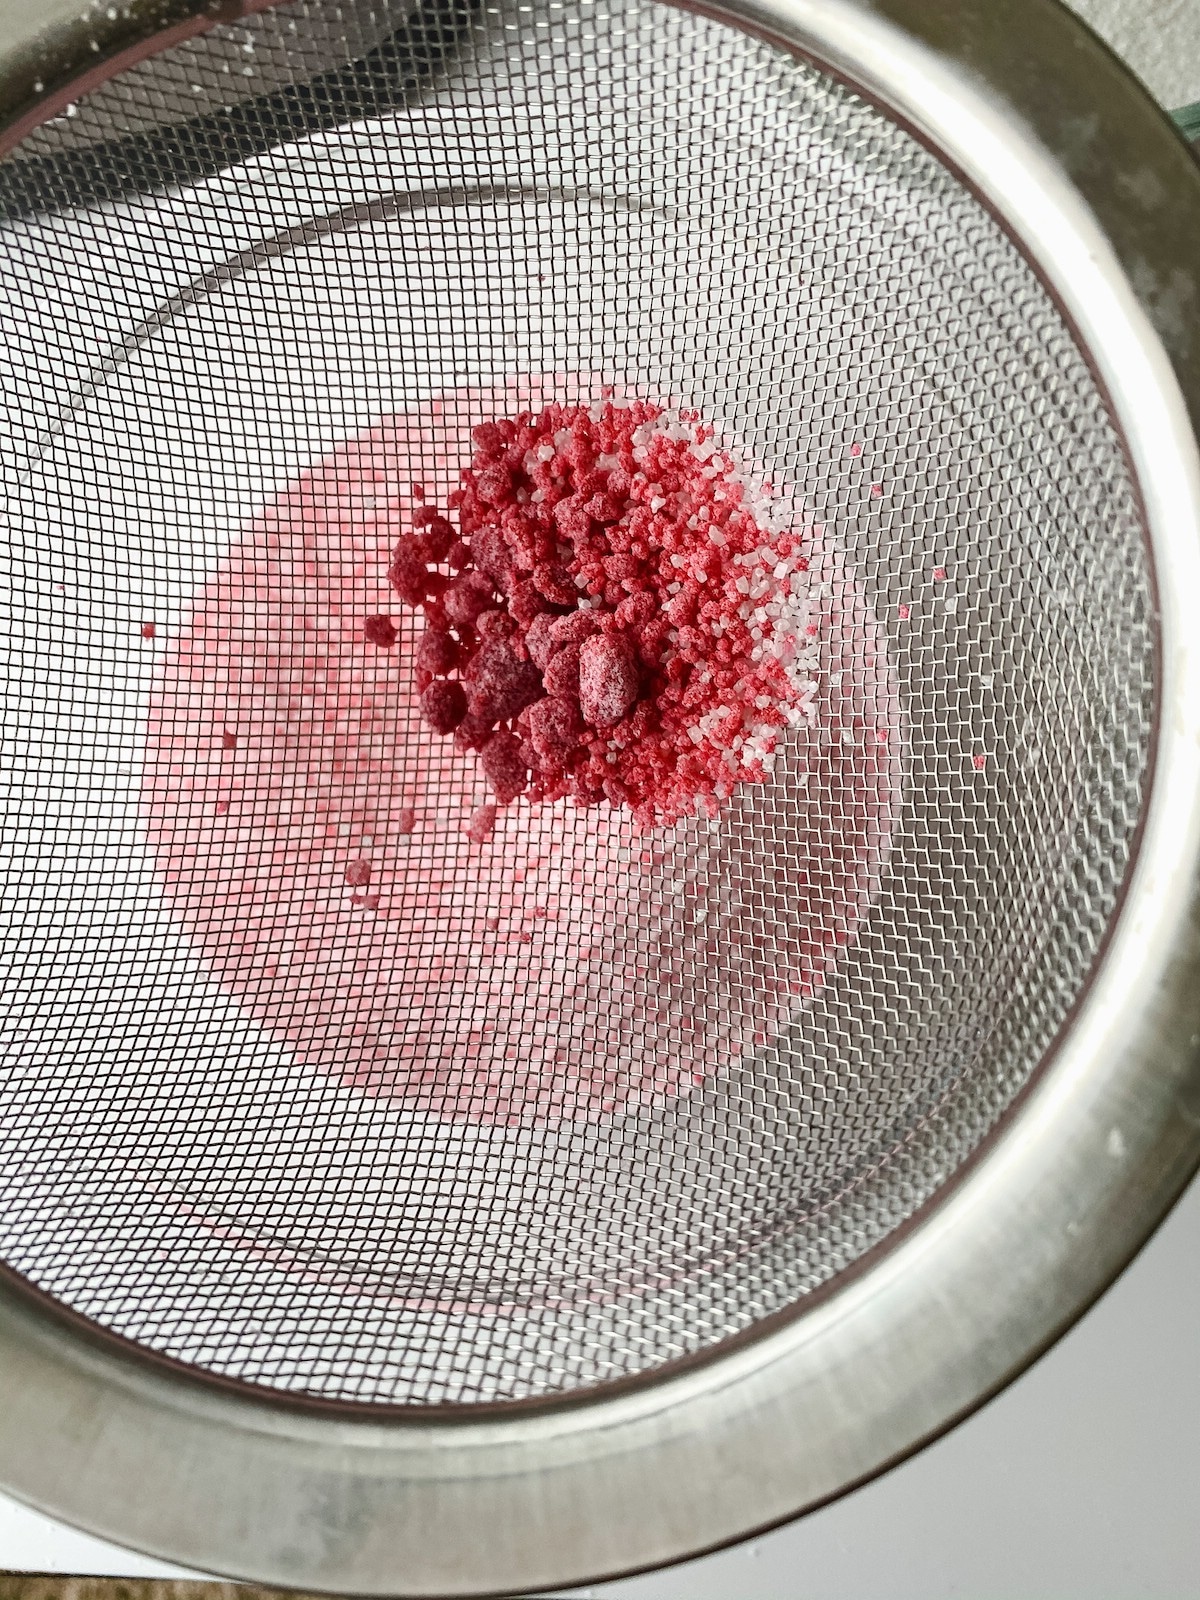
Shake the sugar into the bowl, discarding any of the large clumps.
Pour the sugar onto the prepared baking sheet as mentioned above.
Bake for 10 minutes and then allow to cool for 15 minutes before using or storing for future use.
How Can I Use This in Recipes?
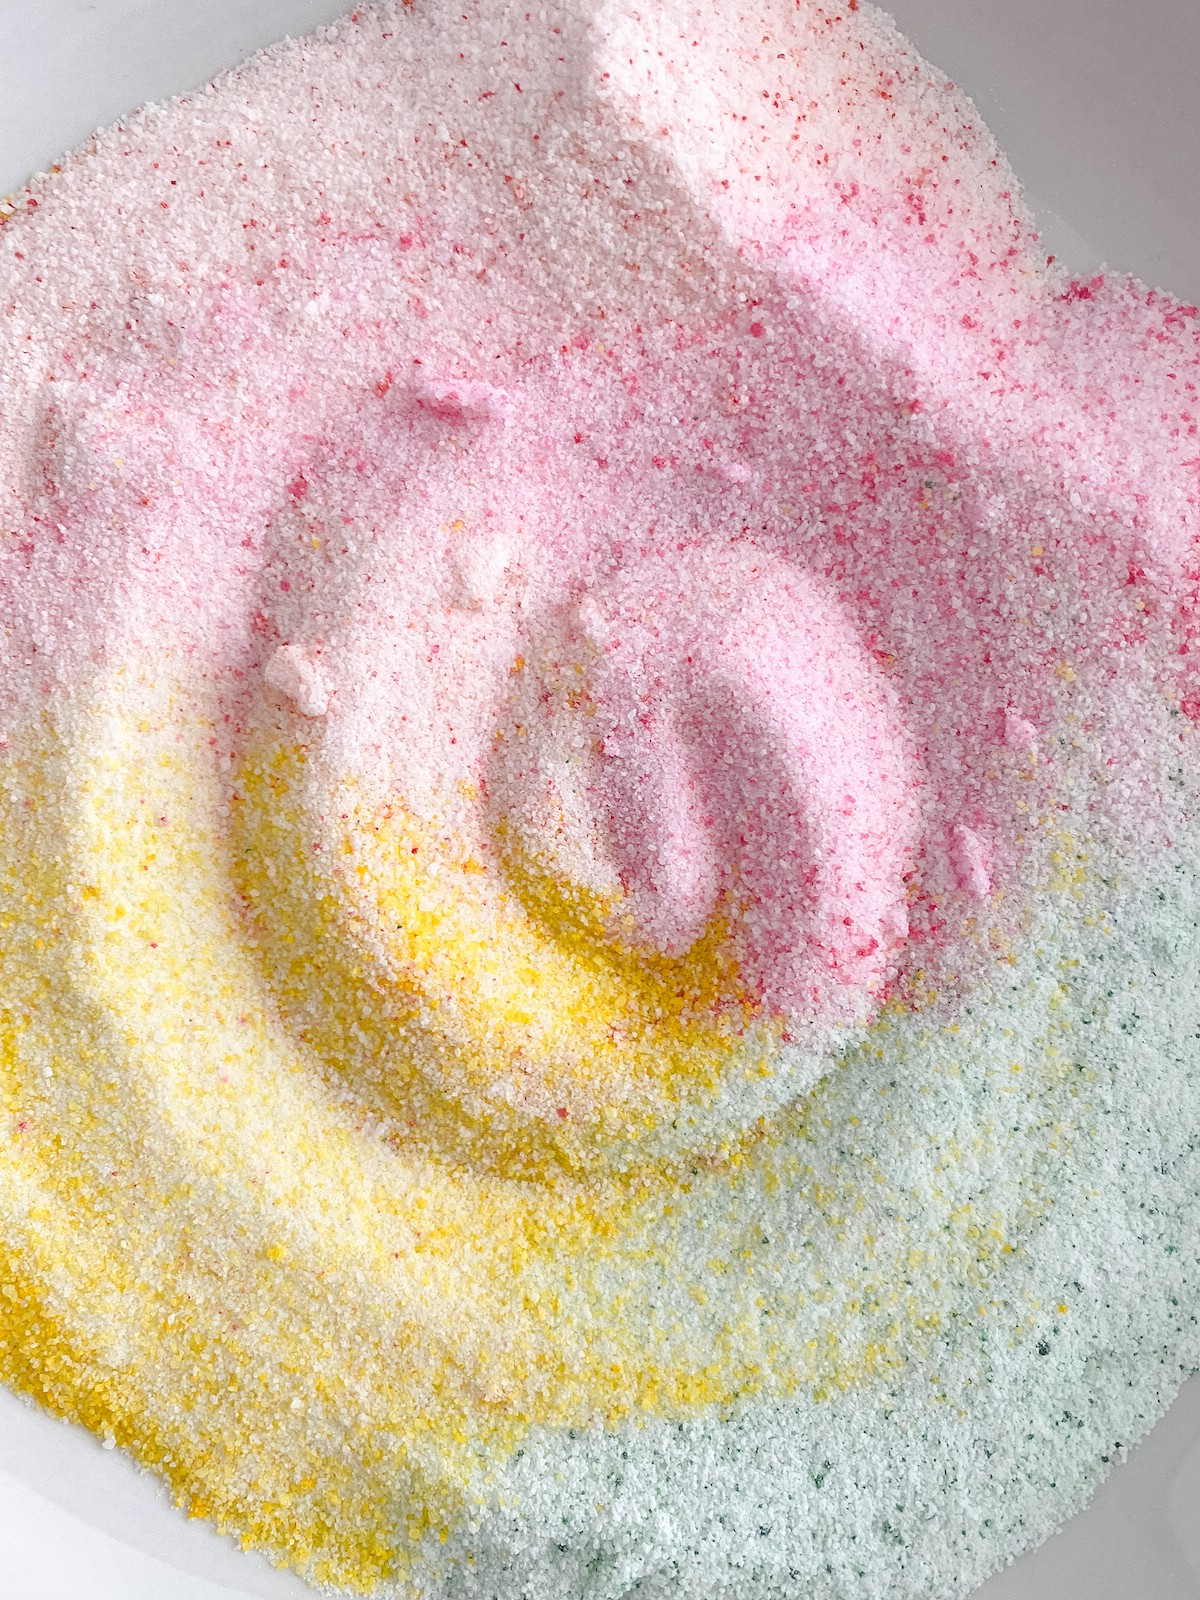
Sanding sugar adds both additional sweetness as well as color to many baked goods. Most often it can be found on cupcakes, cakes, and cookies, but may also be used around dessert displays as colored "sand". Below are a few recipes that would benefit from homemade sanding sugar.
- Homemade Marshmallow Peeps
- Soft Frosted Sour Cream Lemon Cookies
- Basket Weave Cake Decorating Tutorial
- Air Fryer Biscuit Donuts Recipe
- Chewy Brown Butter Cookies (great topping on glaze)
- 3-Ingredient Homemade Toffee Recipe
You could even use them to add decoration to one of these decadent homemade hot cocoa bombs recipes. In any situation where you would add a dusting of colored sugar or sugar for flavor, this is a great choice that adds color and sweetness.
How Do You Store Sanding Sugar?
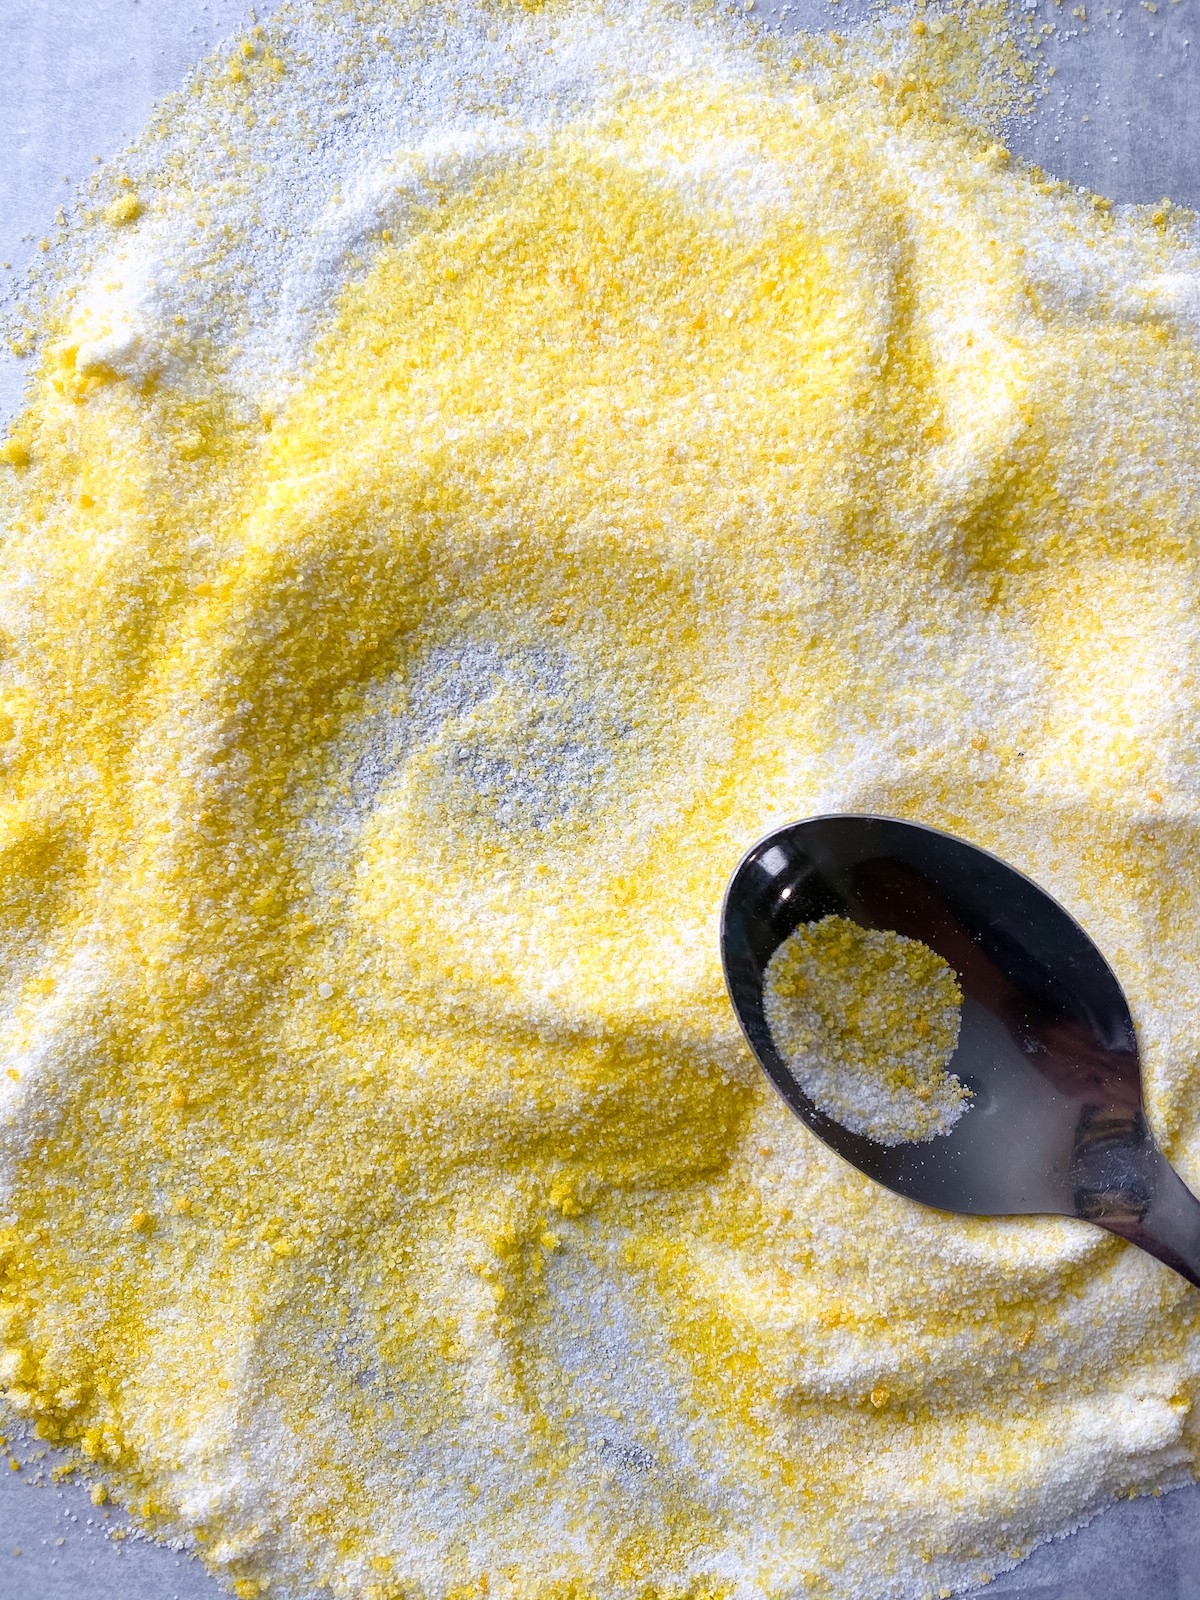
As with most goods, an air-tight container is a must for this. If you plan to use it fairly quickly, a Ziploc baggy can be a great choice. For those who are making it in batches to store for future use that may sit on a shelf for weeks or months, I highly recommend using storage jars. It just stores better and is less likely to get holes or have bugs get into the mixture.
I find these 6-ounce glass jars are the best option for the sugar. They have a tightly sealing lid, can easily be labeled, stack into a spice rack or pantry cabinet easily, and also come with a pour/spout attachment that makes it easy to sprinkle this onto recipes when needed. When choosing a jar, I recommend a lid that seals tightly and screws in place so is less likely to let air or pests into the jar.
How Long is Sanding Sugar Good For?
One of the best things about sanding sugar is that it is really good indefinitely. There is no hard expiration date with this like some items you might create. Instead, look more at color, clumping, and odor. Below are some things to consider before using the sanding sugar you have made.
- Should it show signs of mold for any reason, throw it away.
- Make sure you keep it sealed well and check for any bugs like weevils, small beetles, or moths.
- If there are clumps, remove and throw them away.
- Always check the smell before using. If there is a malodor, throw it away and make a fresh batch.
Printable Tutorial for Making Sanding Sugar
Print the tutorial below to keep on hand for use whenever you need sanding sugar in the future!
📖 Recipe
How to Make Sanding Sugar (Easy Recipe)
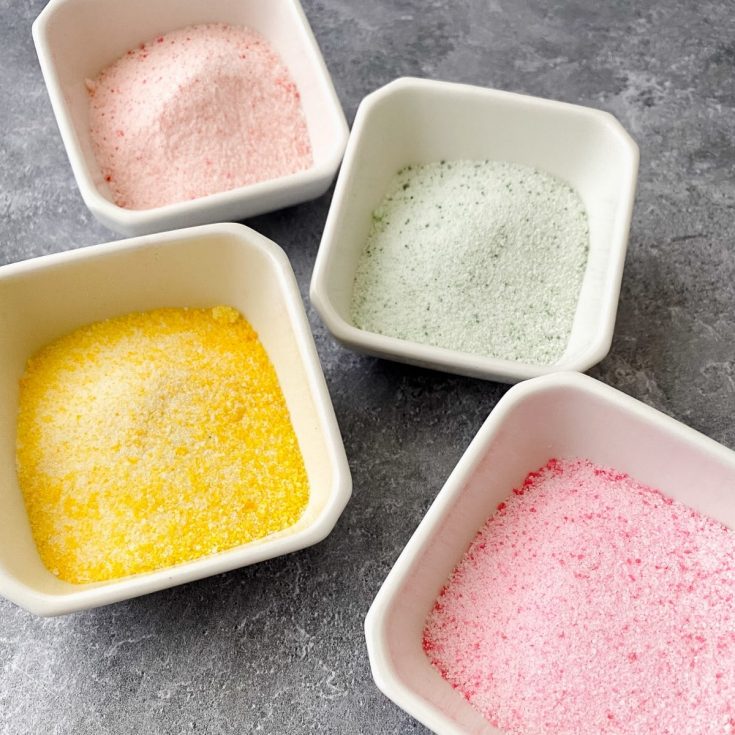
Follow a simple tutorial to make your own homemade sanding sugar ideal for decorating cookies, cakes, and cupcakes!
Ingredients
- 1 cup granulated sugar (201 gm)
- 1 drop gel food coloring
Instructions
How to Make Sanding Sugar
- Preheat the oven to 250°F and line a baking sheet with parchment paper.
- Add the sugar to the food processor along with one drop of desired gel food coloring.

- Mix on high speed for 30 to 45-seconds.
- Pour the sugar mixture out onto the prepared baking sheet and spread out in an even layer.
- Bake for 10 minutes.
- Let the sugar cool for 15 minutes before using or pouring into a chosen storage container.
Instructions for Making Without Food Processor
- If you don't have a food processor, you can use the Ziploc bag method.
- Pour the sugar into a Ziploc bag.
- Add one drop of gel food coloring to the sugar.
- Seal the bag, removing as much air as possible, then squish the gel until all of the sugar is evenly coated.

- Place a sifter over a medium bowl, and pour the sugar into the sifter.
- Shake the sugar into the bowl, discarding any of the large clumps.
- Pour the sugar onto the prepared baking sheet as mentioned above.
- Bake for 10 minutes and then allow to cool for 15 minutes before using or storing for future use.
Notes
For a brighter color, add 3 to 4 drops of gel color to the sugar.
1 tablespoon = 1 serving
Recommended Products
As an Amazon Associate and member of other affiliate programs, I earn from qualifying purchases.
-
 Sanding Sugar 4oz | Etsy
 -
 Pastel Rainbow Sanding Sugar pretty pastel rainbow sprinkles | Etsy
 -
 Sanding Sugar 4 oz | Etsy
 -
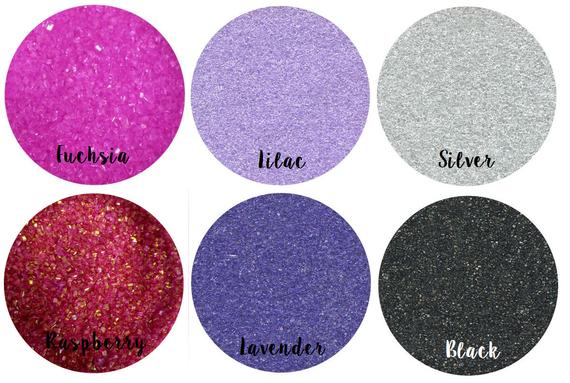 Sanding Sugar 18 Colors YOU PICK ONE 1 lb bag pound Cake | Etsy
 -
 Metallic Gold sugar cookie sprinkles gold sanding sugar in | Etsy
 -
 Teal Sanding Sugar bright turquoise sprinkles for decorating | Etsy
Nutrition Information:
Yield:
16Serving Size:
1Amount Per Serving: Calories: 48Total Fat: 0gSaturated Fat: 0gTrans Fat: 0gUnsaturated Fat: 0gCholesterol: 0mgSodium: 0mgCarbohydrates: 13gFiber: 0gSugar: 12gProtein: 0g






Gail
Thanks for sharing. Can this homemade sugar be used in decaration for cake pops? Im afraid it might melt once i dip wet chocolate on sugar.
Katie Hale
I have not tried it for over cake pops, but I believe it should be fine.
Ellen
Will this sanding sugar recipe work to use on the rim of a cocktail?
Katie Hale
Yes
Lori
So if I want just white I skip gel coloring and throw it in the processor? Or does the gel add something that helps to process it?
Katie Hale
You can just skip the gel coloring and it should work fine.