Are you ready to step up your dessert game? With this stunning Oreo drip cake tutorial, you can create a true Instagram-worthy showstopper dessert.
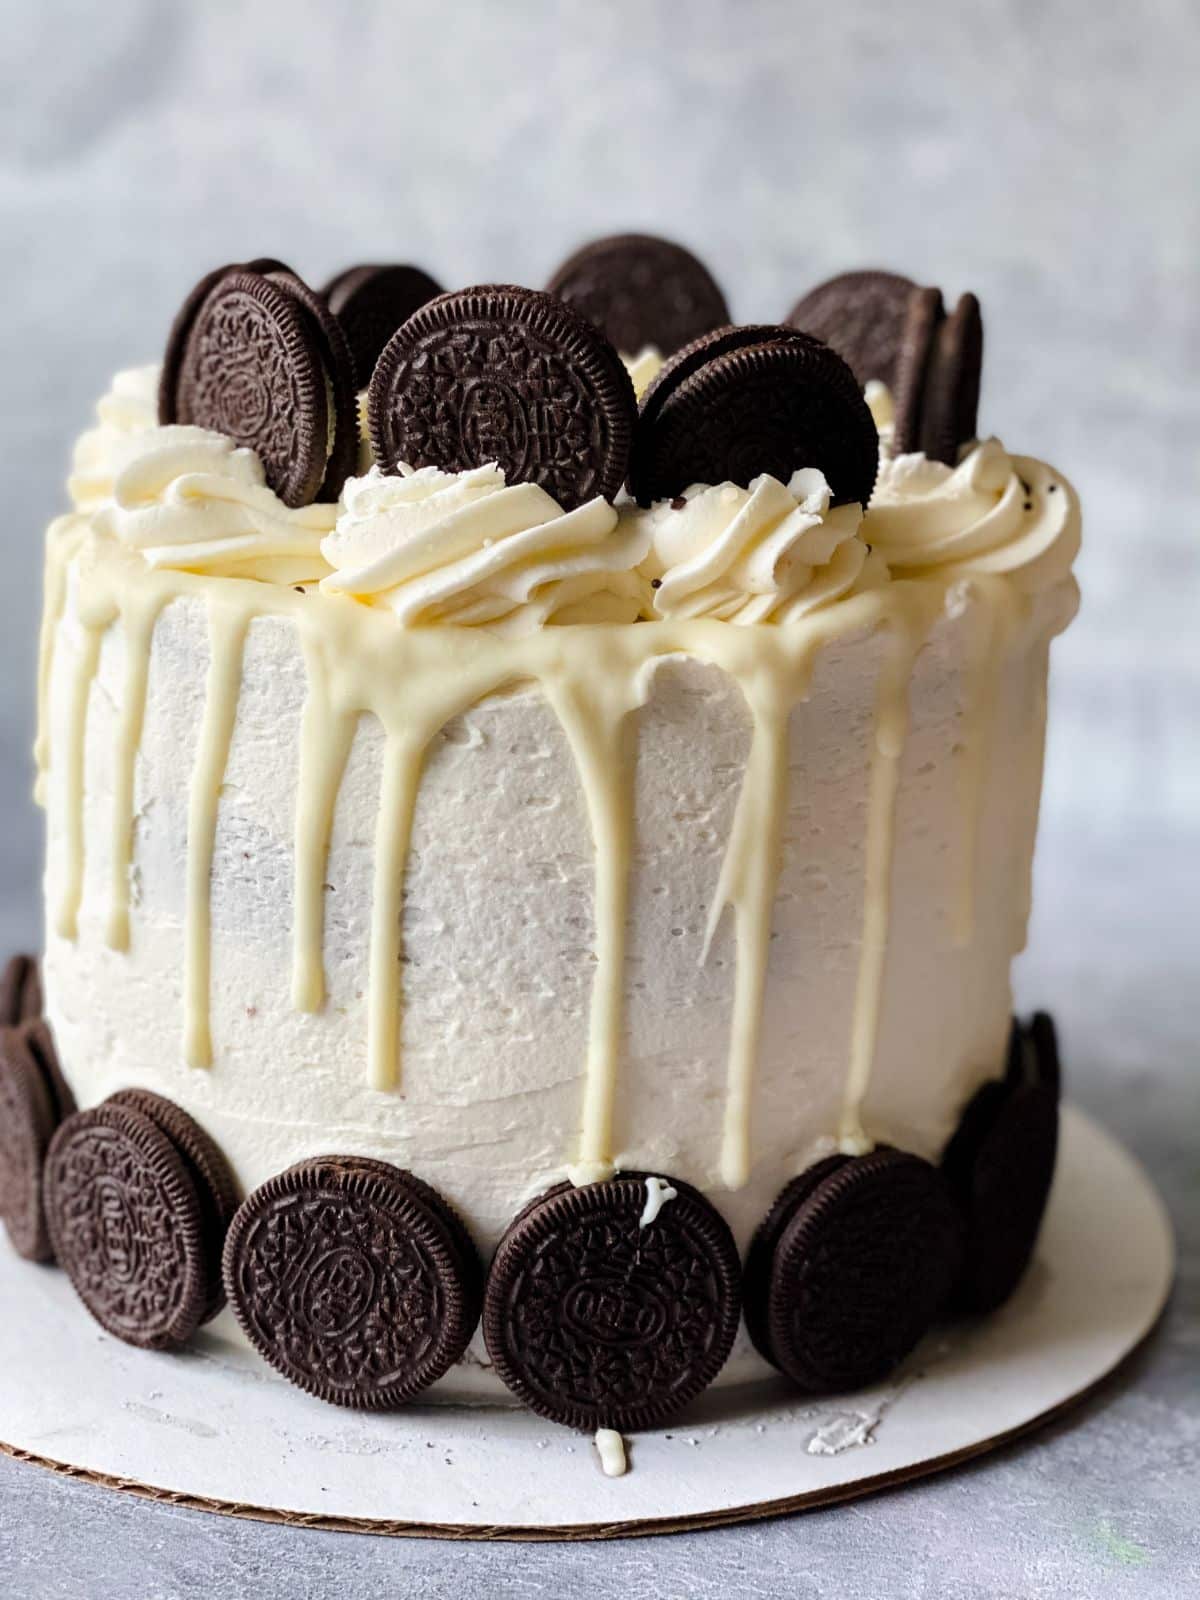
Simple cookies and cream-flavored layer cake take on a new level of artistry with a simple drip icing and the addition of whole cookies around the base. Oreo Cookie Layered Drip Cake Tutorial, you can create an Instagram-worthy showstopper.
Jump to:
Oreo Drip Cake Tutorial
This cake is sure to impress your friends and family. It's not only delicious but looks stunning too. This Oreo drip cake tutorial will show you how to make it from start to finish, with step-by-step instructions and pictures along the way.
If you are a huge fan of Oreo like I am, then make sure you also check out our huge list of Oreo dessert recipes. So many great ideas on the list!
Ingredients
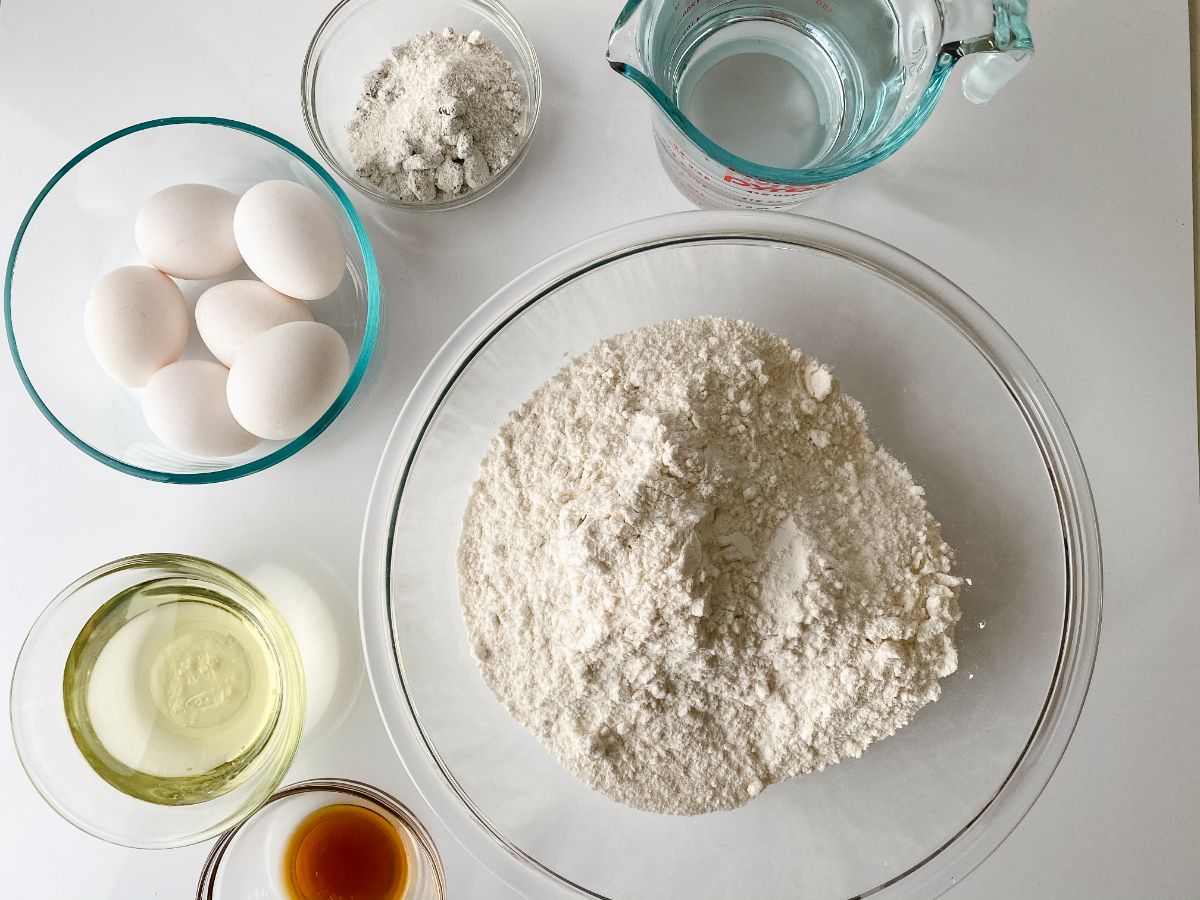
- 2 boxes vanilla cake mix (860g)
- 1 (4.2oz) box Oreo pudding mix (119g)
- 6 large eggs
- 2 cups water
- 1 cup vegetable oil
- 1 (15oz) package Oreo cookies (435g)
- Non-stick cooking spray or cake release
For buttercream
- ½ pound unsalted butter, room temperature (226g)
- ½ cup vegetable shortening (120g)
- 4 cups powdered sugar (960g)
- ¼ cup heavy cream (60ml)
- 1 tablespoon vanilla extract (15ml)
For decorating
- Almond bark or white candy melts
Handy Kitchen Tools
- Mixing bowls
- Measuring cups and spoons
- 8" round cake pans
- Hand mixer or stand mixer
- Cutting board
- Chef's knife
- Piping bag with tips
How to Make an Oreo Drip Cake
Preheat the oven to 350°F/180°C and then spray 4 (8") round baking pans with non-stick spray or coat with a layer of cake release.
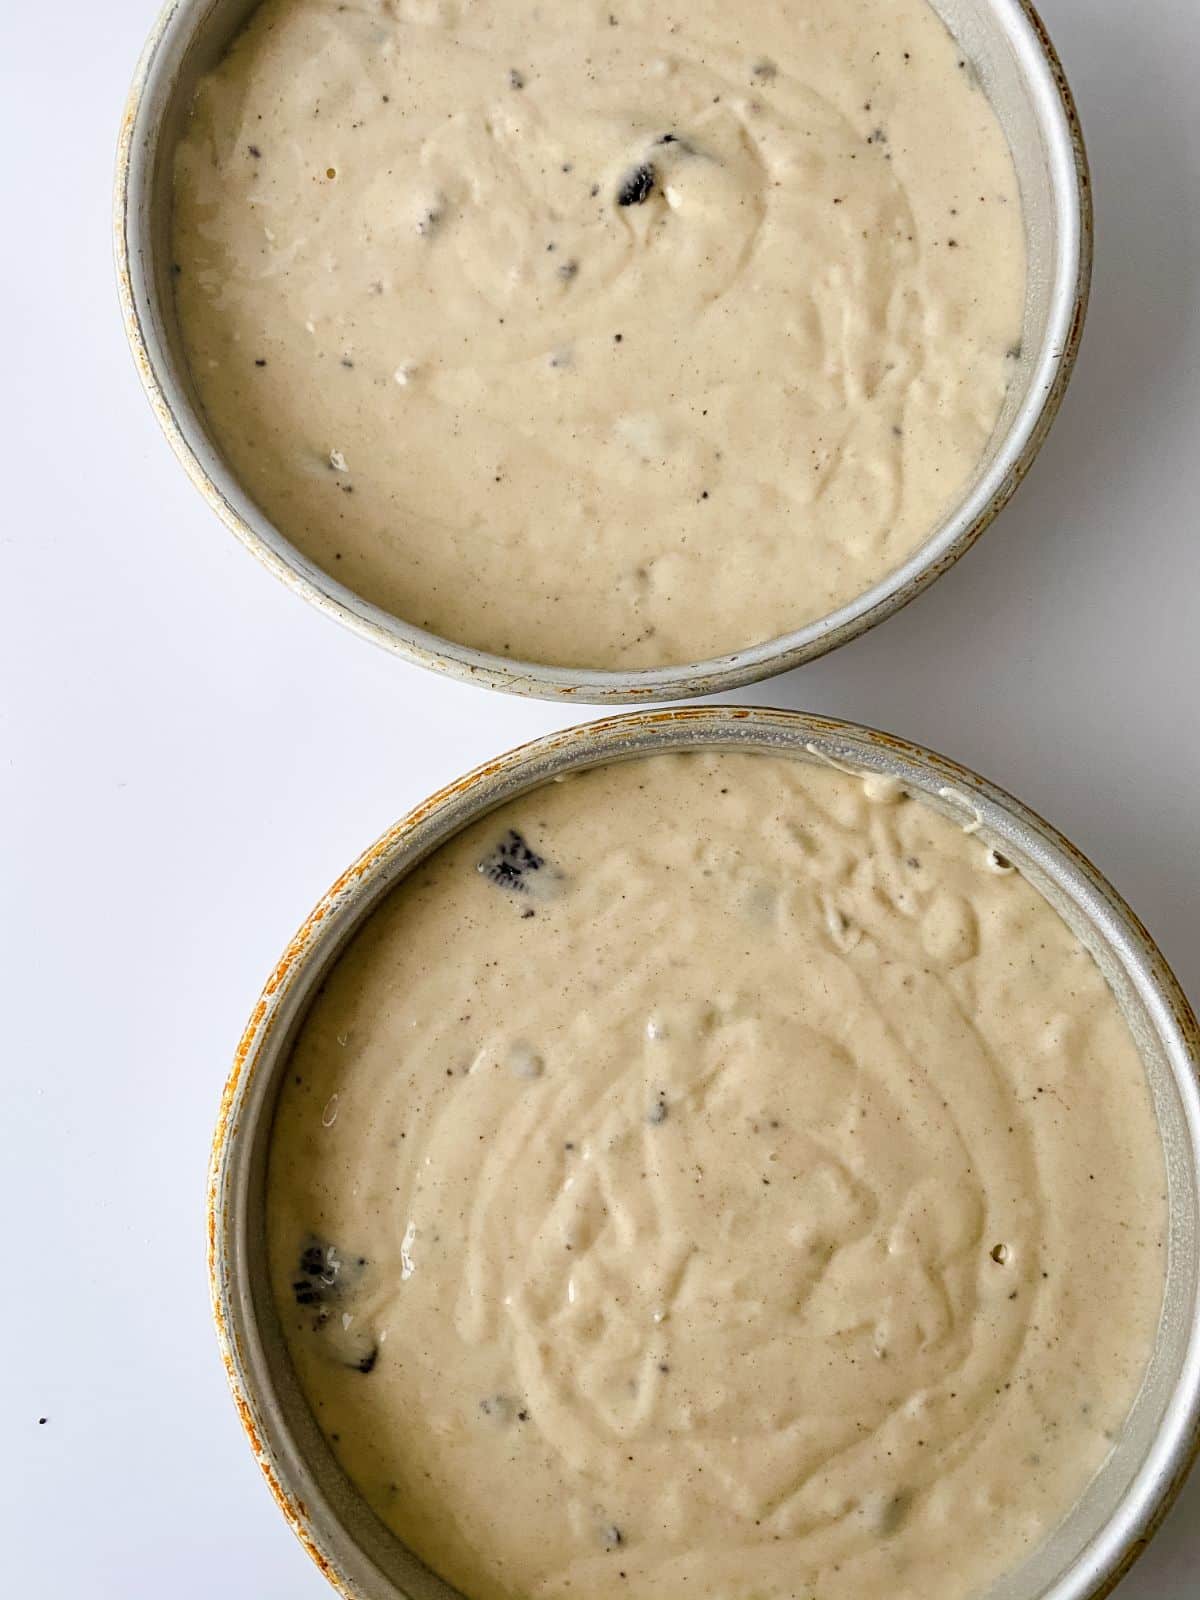
Now, you will make the cake mixes. In a large bowl, add the two dry cake mixes, oreo pudding mix (dry), eggs, water, and vegetable oil. Beat together on high for 3 minutes, or until incorporated and no lumps remain.
Next, chop 8 of the Oreo cookies into small chunks, and fold them into the prepared cake batter.
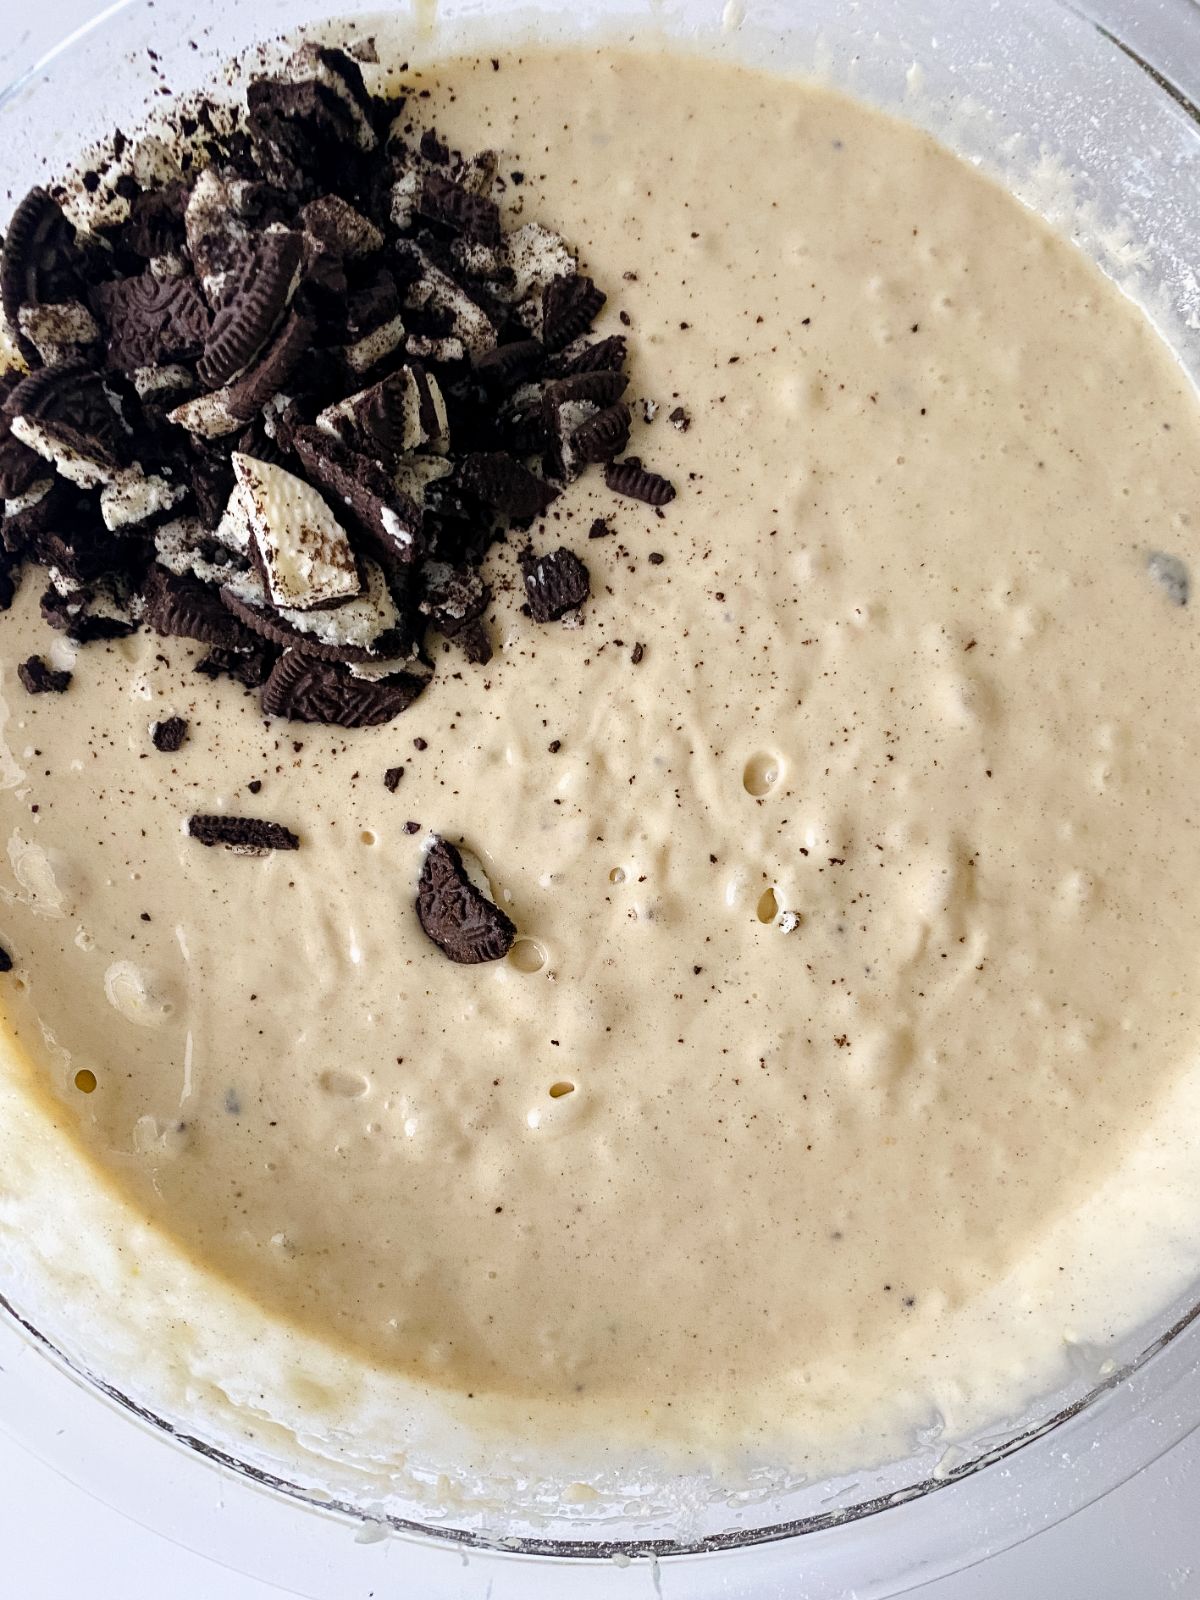
Divide the batter between the cake pans so that they are each ¾ full.
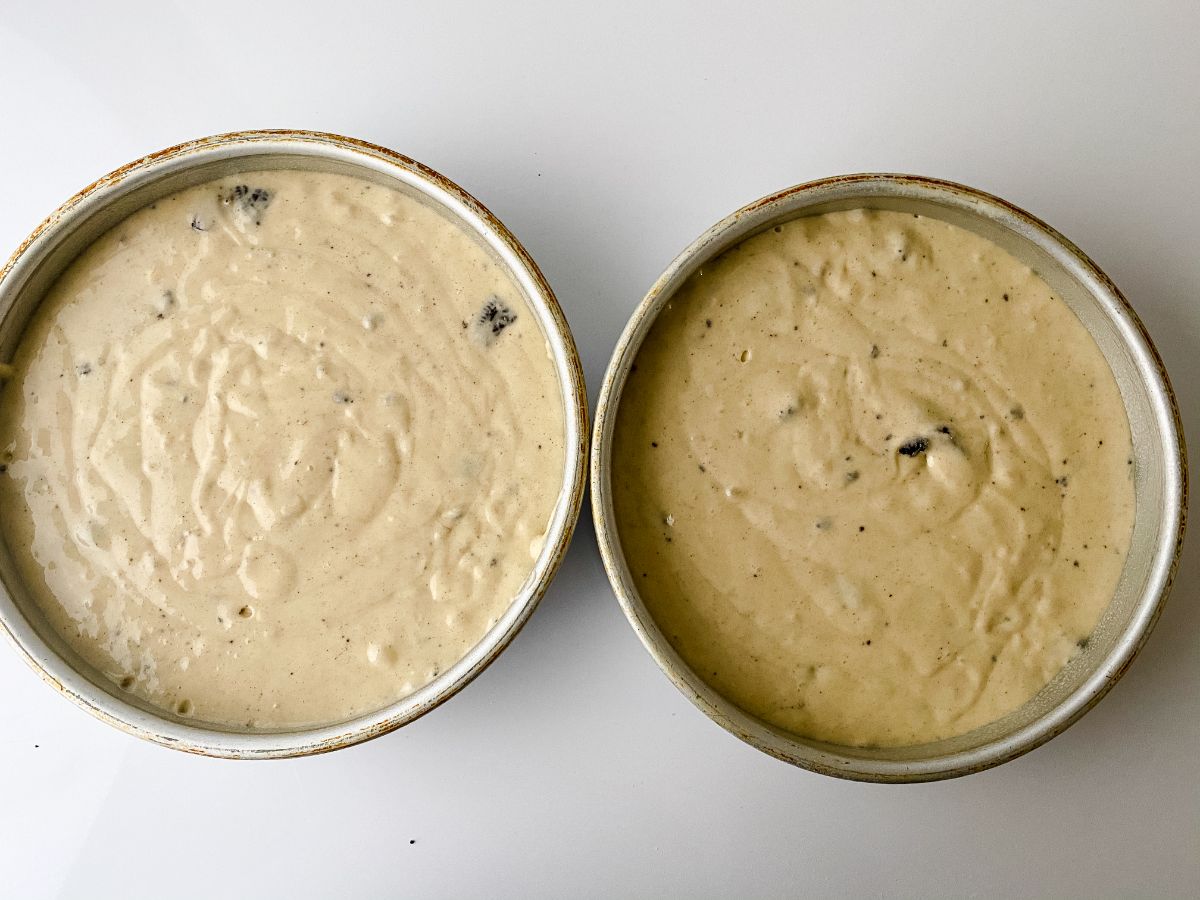
Reduce the oven temperature to 340°F and then bake the cakes for 30 to 40 minutes, or until a toothpick in the center comes out clean.
Let the cakes cool completely in the pans for one hour.
How to torte the cakes
If using just 2 pans, you will need to slice each of these cakes in half to create the 4 layers. This is when you "torte" the cake.
To do so, you will trim the top of the cake while it is still in the cake pan, so you have a flat and even surface.
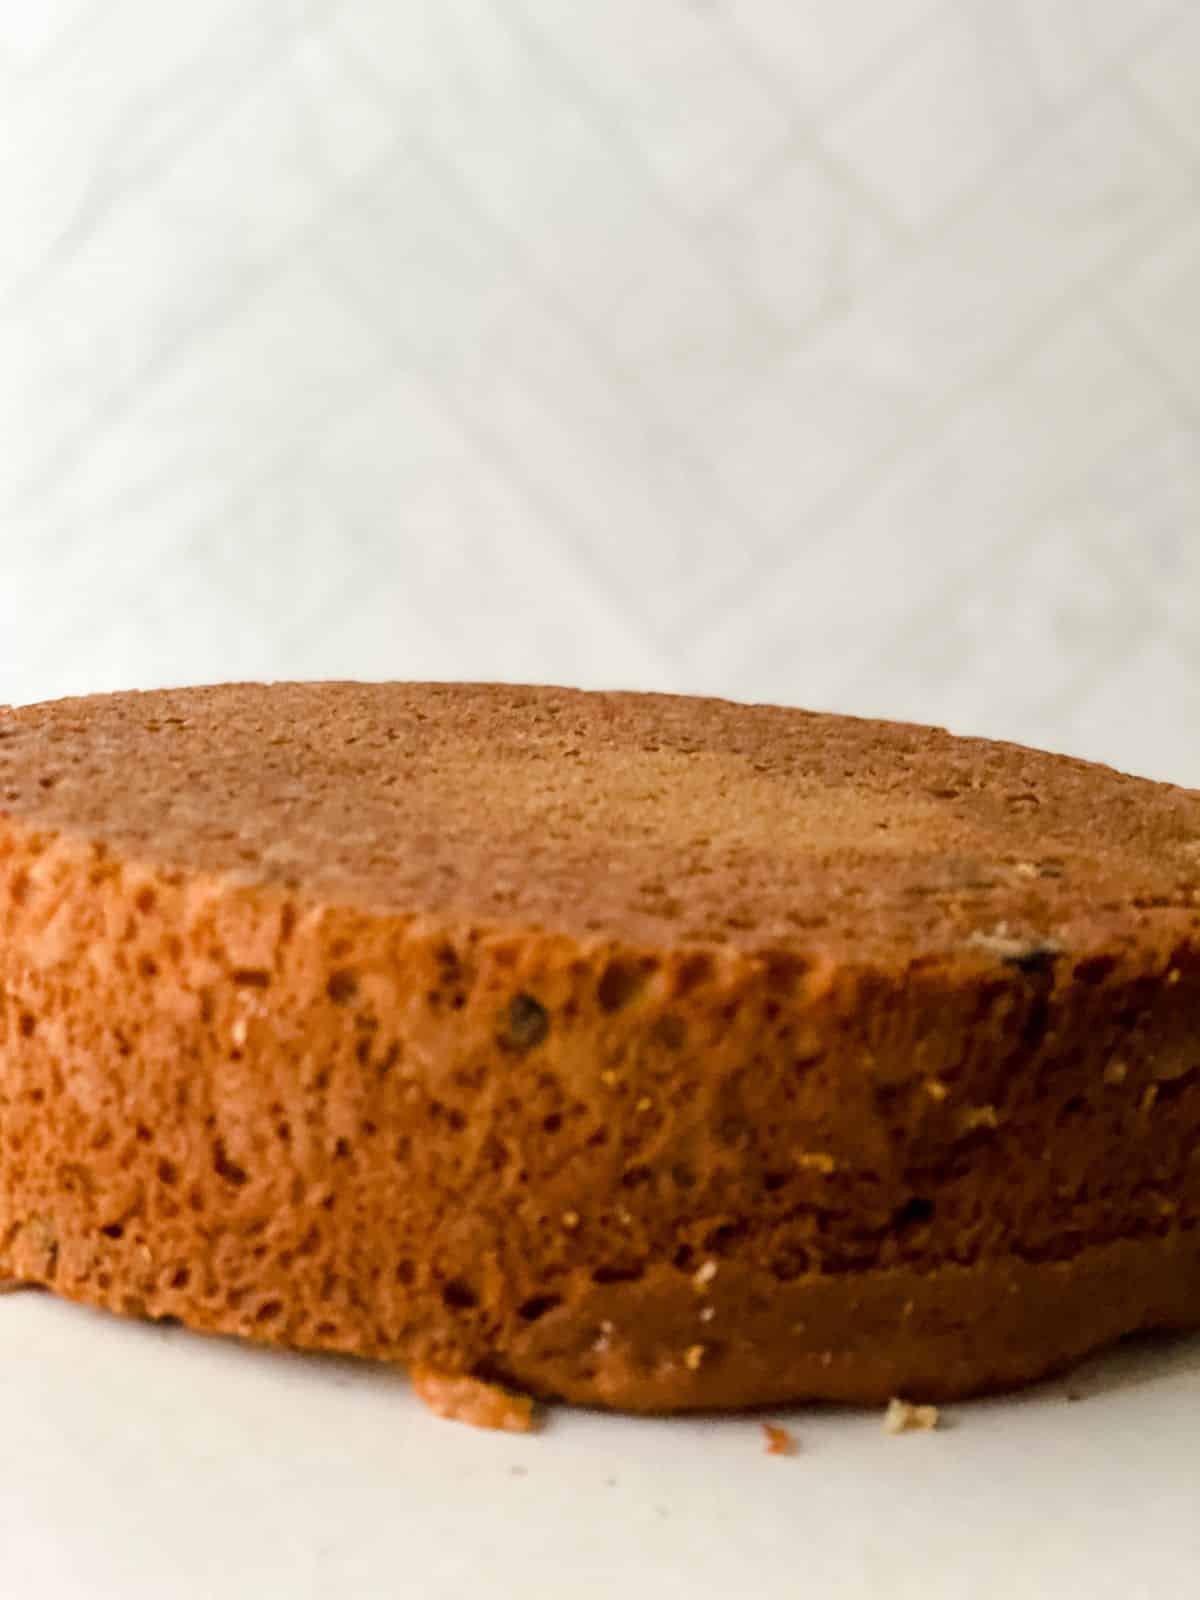
Then, remove the cake from the pan, and use a knife or wire cake leveler to cut the individual cakes into 2 equal pieces.
Now, you will leave the cakes to continue cooling, or wrap each layer in plastic wrap and store in the freezer until you are ready to frost.
How to Make Vanilla Buttercream
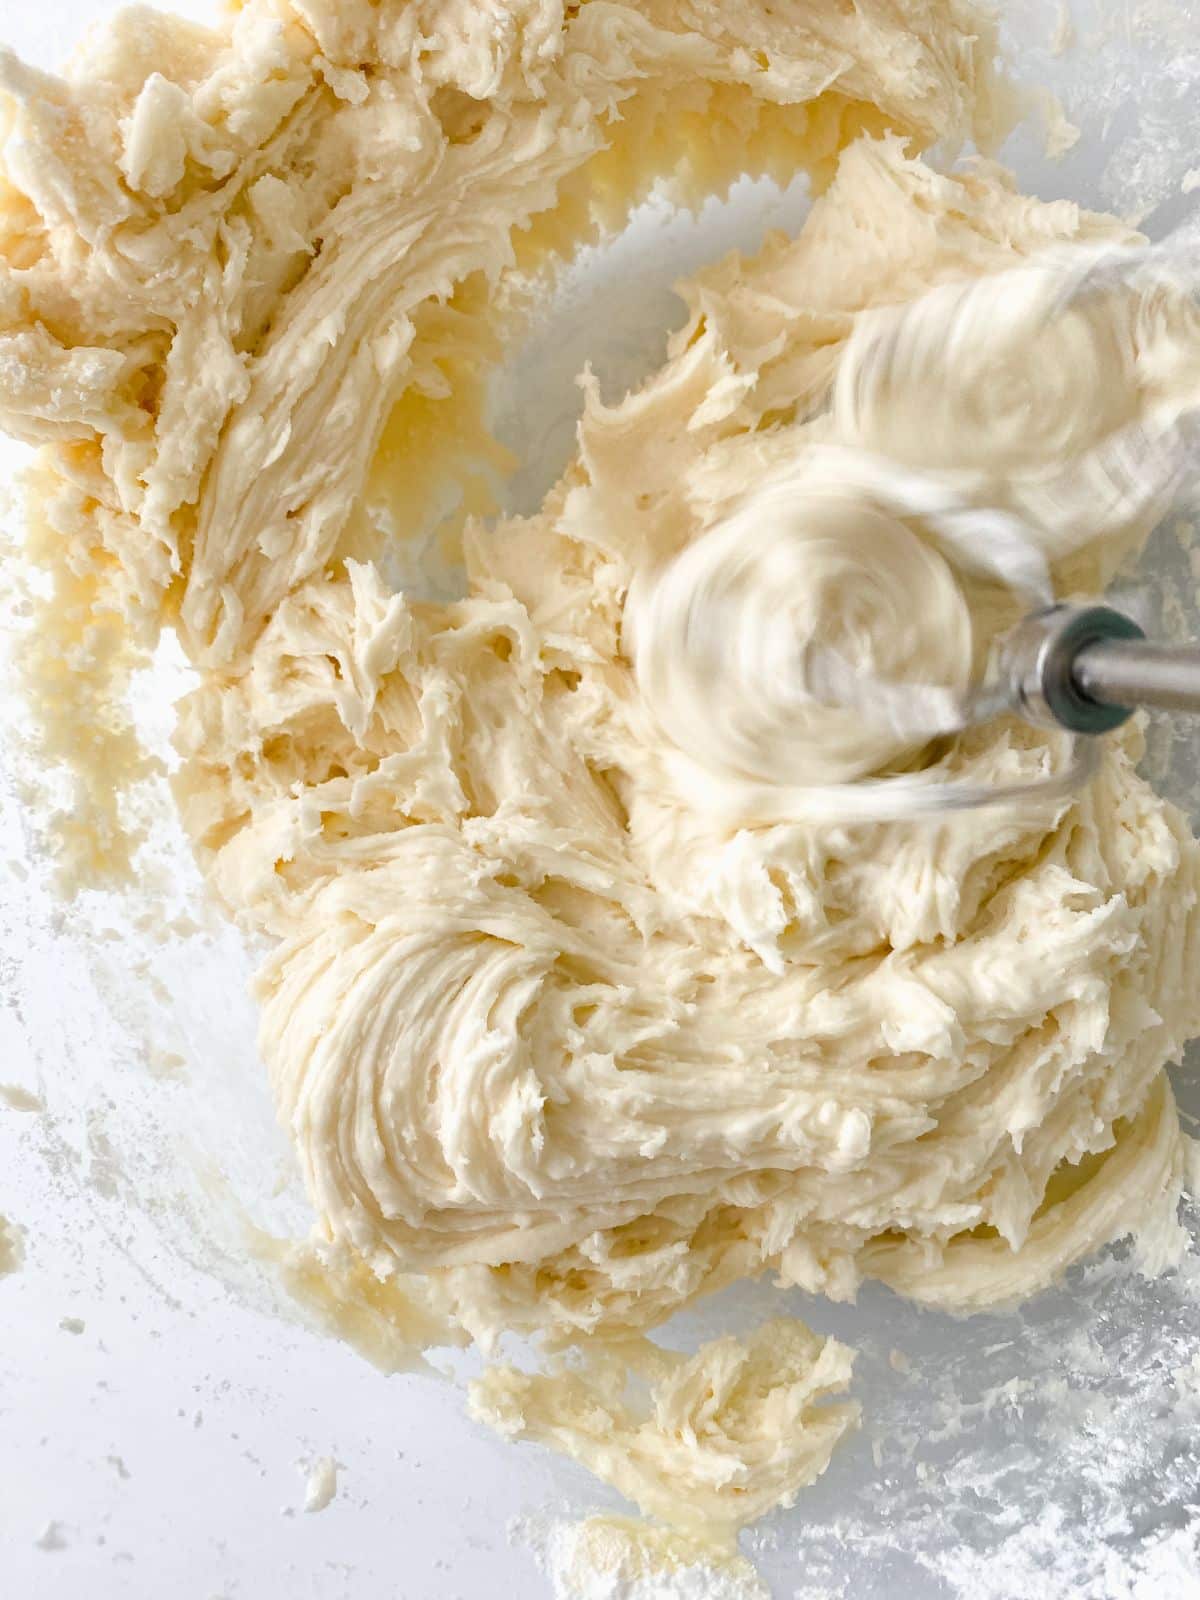
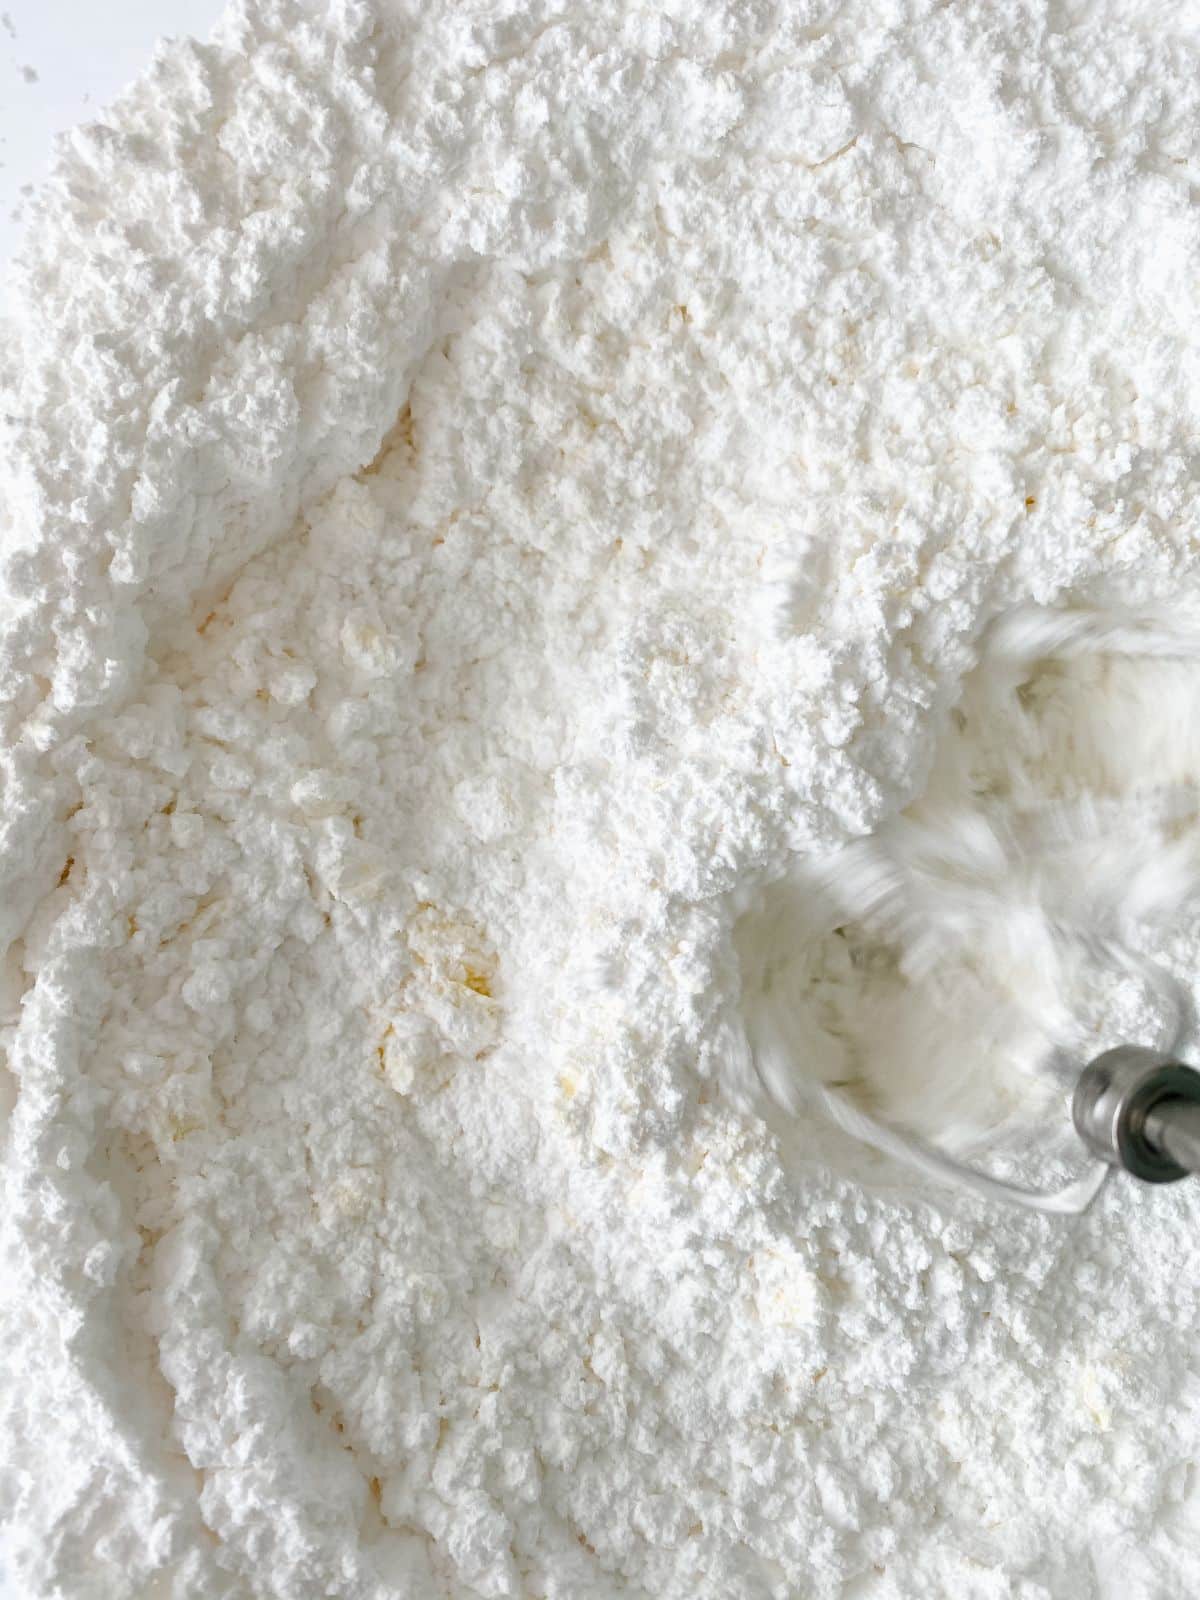
In a large bowl, cream the butter until fluffy. To the butter, beat in the shortening.
Now, add the powdered sugar and beat until it is combined.
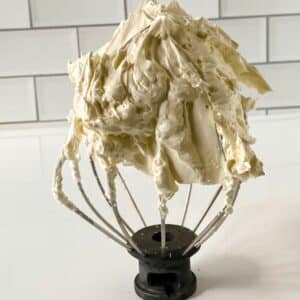
Then, add the vanilla extract and heavy cream. Beat for another 3 to 5 minutes, or until light and fluffy.
How to Assemble an Oreo Drip Cake
Fill a piping bag with the buttercream you prepared, and fit with a 1M or 2D tip.
Now, you will add a "dam" of buttercream on top of each layer. This is when you pipe a layer of icing around the outer edge of the cake. Then, inside the dam, you will spread a layer of buttercream.
Top this layer of buttercream with a layer of Oreo cookies, cutting them to fit and fill in the space.
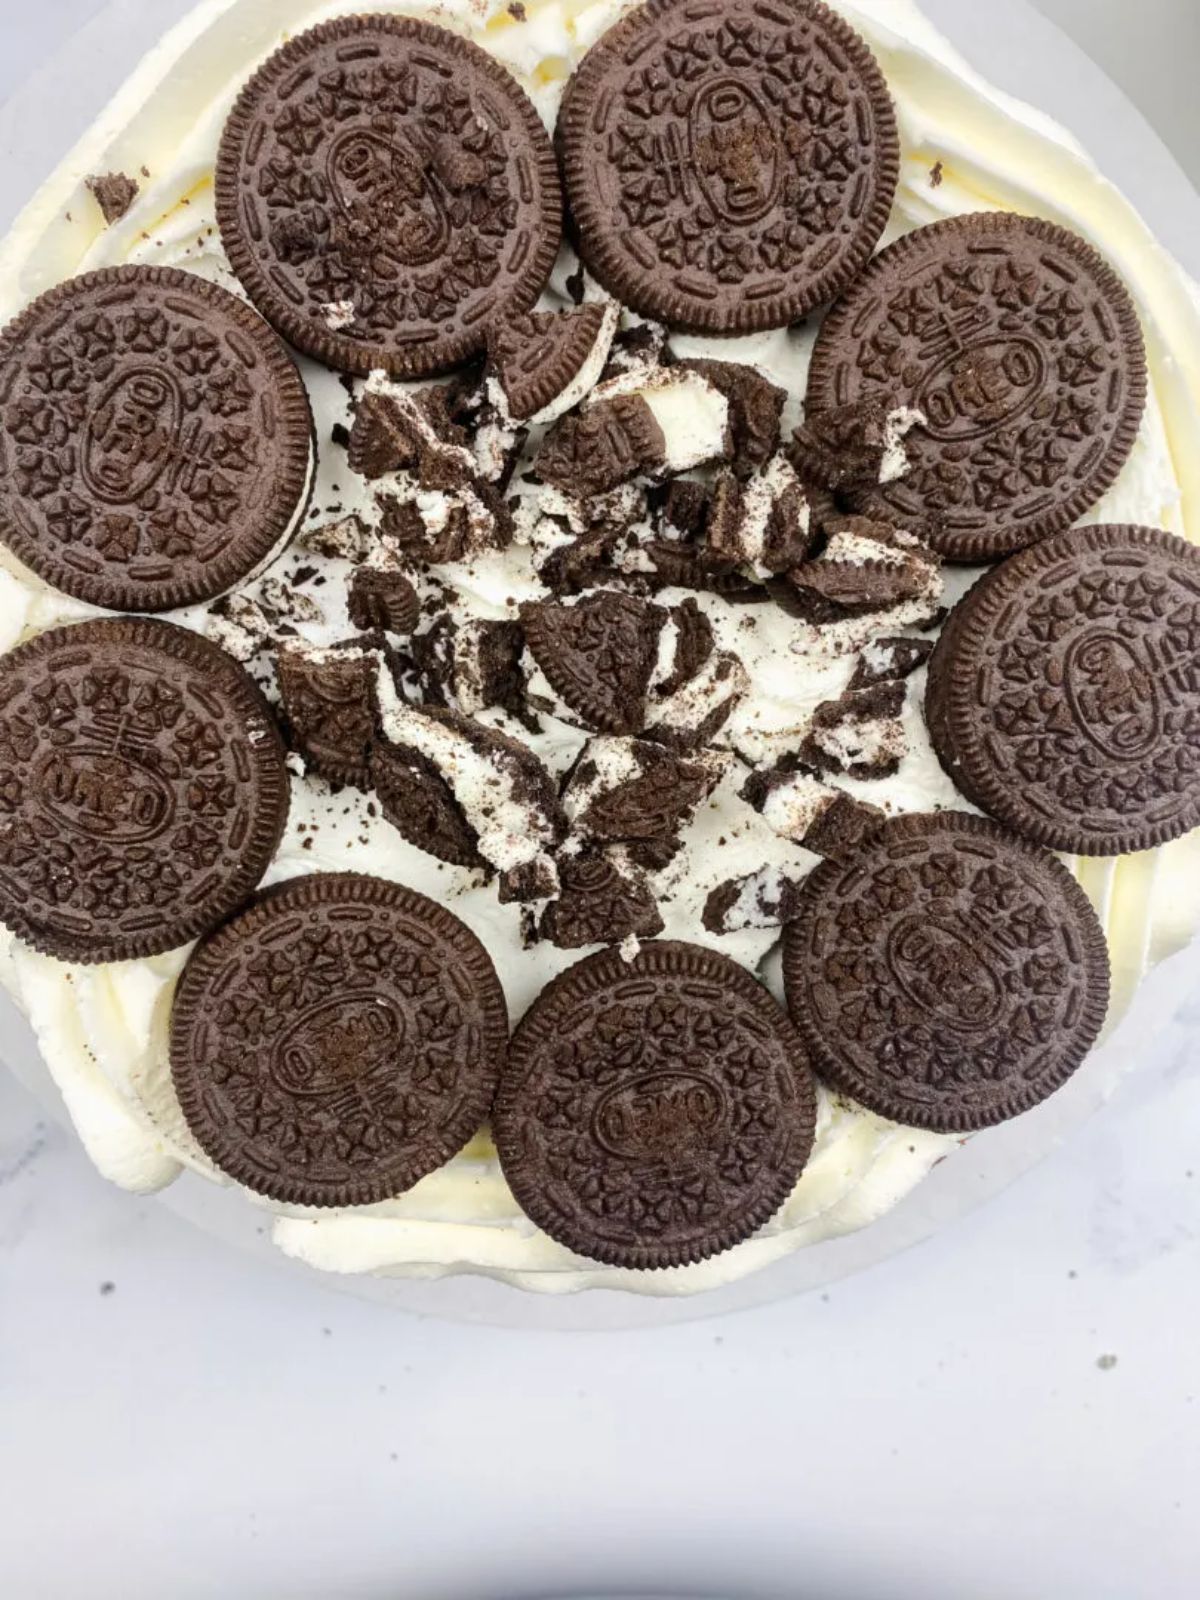
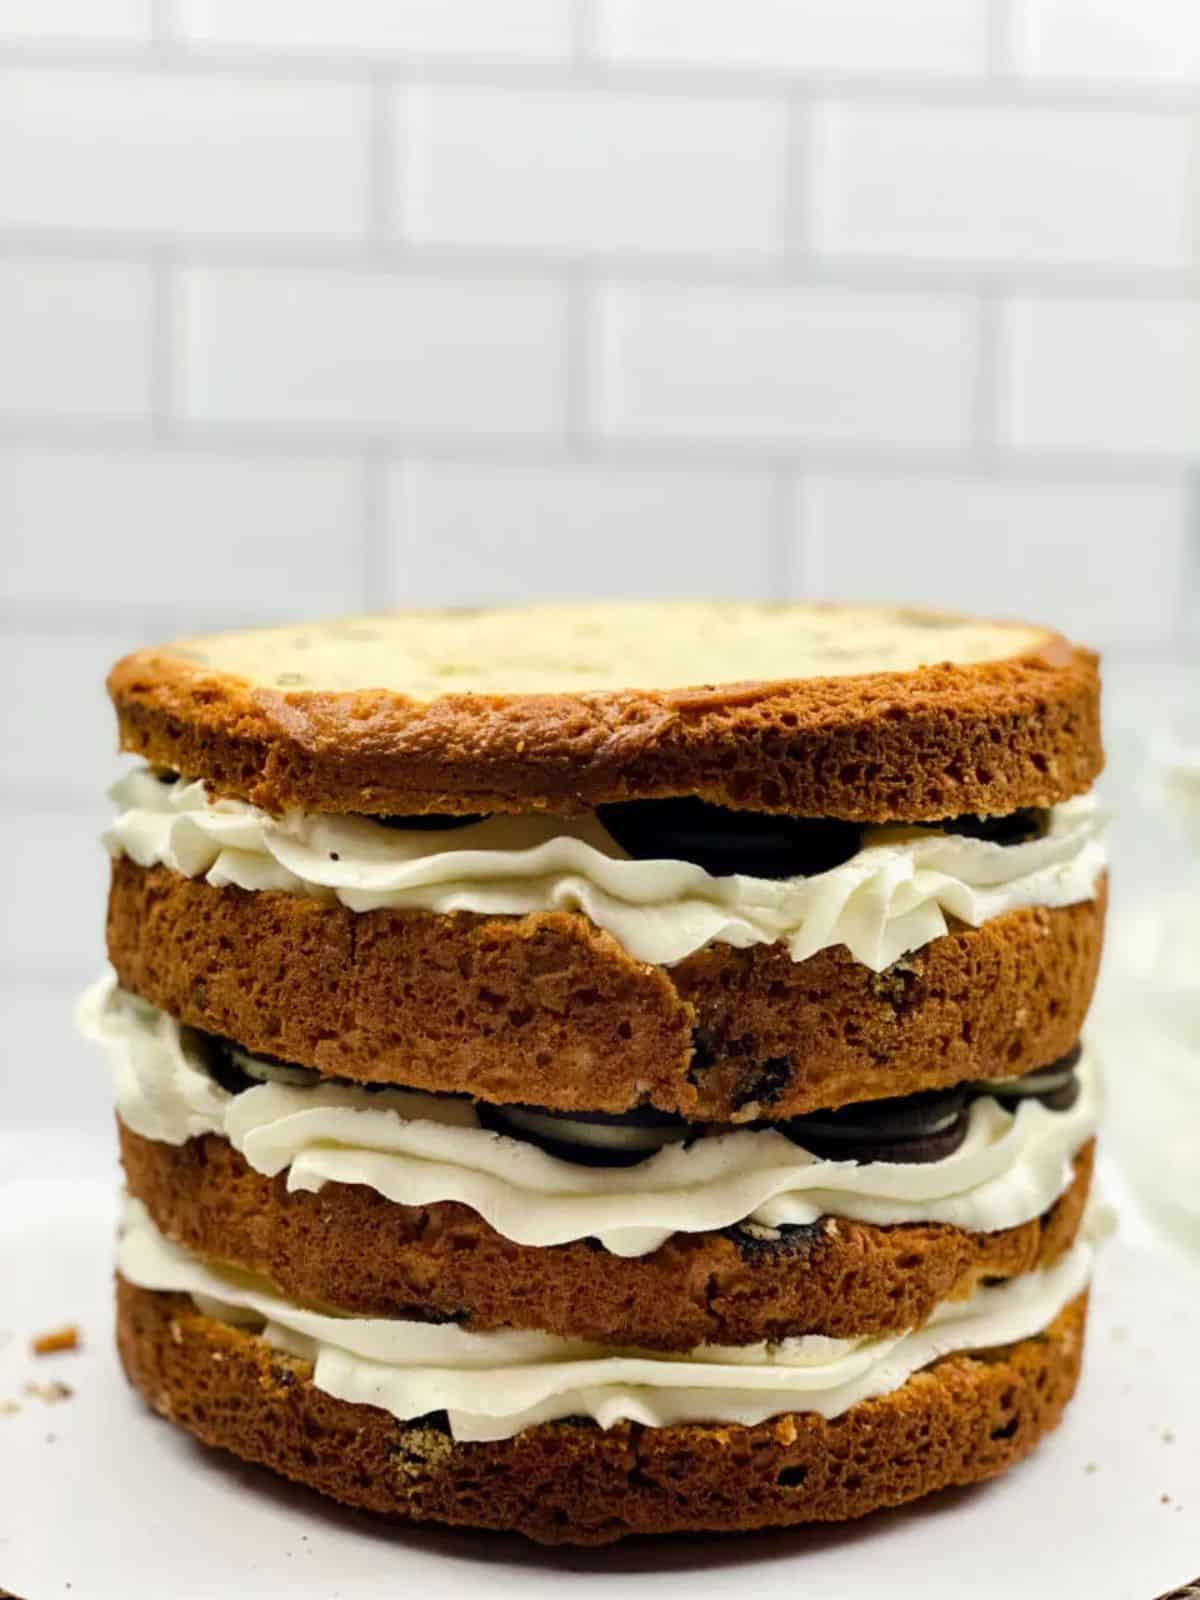
Repeat this process, until the four layers are stacked neatly on top of each other.
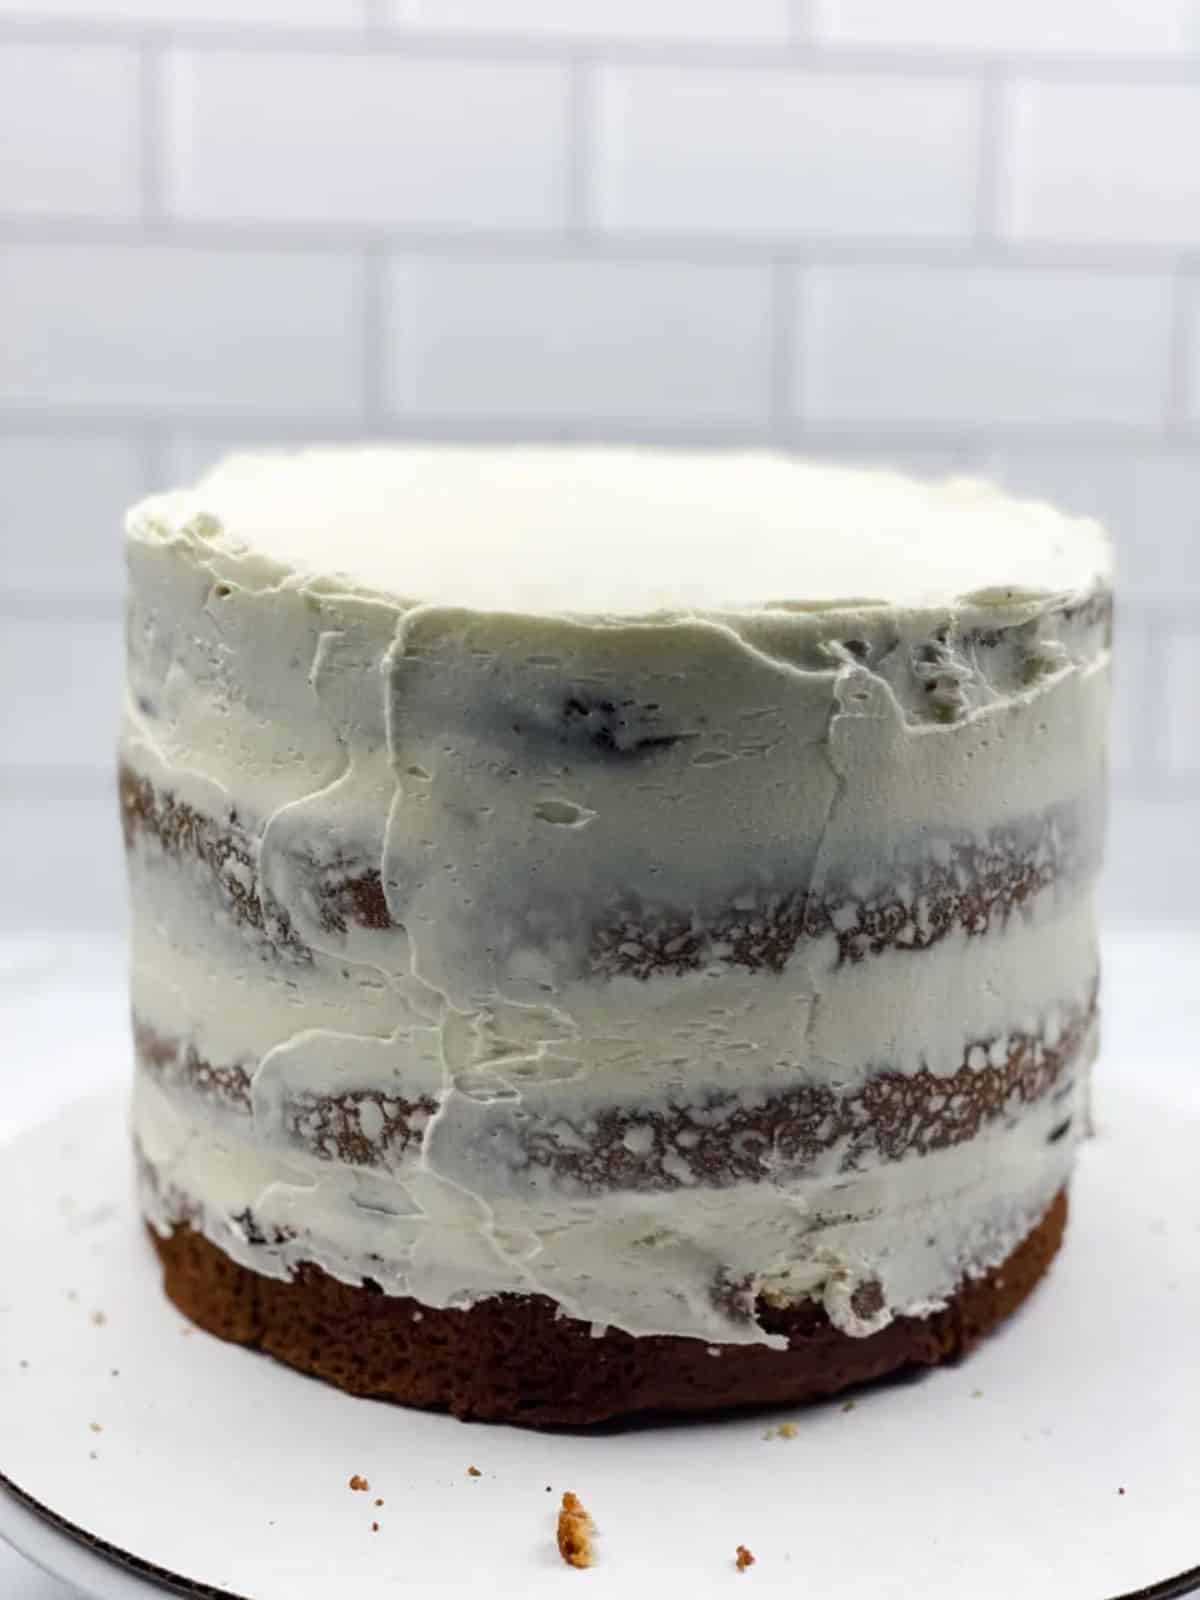
Now you will spread a crumb coat (thin layer) of buttercream all around the outside and on top of the cake. Smooth off any excess, then sit the layered cake inside the freezer to set for 5 minutes.
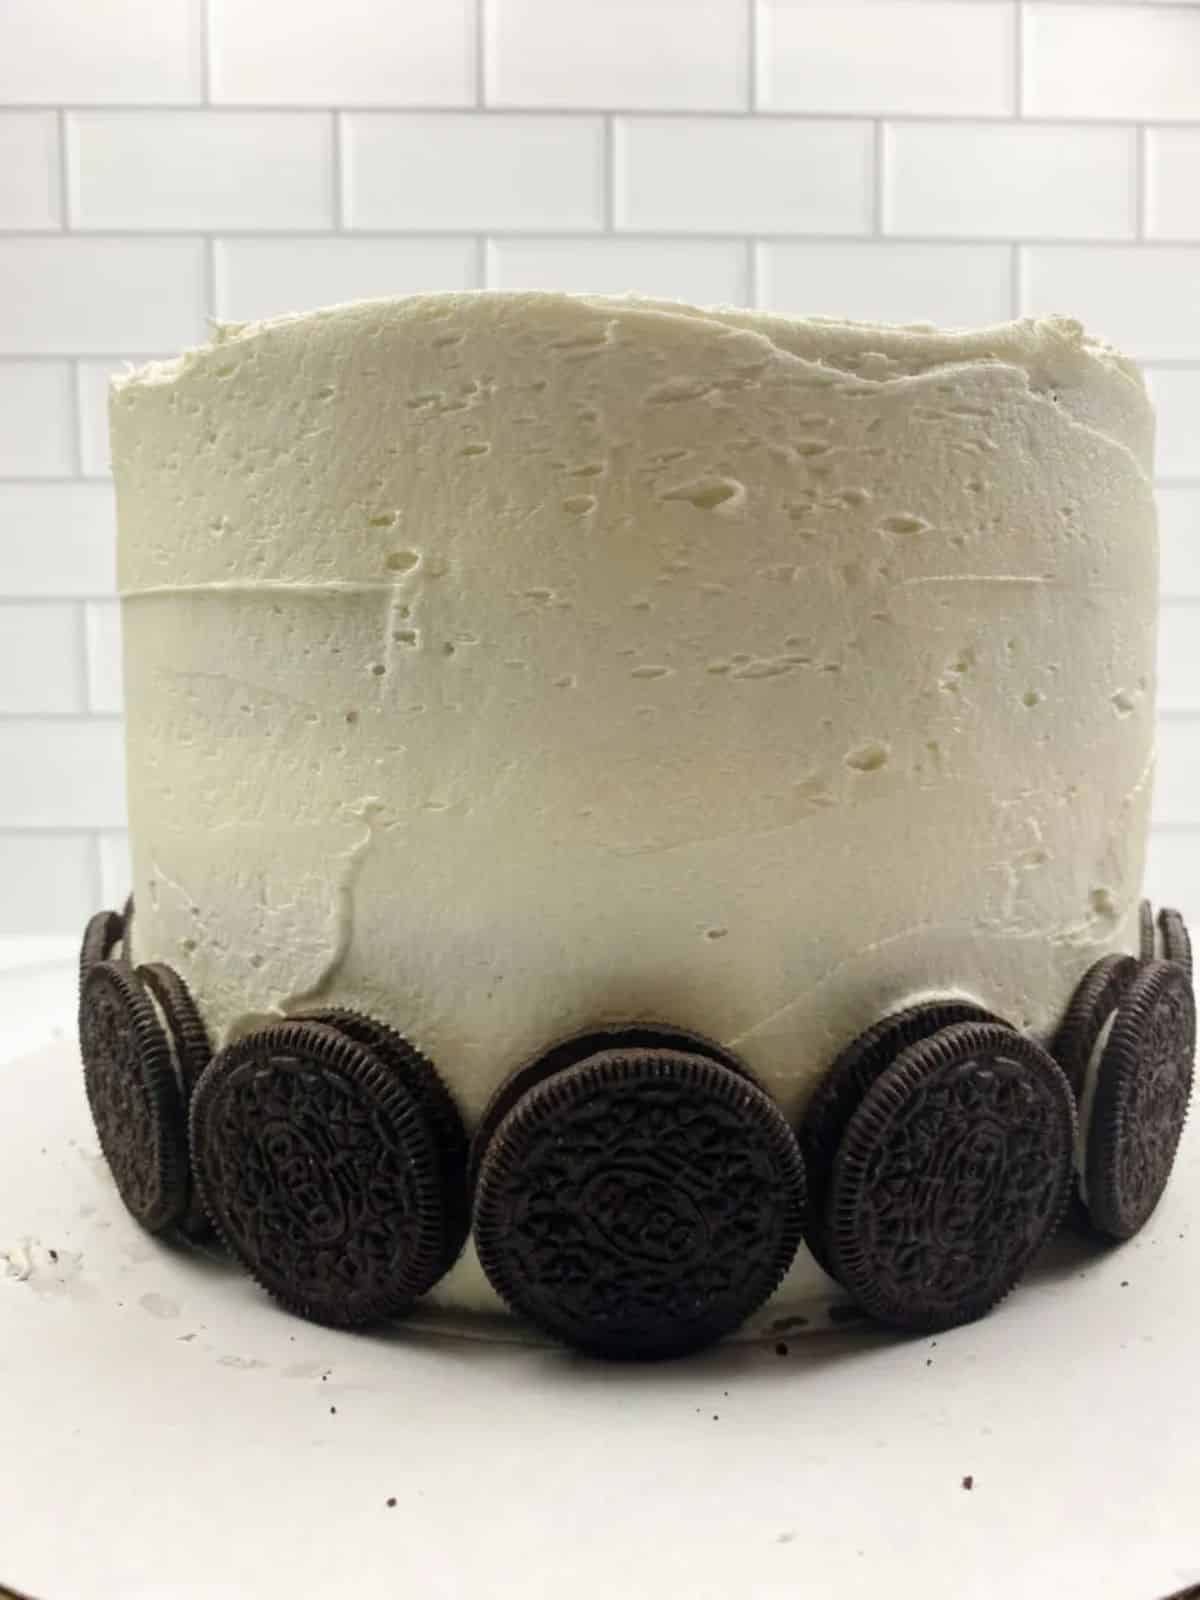
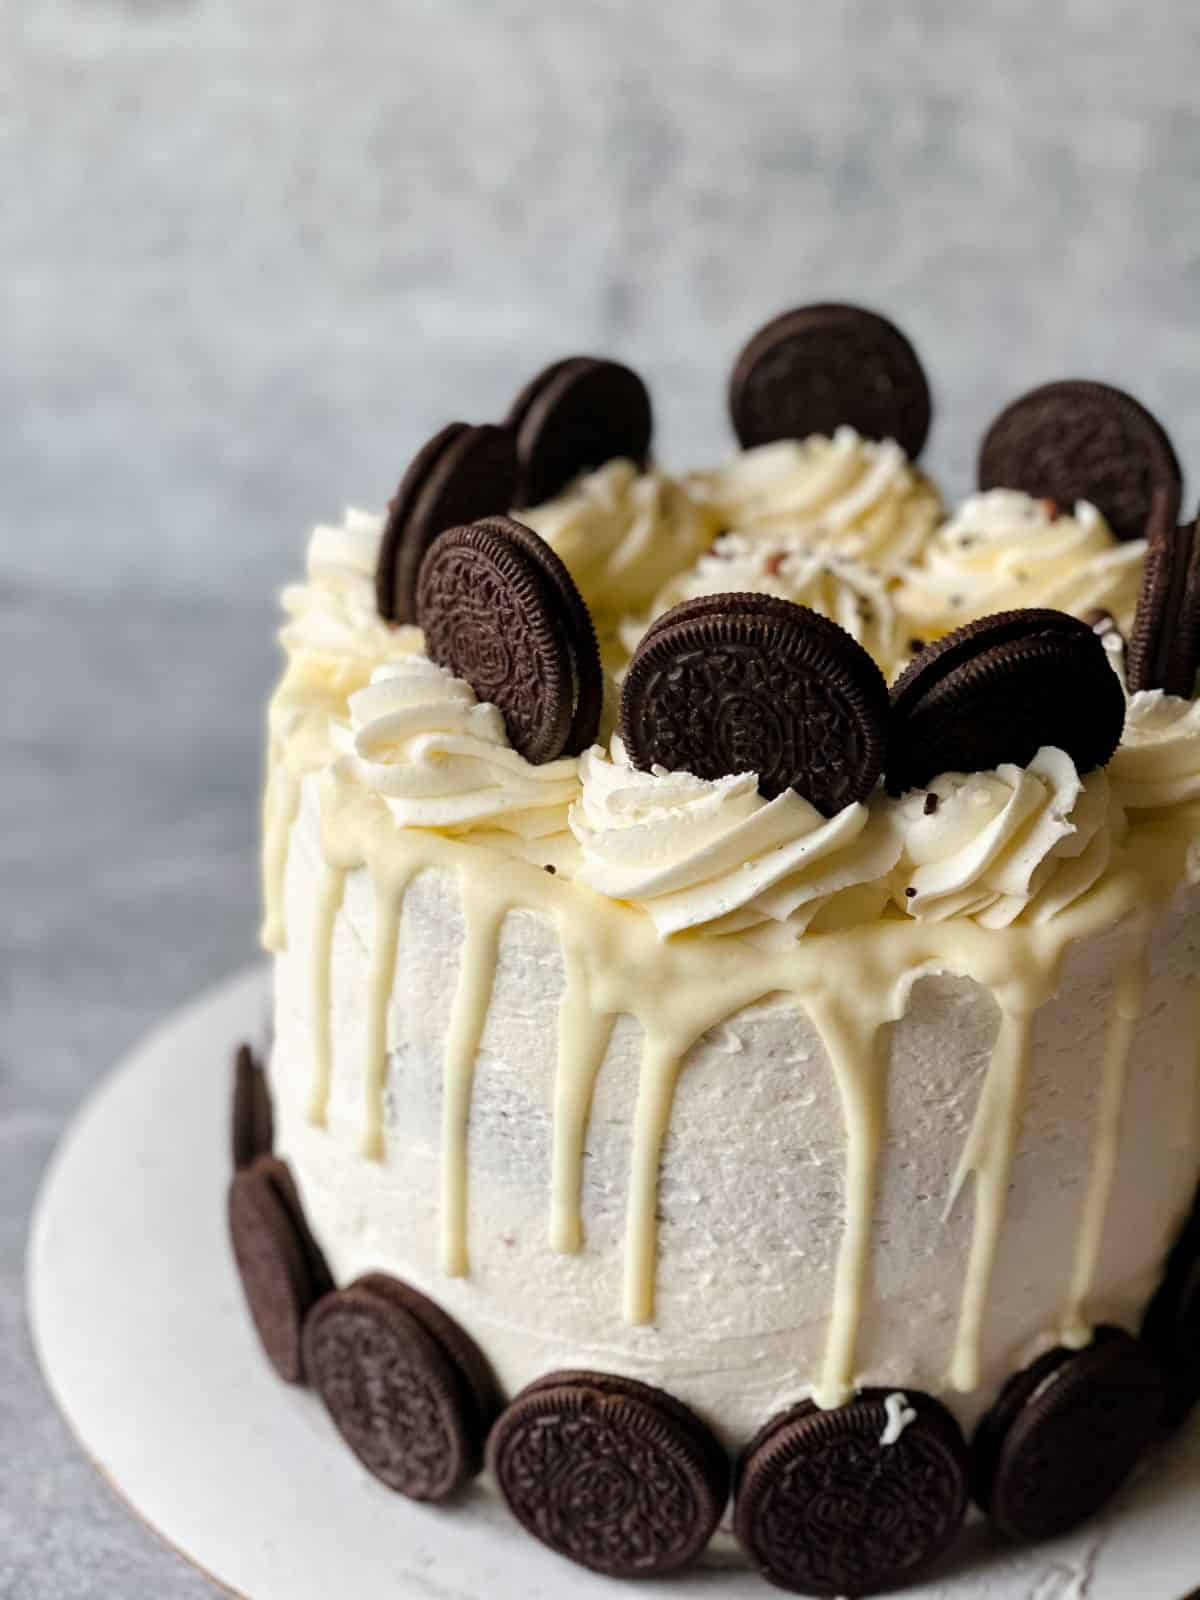
Once it has been set, apply the final exterior coat of buttercream and smooth it to coat all of the cake. Then, on the bottom outside of the cake, add a single layer of Oreo cookies in a row all around the cake. Place it back in the freezer.
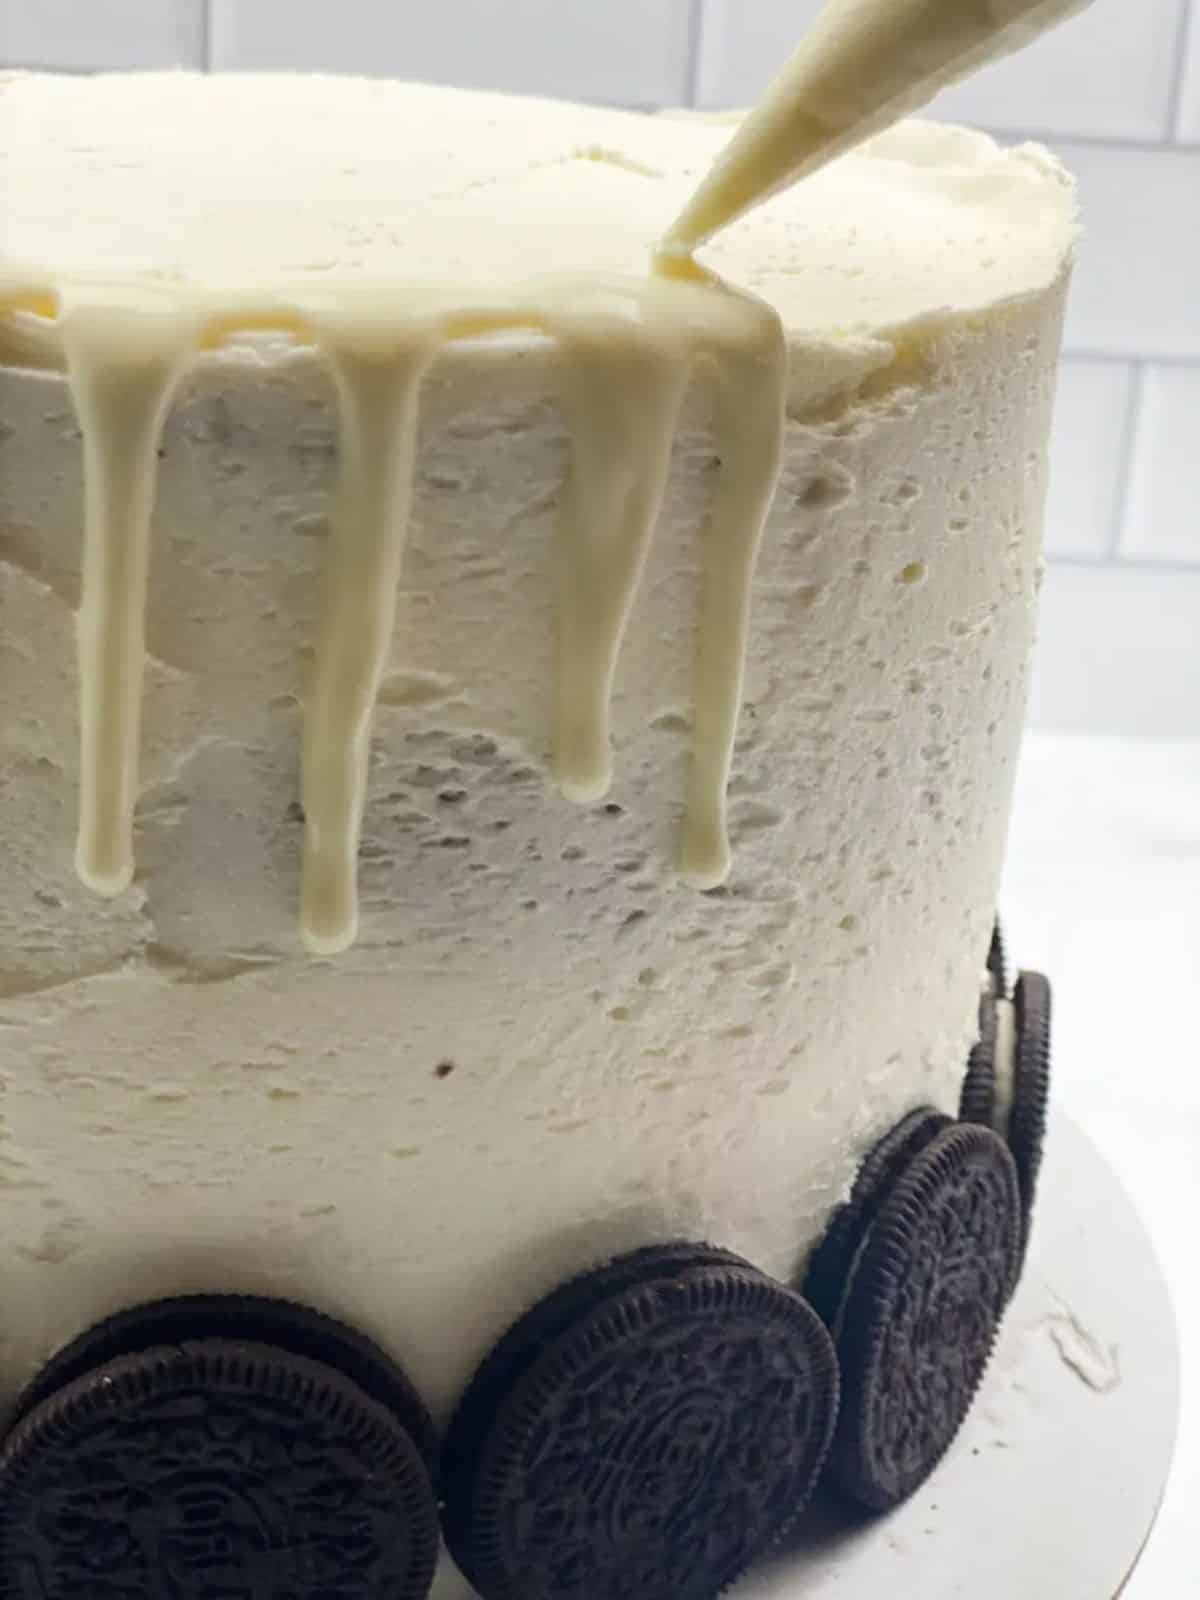
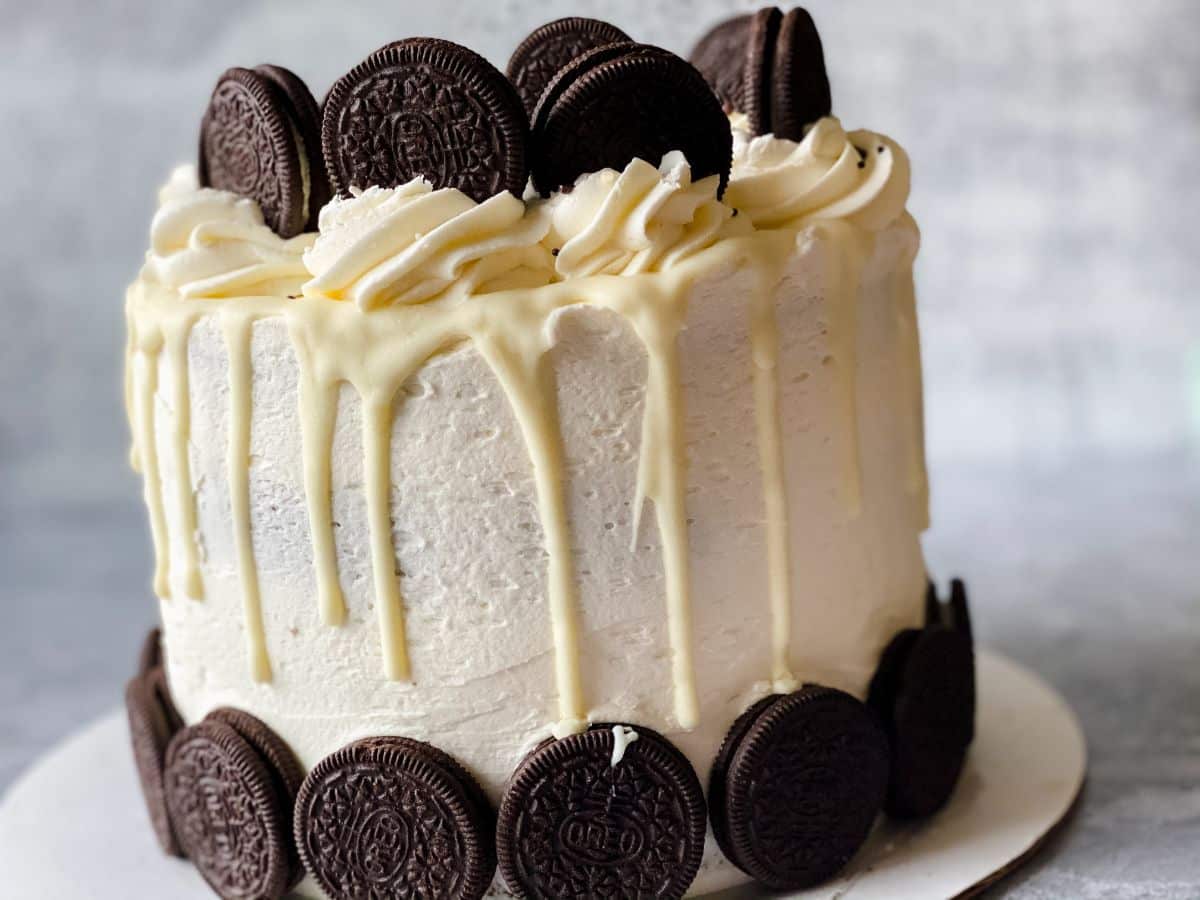
Next, melt the almond bark or white chocolate in 30-second increments in the microwave, until it is just melted. Stir well.
Remove the cake from the freezer and begin spooning or piping this chocolate around the very top edge of the cake, so that it drips down the sides.
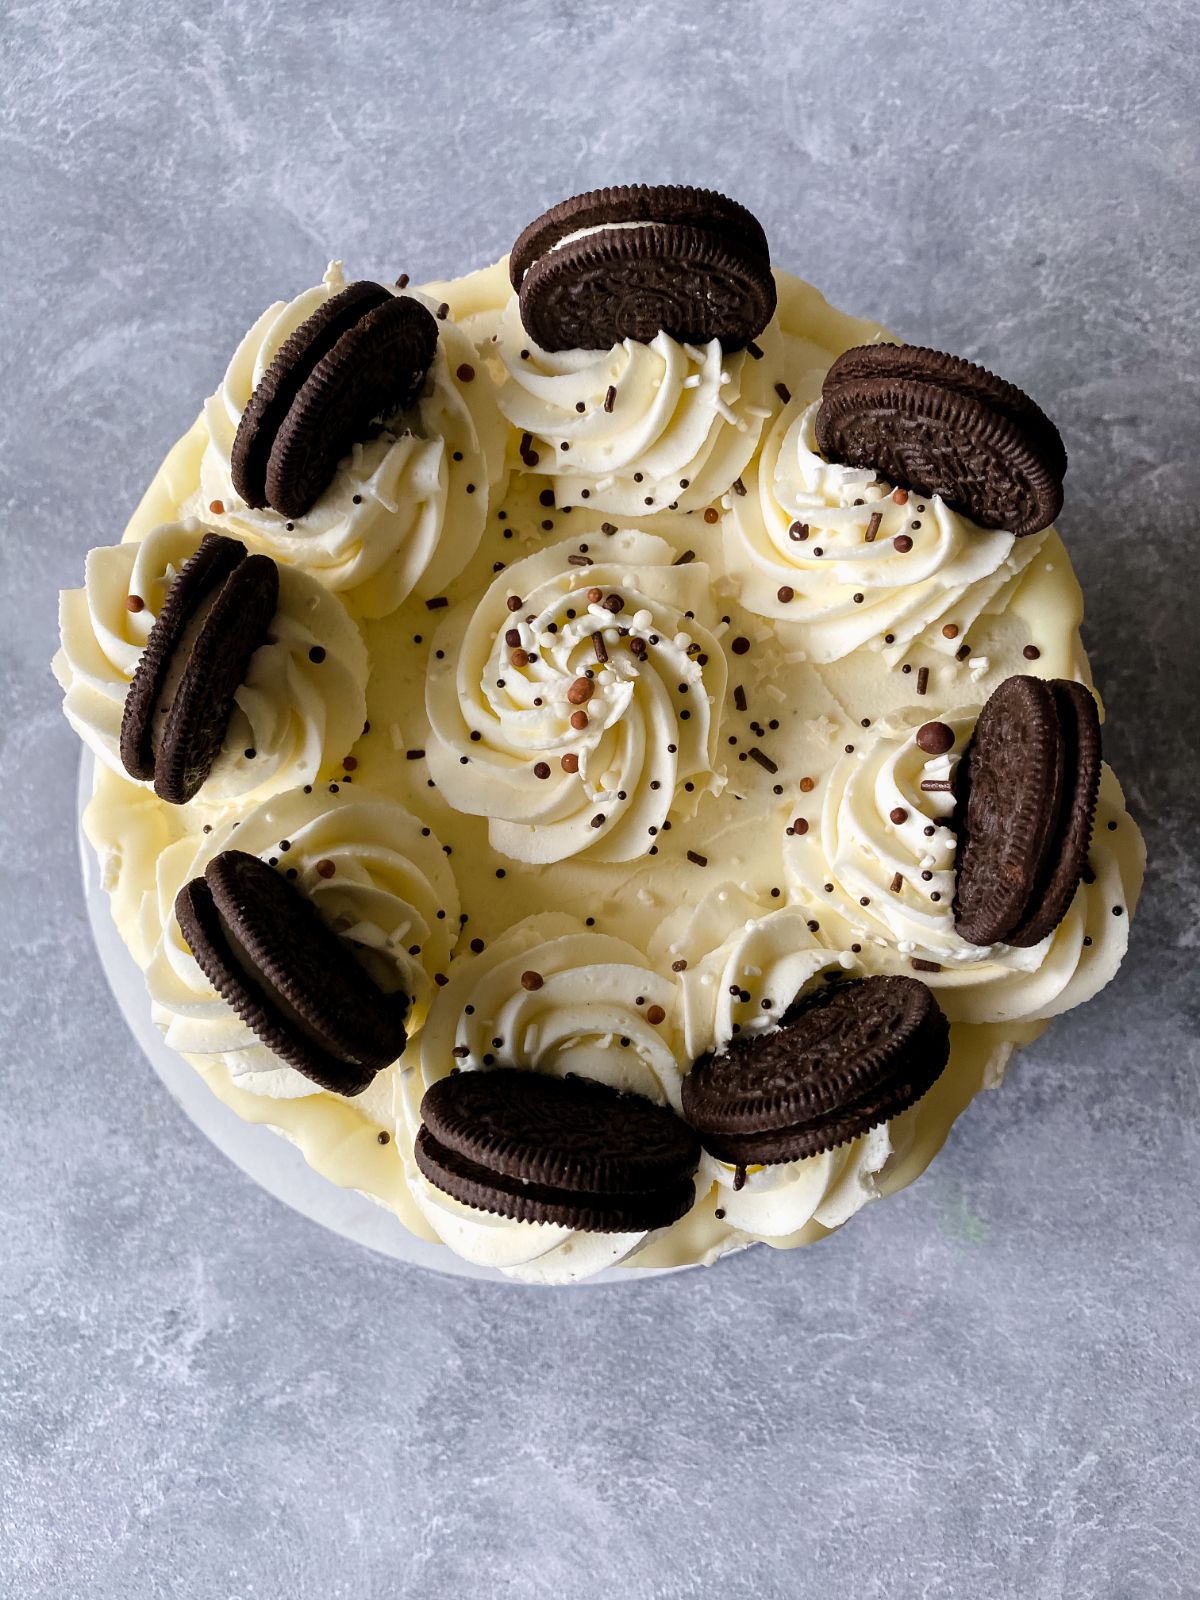
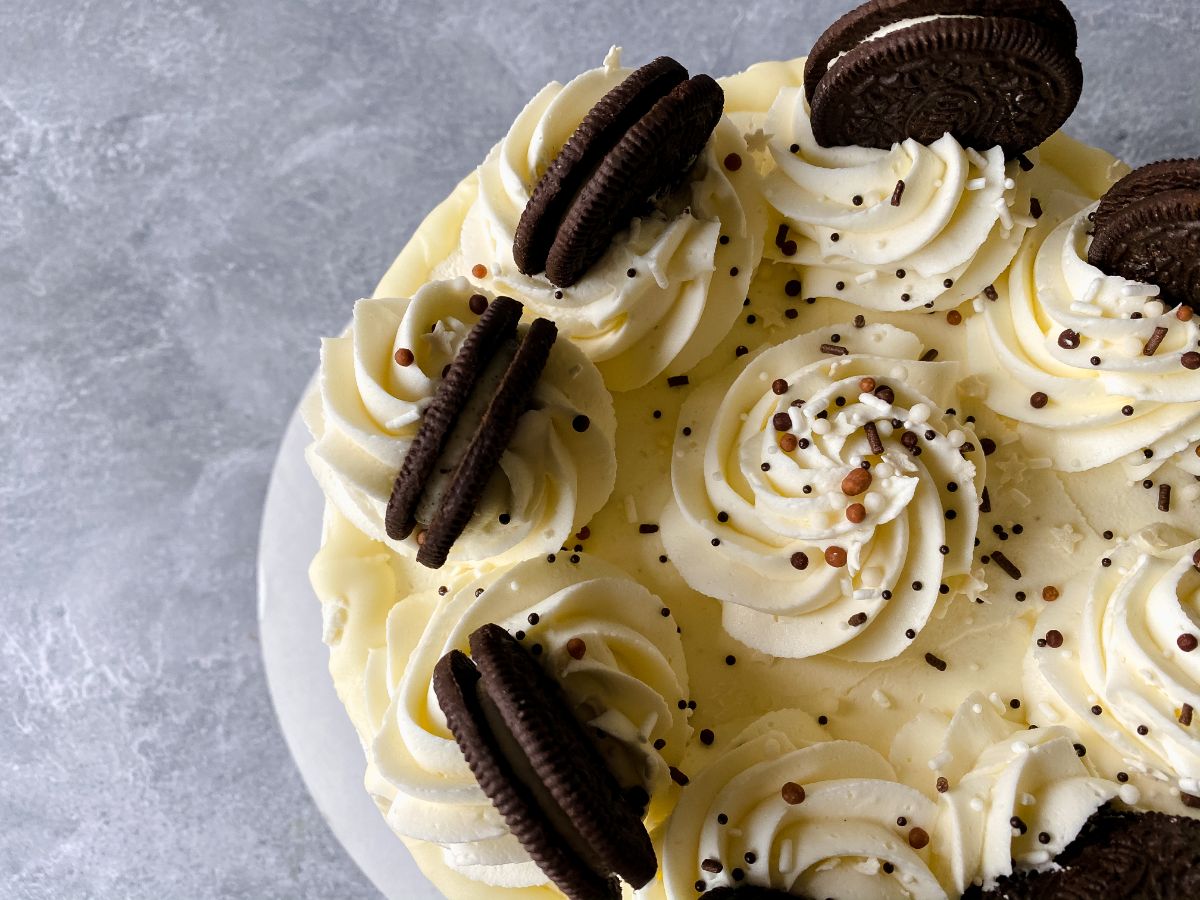
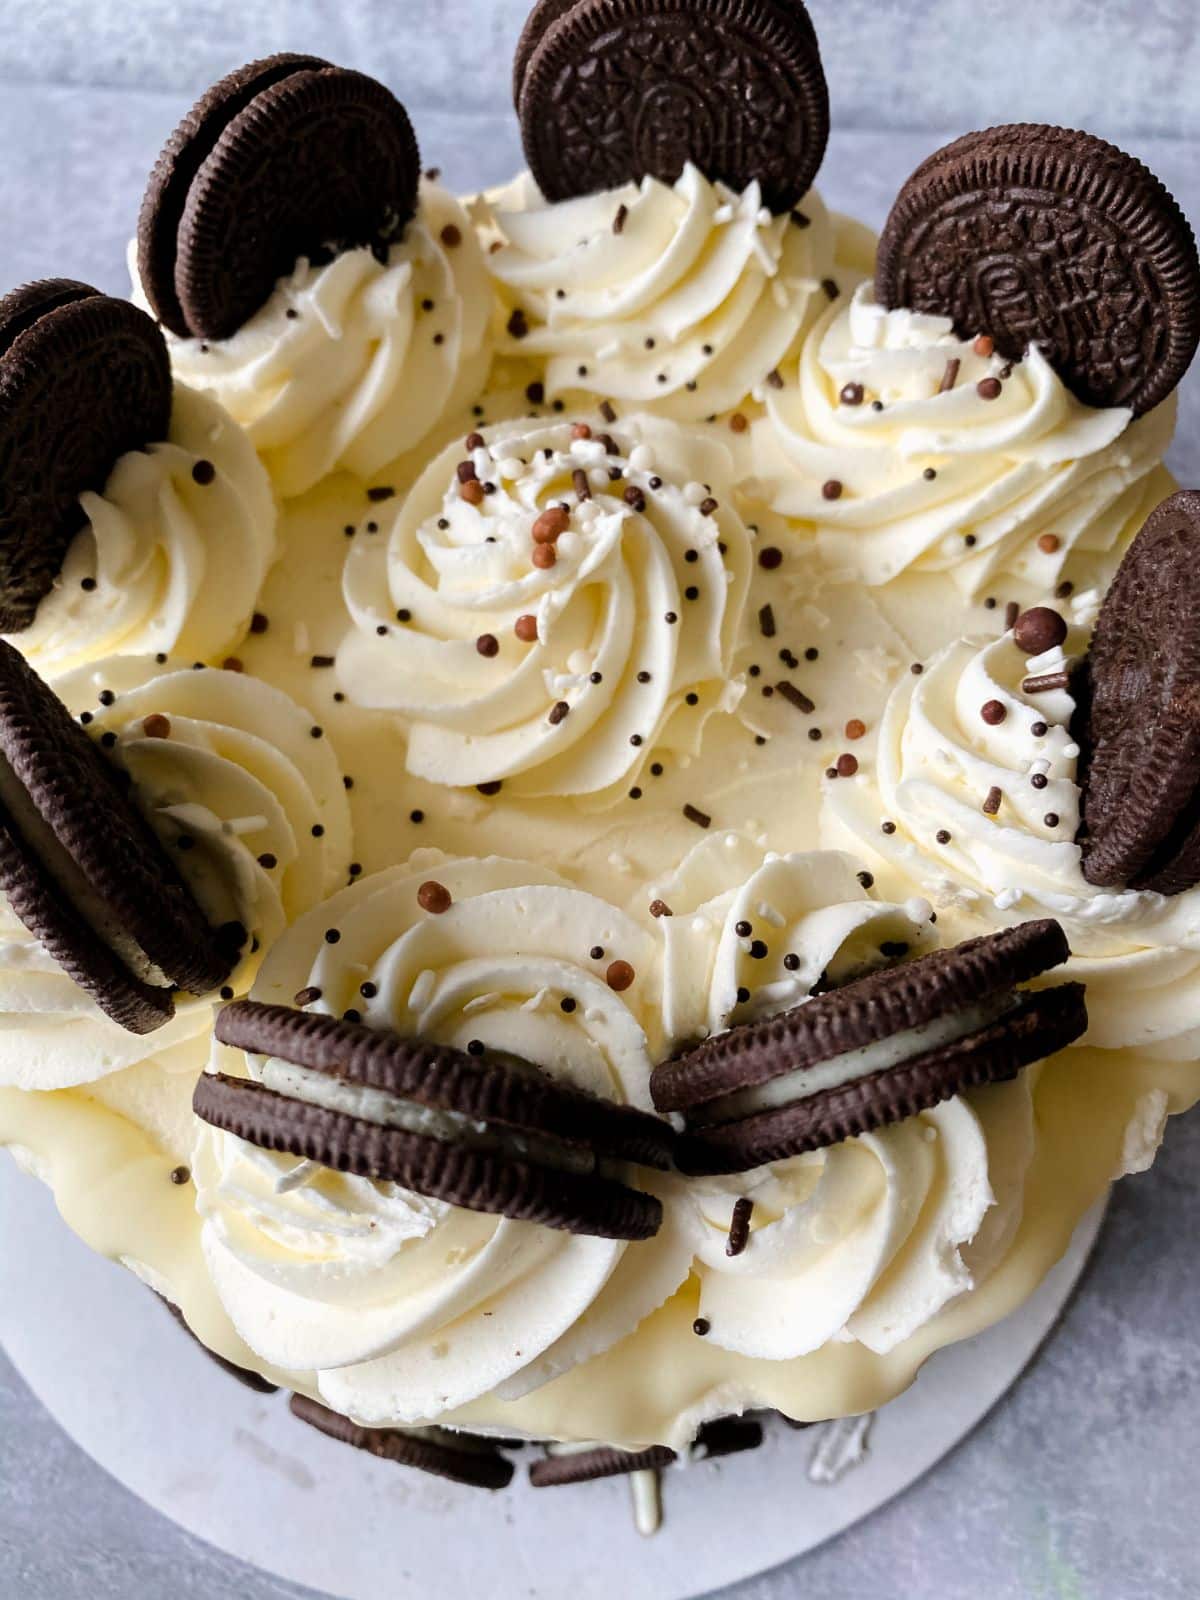
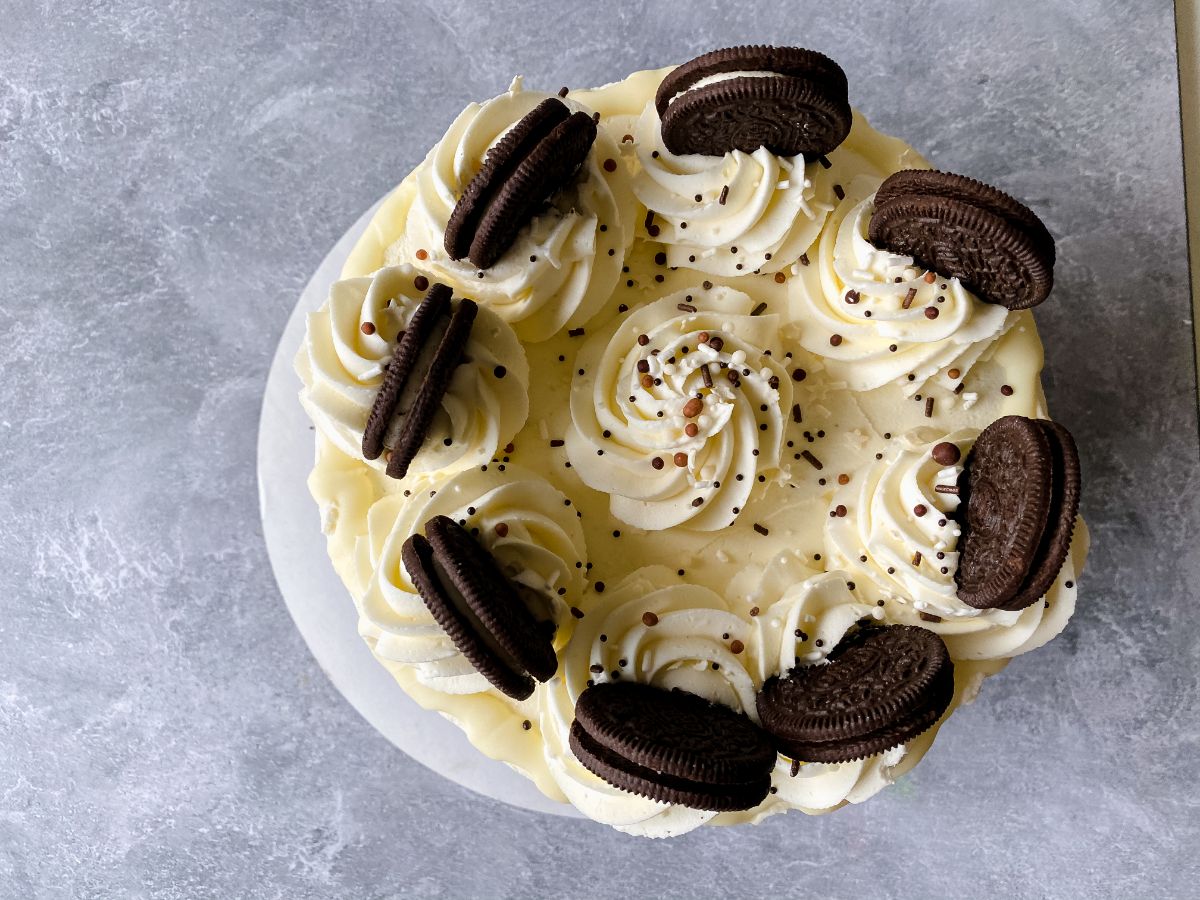
Now add a few buttercream florettes around the top of the cake and sprinkle with additional cookie crumbs or whole cookies on top.
For additional decoration, you may also melt milk chocolate and pipe or drizzle it over the top of the cake if desired.
Chef's Tips
- If possible, using 4 pans makes this easier since you do not have to cut the cakes before assembling them.
- Make sure you have at least 3 to 4 hours to make this cake. You will need time to allow each step to sit and stay cold so the icing goes on neatly.
- Replace the layer of whole Oreo cookies on the bottom with cookie crumbs if you prefer. Just pulse them in a food processor until they are at the desired crumble stage.
- Use almond bark or candy melts to hold the drip and look for the best results. White chocolate can be used but has a tendency to melt easily, so may not hold up as well depending on the weather.
Frequently Asked Questions
The drip on this cake is made from melted candy melts or almond bark. Another option you can use would be a white chocolate ganache, or even a chocolate ganache if you prefer.
For this Oreo drip cake, we recommend using an 8" round cake. This size is great for being sturdy when layered, and the pans are deep enough that you can use only 2 and create all 4 layers by cutting each in half. This will give you four layers with plenty of room for the Oreo crumbles and other decorations.
Once you have your cake ready and fully iced and then chilled, you will melt the almond bark for the drip. This is easiest when using a squeeze bottle or piping bag, but can be done by hand with a spoon.
Start on the edge and drizzle a small amount around the outer edge of the top cake layer so it drips down the side.decorations of your choice.
While it is not ideal for a drip, you can create a similar look by thinning the buttercream so it pours easier. The drip look may not stay intact as it would with chocolate, but it is a simple substitute if needed.
This depends more on what kind of cake it is. For this version, using the recipe listed here, you do not need to refrigerate unless you prefer to do so to keep everything solid and set.
If you have used the drip technique on a cake with buttercream frosting, it does not need to be refrigerated. If you are using a cream cheese frosting or something else that is typically stored in the refrigerator like strawberries, you will want to keep it in the refrigerator.
More Cake Recipes
Need more cake recipes? Check out some of our favorites below. Take a minute to bookmark your favorites!
- Boozy Bailey's Irish Cream Chocolate Cake
- The Best German Chocolate Cake Recipe
- Easy Chocolate Vanilla Swirl Bundt Cake
- The Easiest 7-UP Cake Recipe
- Classic Pink Lemonade Cake Recipe
📖 Recipe
Oreo Drip Cake Tutorial
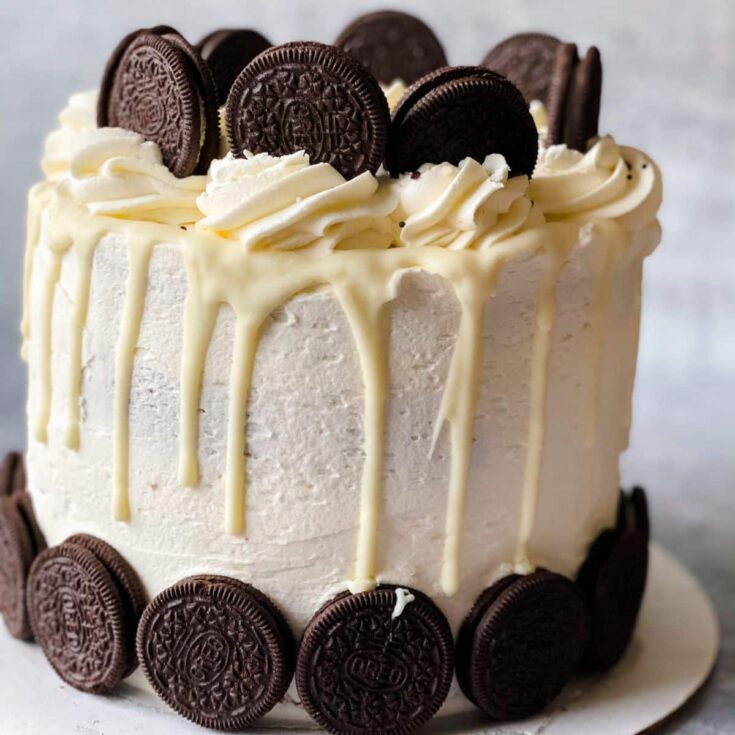
Learn how to make an impressive Oreo drip cake with our step-by-step tutorial. Perfect for any occasion, easy to follow the recipe!
Ingredients
For cake
- 2 boxes vanilla cake mix (860g)
- 1 (4.2oz) box Oreo pudding mix (119g)
- 6 large eggs
- 2 cups water
- 1 cup vegetable oil
- 1 (15oz) package Oreo cookies (435g)
- Non-stick cooking spray or cake release
For buttercream
- ½ pound unsalted butter, room temperature (226g)
- ½ cup vegetable shortening (120g)
- 4 cups powdered sugar (960g)
- ¼ cup heavy cream (60ml)
- 1 tablespoon vanilla extract (15ml)
For decorating
- Almond bark or white candy melts
Instructions
- Preheat the oven to 350°F/180°C and grease 4 (8") round baking pans with non-stick spray or cake release.
- In a large bowl, mix together 2 dry cake mixes, oreo pudding mix (dry), eggs, water, and vegetable oil. Beat for 3 minutes or until smooth.
- Fold in 8 chopped Oreo cookies into the batter.
- Divide the batter between the 4 pans, filling each ¾ full.
- Lower the oven to 340°F/170°C and bake the cakes for 30-40 minutes or until a toothpick inserted in the center comes out clean.
- Let the cakes cool completely in the pans for an hour.
- If using 2 pans, slice each cake in half to create 4 layers. Trim the top of the cake to create a flat surface.
- Leave the cakes to cool or wrap each layer in plastic wrap and store in the freezer until ready to frost.
How to Make Vanilla Buttercream
- To make the buttercream, in a large bowl, beat butter and shortening until fluffy. Then add powdered sugar, vanilla extract, and heavy cream. Beat for 3-5 minutes or until light and fluffy.
To Assemble the Oreo Layer Cake
- Fill a piping bag with buttercream and add a "dam" of buttercream on top of each layer. Spread a layer of buttercream inside the dam and top with a layer of Oreo cookies. Repeat this process until all 4 layers are stacked.
- Apply a crumb coat of buttercream all around the outside and on top of the cake. Smooth off any excess, then place the cake in the freezer for 5 minutes.
- Then coat with a second layer of buttercream in a thin layer. On the bottom of the cake, add a layer of Oreo cookies all around. Then freeze while you melt the chocolate.
- Melt almond bark or white chocolate in the microwave, stirring every 30 seconds until melted.
- Remove the cake from the freezer and spoon or pipe the chocolate around the top edge of the cake so that it drips down the sides.
- Add buttercream florettes around the top and sprinkle with additional cookie crumbs or whole cookies on each florette.
- Melt milk chocolate and drizzle the top if desired.
Notes
Almond bark or candy melts can be used interchangeably in this recipe for the "drip". While the white chocolate is also a great choice, it does melt easier and may not be as set as you prefer for this look.
Recommended Products
As an Amazon Associate and member of other affiliate programs, I earn from qualifying purchases.
-
 Crown 11 inch Round Cake Pan, 3" deep, Extra Sturdy, Fully Straight Sides, Even-Heating, Made in Canada
 -
 4 Packs Glass Pie Plates, MCIRCO Deep Glass Pie Pans Set (7"/8"/9"/10"), Glass Pie Baking Dishes with Handles for Baking and Serving, Clear
 -
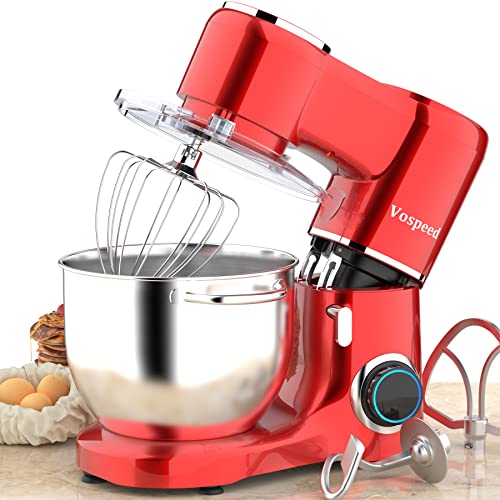 Vospeed Stand Mixer, 660W 6-Speed Tilt-Head Kitchen Mixer, with 8.5QT Stainless Steel Mixing Bowl, Beater, Dough Hook, Whisk, Household Use - Red
 -
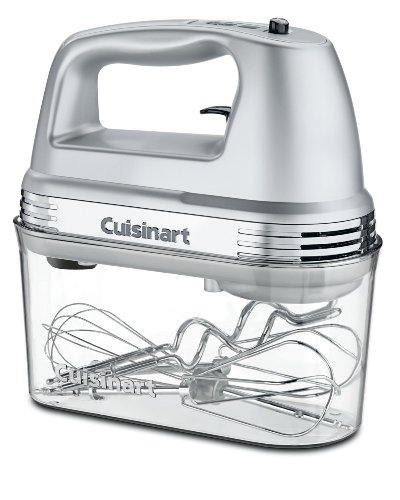 Cuisinart HM-90BCS Power Advantage Plus 9-Speed Handheld Mixer with Storage Case, Brushed Chrome
 -
 Piping Bags Pastry Bag 100PCS With 6 Decorating Tips 2 Coupler 12" Cupcake Cake Decorating Bags Disposable Cake Icing Decorating Piping Bags Set For Cake Decorating Reusable For Cookies Small
 -
 COOK WITH COLOR Plastic Mixing Bowls with Lids - 12 Piece Nesting Bowls Set includes 6 Prep Bowls and 6 Lids, Microwave Safe Mixing Bowl Set (Blue Ombre)
Nutrition Information:
Yield:
24Serving Size:
1Amount Per Serving: Calories: 482Total Fat: 25gSaturated Fat: 9gTrans Fat: 0gUnsaturated Fat: 15gCholesterol: 74mgSodium: 423mgCarbohydrates: 60gFiber: 1gSugar: 42gProtein: 4g





Join the Discussion